Blog Archives
How To: Give Your Blog Layers! (Part 2 of GIMP tutorials)
You asked for it? You get it! Sorry it’s taken so long to get this post out. (Pretty much any post at all… Happy April!)
First… re-open GIMP. Are you lost? My first post is here. Make sure you know what’s going on in that post and know how it works, because this one is quite a bit more advanced. Also, feel free to play around with GIMP.
This time instead of giving step by step details of how to make a specific picture, this post is about how to use layering techniques and different styles.
This time instead of adding extra effects, while there’s plenty of that, I’m going to teach a little bit of how to make everything stack and fit together. This is called layers. In the last post, I skipped right past it even though we did a little bit.
Layers Introduction
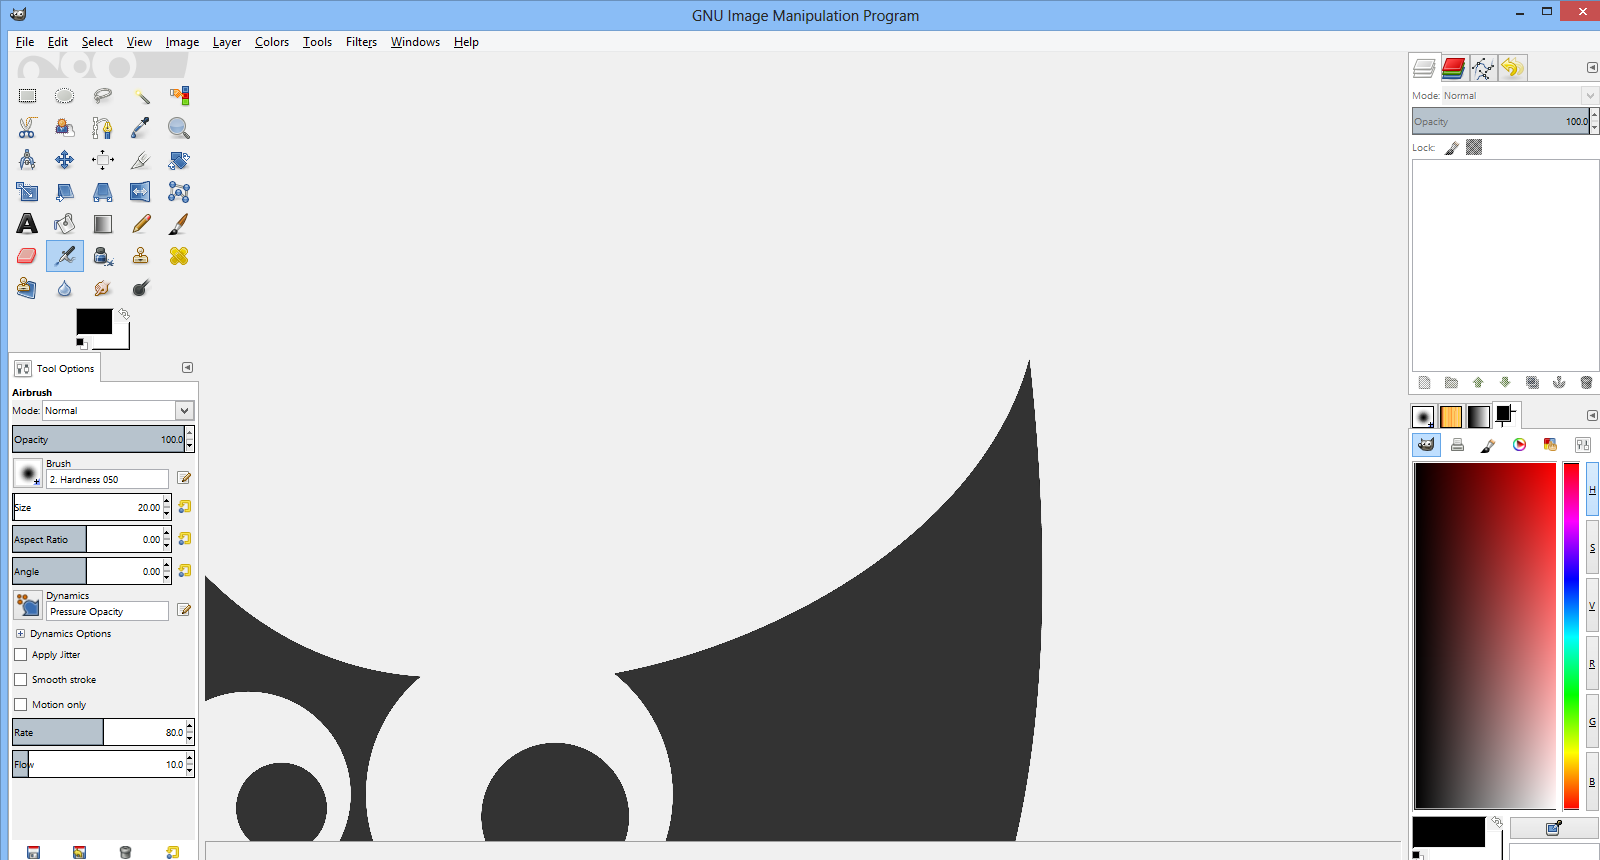
On the sidebar, there should be a Layers tab. (Picture) If there’s not, go over to the gray arrow pointing left that is across horizontally from the layers button that is moused over in that picture. Click the gray arrow, mouse over add tab, and the third choice is Layers. Add that tab. (Picture) This will allow you to use more layering techniques rather than just painting or pasting things on the same level.
When you create a new image, you’ll see a new layer has appeared on your Layers menu. It is called Background. Right click this layer and click “Add Alpha Channel.” Think of a layer like a sheet of paper. If you add the Alpha Channel, it changes into a plastic sheet. This sheet can be colored or parts or all of it can be clear. Without this, when you delete something it switches the color to white or your selected background color. This completely erases it and shows the layer under.
If you click on a layer and drag it, it’s like putting the sheet of paper (or clear plastic or whatever) under however many pieces you drag it under. You’re changing the order you see them, basically. If one layer is on the top, it will appear on the top. Layers can be used to lift parts of an image up, sometimes so that you can apply built-in GIMP effects to that layer or use brushes, erasers, etc on that layer only.
These rules also apply to text layers. Text layers are clear except for the physical text.
If you have a layer selected and you use an effect (I’ll get to this next) or a paintbrush/eraser, it only effects that layer.
Effects and Filters
Effects or Filters are built-in to GIMP and add things to your image that you wouldn’t be able to do easily without it. The one that I use most is in the Blur section. (Filters > Blur) It’s called Gaussian Blur, and it is the simplest blur. I used in the last post, and it evenly spreads, or blurs, the picture as far as you set the “blur radius.” The higher the radius, the more blurry and the farther the colors move outward. I used this in the last post for the glow effect because if you use this on solid colors (on their own layer) it gives the edges a fuzzy look.
Vignette and Gaussian Blur
You can use Gaussian Blur to do many effects, and combined with layering, the possibilities are endless. One idea is framing pictures around with black fuzzy edges to give a vignette feel. To do this, make a new transparent layer, and use a sizable paintbrush to draw black evenly around the edges. Then use the Gaussian Blur effect to make it less dense and to spread the color (or, really, absence of color) farther inward. Change the width of the paintbrush for the width and density of the edges, and change the blur radius to adjust how far the color goes inward. Also, if the blur radius is high enough, the blur starts getting thinner, so be sure to keep these two (paintbrush and blur radius) in check.
Foreground Focusing
Layers and Gaussian Blur can also be used to create a better foreground-background effect than layers do by themselves. It’s very simple. Select something in the foreground by using either the free select tool (lasso) where you have to mouse around where you select, the scissors select tool (scissors) where you click points and it finds the most reasonable (usually) connection between them, or the paths select tool (dotted line next to fountain pen) where you leave points and it connects straight lines between them. After you have selected the item in the foreground you want to stand out, go to Select > Float. Then in the layers tab on the side of your screen, right click the floating layer and click To New Layer. Make sure to move this layer to the top or wherever you want it to be. Go back to the background with the original image and use Gaussian Blur. You don’t have to use this with images in the foreground and background, you can also use text.
Opacity
Above the listed layers on the layers tab on the right side, there is a bar that says “Opacity.” This means how easily you can see through this. 0% means completely see-through, you can’t see through 100%. You can adjust opacity for a layer at a time, and sometimes this makes a good picture to cover up part of an image, but you can still see through. I’ve used this technique for some of the pictures to show you exactly what to click in these tutorials. (Example Picture)
Conclusion
I learned most of these techniques by playing around with filters and looking a couple things up (one of those being glow!) GIMP is really easy and fun to work with and layering really opens up your opportunities with it. If you want more help, or want something explained better, please, please comment!
How To: Make Your Blog Glow!
 So, in this post, I’m going to have a short tutorial about how you can start editing images with the GNU Image Manipulation Program, or GIMP, for short. I believe this only works for Windows. Sorry!
1. First, you’ll need to download GIMP. When you open it up, screen that looks like this or similar to this. P.S. We’ll be practicing “glowing” with a glowing P101 symbol! 😀
2. If it’s all separate windows and you want to combine them like shown above, navigate to one of the upper menus (File, Edit, Select, etc) and choose Windows ➜ Single-Window Mode. (Picture)
3. Now all the windows will be connected together. In my opinion, it’s easier to manage that way. But now, to make your first picture! Go to File ➜ New to make your first image. It will ask you what the dimensions you want are. For what we’re doing, you should make a 400 x 400 pixel image. (Picture)
4. Make sure those three values are correct. You should get a square white screen, which is perfect! This is your canvas. Go to this link then right click and press Copy image. (Picture)
5. Go back to GIMP and go to Edit ➜ Paste or press Ctrl + V on the keyboard to paste on the P101 symbol. It should be right in the center. (Picture)
6. This looks kind of bad, doesn’t it? Don’t worry, we’re not done. Go to the Layers tab on the right side of your screen, and right click the “Floating Selection.” Choose “To New Layer.” (Picture)
7. If you don’t know what “layers tab” I’m talking about on the right, do this. (Picture)
8. Then it will appear on the right side of your screen, and follow the instructions above. Now, since the P101 symbol is on its own layer, you can get rid of that ugly black part. Choose “Select By Color” on the left; (Picture)
9. Then click on the black, it will select it all. Press Delete on your keyboard and it will remove all of the ugly black stuff. Then go to Select ➜ None. Then go back to your handy Layers widget and right click the “Pasted Layer” then press “Alpha To Selection.” This will select all of the Pirate101 logo. (Picture)
10. Now, create a new layer by going to Layer ➜ New Layer. Name this layer “Glow.” Leave everything else how it is. (Picture)
11. After that, go to Select ➜ Grow, then increase the selection by 2. This is so the glow will go outside of the symbol. (Picture)
12. Then pick any color… (Picture)
13. …And use the fill tool to fill in the area you selected. (Fill tool found in top left toolbox.) Now use the Select ➜ None from step 9 and your picture should look like this. (Picture) If it doesn’t, go back and revise the other steps. We’re not done!
14. Go to Filters ➜ Blur ➜ Gaussian Blur and make sure the numbers are “linked”. (Picture) Fill them in with anything you want, the bigger the number, the bigger the glow. Here’s your end product! (File ➜ EXPORT)
Sorry about the white dots around the edges of the “P101”! I did not upload the original image. You can use this glow technique with almost anything! You can even use it with black to make it look like shadow. Have fun with it!
Pirate101 Abilities – Where To Train
Now we’ve all had a visit to the class trainers, but the question is, where should we train? Most Wizard101 veterans will say go for life. That would be Privateer, correct? But is that really the best choice? What about if we have ranged weapons? How should we train our points, and when? KingsIsle has done in my opinion a very good job of separating and balancing the Pirates’ classes. Some are more valuable to train, and some not. Some require a certain prerequisite, others not.
Many factors play into the training of new skills, powers, and abilities in Pirate101. Are you choosing the right abilities? Many arguable notices have been made for class training, and at the top of the list is, again, Privateer. Now why is this class so valuable to train?

The Privateer’s abilities have proven to be a must in most people’s opinions for any class. The healing can change a life-or-death situation, and people who haven’t experienced similar games are still picking healing over other powers and talents. They choose it so that they can save themselves and their companions when they’re on low health. Of course, who wouldn’t want to do that? So, Privateer secondary training is rated top #1.

The next class is where the choices split. Some people use this as their third class, and others their first, skipping Privateer. A Witchdoctor’s abilities can be very useful in combat. You learn minor damage and area spells, which can be casted from a distance. Also, Witchdoctors learn Jobu’s Breath, which is a very useful ability. A combination of these puts Witchdoctor at #2.
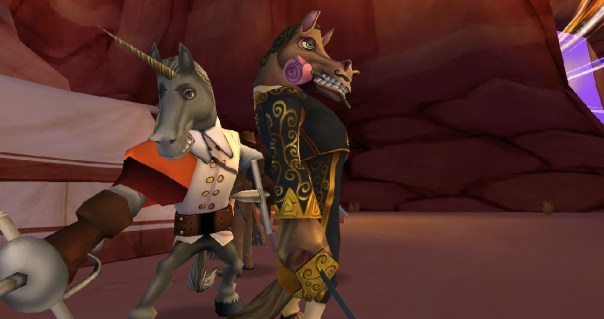
Swashbucklers’ and Buccaneers’ talents are pretty much tied. They are alright, and give you quite a few damage boosts, etc. Swashbuckler gives you the basics of finesse- Sneak Attack, Walk in Shadows, Hurl Knife, and some Swashbuckler talents. Buccaneers give you some stat boosts, damage boosts, and a few helpful talents that are only available there or from Morgan LaFitte. This comes in very close with Swashbuckler at #3 and Buccaneer at #4.

Sorry, Musketeers! The Musketeer secondary class is one of the least chosen, for a couple of reasons. A high majority of its talents only benefit Musketeers, as is with their abilities. One of the only reasons people would pick Musketeer for secondary (or third) class is for the talent Elusive. Elusive increases your dodge by at least 25(%) when your pirate’s health is below half. This leaves Musketeer at #5 for secondary classes. This doesn’t mean choosing Musketeer right off is bad!
Pirate101 Training Ranks:
- Privateer
- Witchdoctor
- Swashbuckler
- Buccaneer
- Musketeer
Pirate101 Ships- Advanced Tips
Now that you’ve got the basics down, I’m going to have a little guide here with everything else you need to know about ships! First off, you’ll need to know how to fight other ships. This was also explained in the tutorial, but this will help you get better. 😉

Ok. To start you off, to attack a ship sail up to it. If you don’t engage automatically, click on the ship and your cannons will begin to fire. If you’ve equipped ship equipment on your ship…

(Click My Ship Equipment) …then your ship will have Broadside Abilities to use in Broadside Combat. (This is, of course, when you’re firing cannons at another ship.)

If you’re not engaged in combat, the first two abilities will be greyed out. This is because they are Combat Abilities, and attack another ship. So common sense is, you can’t use it unless you’re in combat. Here are examples of Combat Abilities.

Now, these may be really confusing at first. The text at the bottom is what the ability does. The 2x and 1x don’t matter much, just remember that the 2x does more than 1x. The number next to the hourglass is how long you have to wait until you can use this ability again, or the Cooldown Time. Look at the second ability. The number in the top left corner is it’s accuracy. That’s how often it will hit the enemy ship. The first ability has two accuracies, one for long range and one for short range. If will have 75% accuracy when you’re far away from the ship, and will do 100% damage (top right corner). If you are close to the enemy ship it will have 90% accuracy and do 120% damage. Combat Abilities are determined by which Horn and Figurehead your ship has equipped.

These look similar, right? These are Neutral Abilities, and can be used at any time. These are determined by the Wheel and Sails of your ship. The healing abilities (Wheel) usually have a longer cooldown time and heal your ship a certain percentage. If my ship had 1,000 Hull Integrity, (if you don’t know what that is, read this), and I used the above ability, Healing Bolt, my ship would repair 200 health. What’s the second ability though? Sails’ abilities are usually speed boosting abilities, or dodge abilities. This is a dodge ability. When your ship “dodges” an attack misses. So this boosts your dodge by 12%, but only lasts nine seconds, which is half of the cooldown time.

Take into consideration the level of the ship you’re attacking. Sail with friends if you’re planning to attack ships that are higher than your level. It works best if they’re on their own ship. If the level of a ship you’re attacking is too high, and it’s getting out of hand, you can use Boost Fuel to flee from the combat.

Fuel is burned at about 10/second, so be sure to fill up at docks! It boosts your ship’s speed if you’re in a hurry to get somewhere, or need to get out of combat quickly. Press [Z] or click on the Boost Fuel icon to go extra fast.

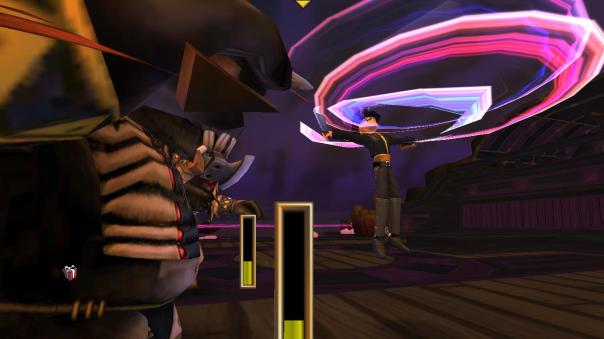
If your Hull Integrity turns yellow (at 50% health), or your enemy’s does, two crossed swords will appear above the ship. You can fly up and press [X] on their ship to board them, or they will attempt to board you. This will initiate Deckside Combat. This is where you fight a normal battle, but the setting is on a ship.

How To: Fly a Pirate Ship!

Fly a Pirate Ship!
…Or any ship at all, for that matter. This is explained briefly in the Tutorial, but read this if you still don’t understand. First, you need to quest and quest and quest until you’ve gotten your first ship, a Skull Island Raft (Extra Light).

…Which has a really pitiful name, I’m sorry to say. Mine is the Lanky Scow, since you can’t see it. If you know where to look, you can look at all of your ship stats. If you don’t know where to look, it’s in the bottom right corner… right over here.

Now what do all these numbers mean?! It’s pretty simple. The big blue globe is your Hull Integrity, or ship health. When you’re attacked, this will go down. But hey, I’m getting ahead of myself. Above your health is your speed bar. It will tell you how fast your ship is moving. Press the Up-Arrow to go faster. Press the Down-Arrow to go slower. Press the Left- and Right-Arrows to steer. Be warned, you can’t go backwards! Also, you can’t stop completely without dropping anchor or docking. To let down the anchors, press your [Spacebar]. To dock, go to a floating island that has some sign of civilization. When you get there, this will show at the bottom of your screen.

That is, of course, with the location you’re docking at. When you press [X], your screen will load and you’ll be on your ship at the docks. Now what? How do I get onto the docks? When you see this icon on your ship, walk over and press [X].

Congratulations! Now that you’ve done whatever you need to do, how do you get back on the ship?

You’ll see the same symbol to get back on, right next to your ship’s flag. When you press [X] next to it, you’ll teleport right up to your ship, by the sailing station.

Press [X] by it to start sailing! These are the basics of sailing, keep on the lookout for an advanced sailing guide!