Category Archives: Fighting
")
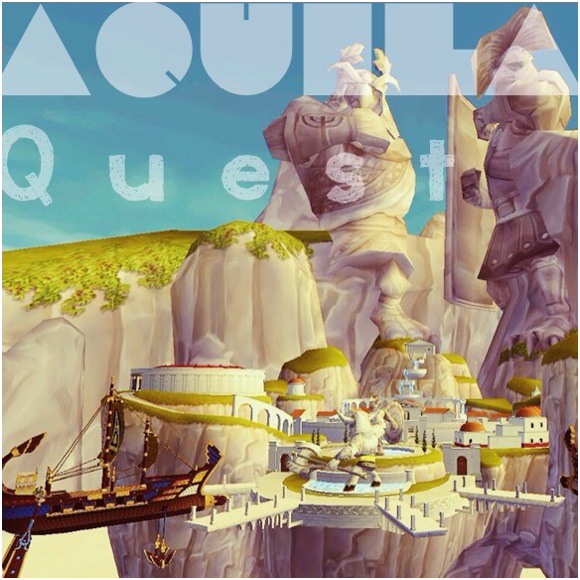
Aquila Quest (Pt 1: Sato’s Sunglasses)
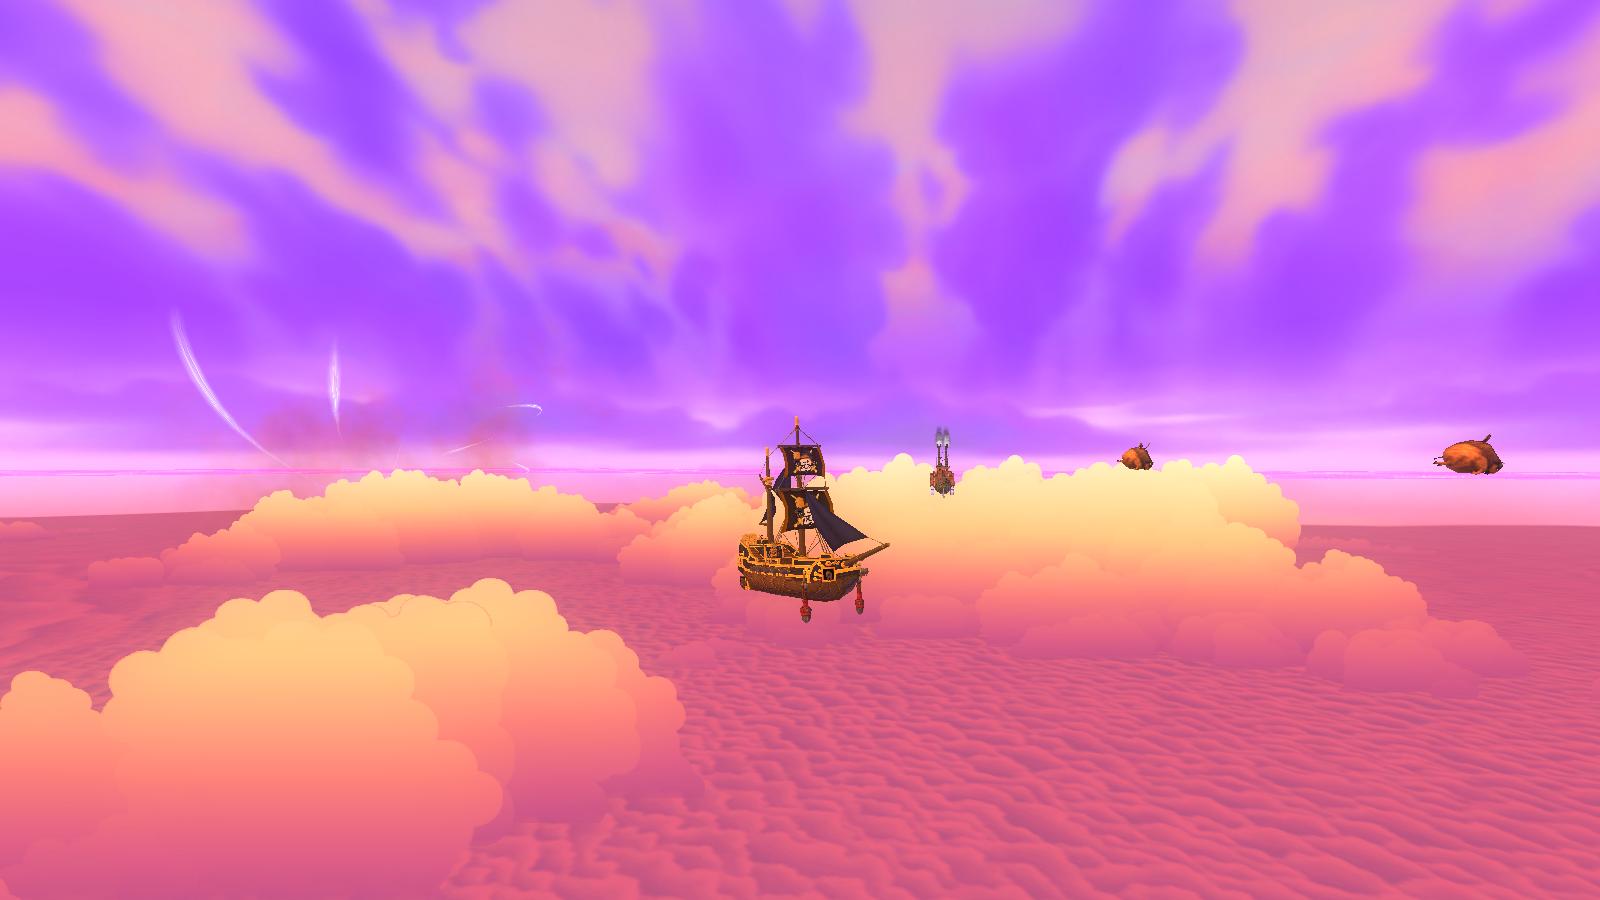
My new questing series! This will include my quests through books 13 and 14- Marleybone and Aquila. After I got out of MooShu (see Journey to Marleybone if you aren’t sure what I’m talking about), my first quest was to go to Port Regal to get the windstone to Marleybone.
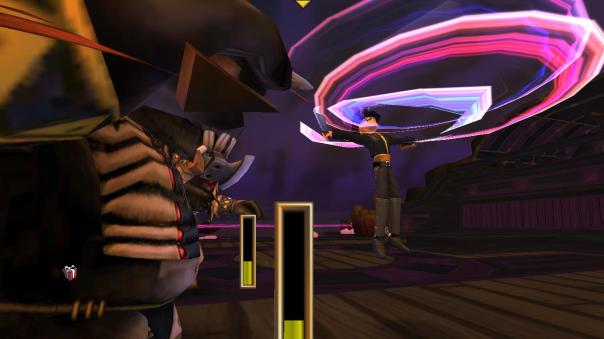
After that I went to MooShu again so I could get the paper permits from the Marleybonian Embassy in Hamamitsu Gardens (by the Marleybone stormgate). To do this I needed Moolong tea, whose only source was apparently from the Yakooza. Egg Foo Yung, the leader told me that I needed to find Sato and stop him, then he would give me the tea. Of course, this was at the end of a 3 hour dungeon!
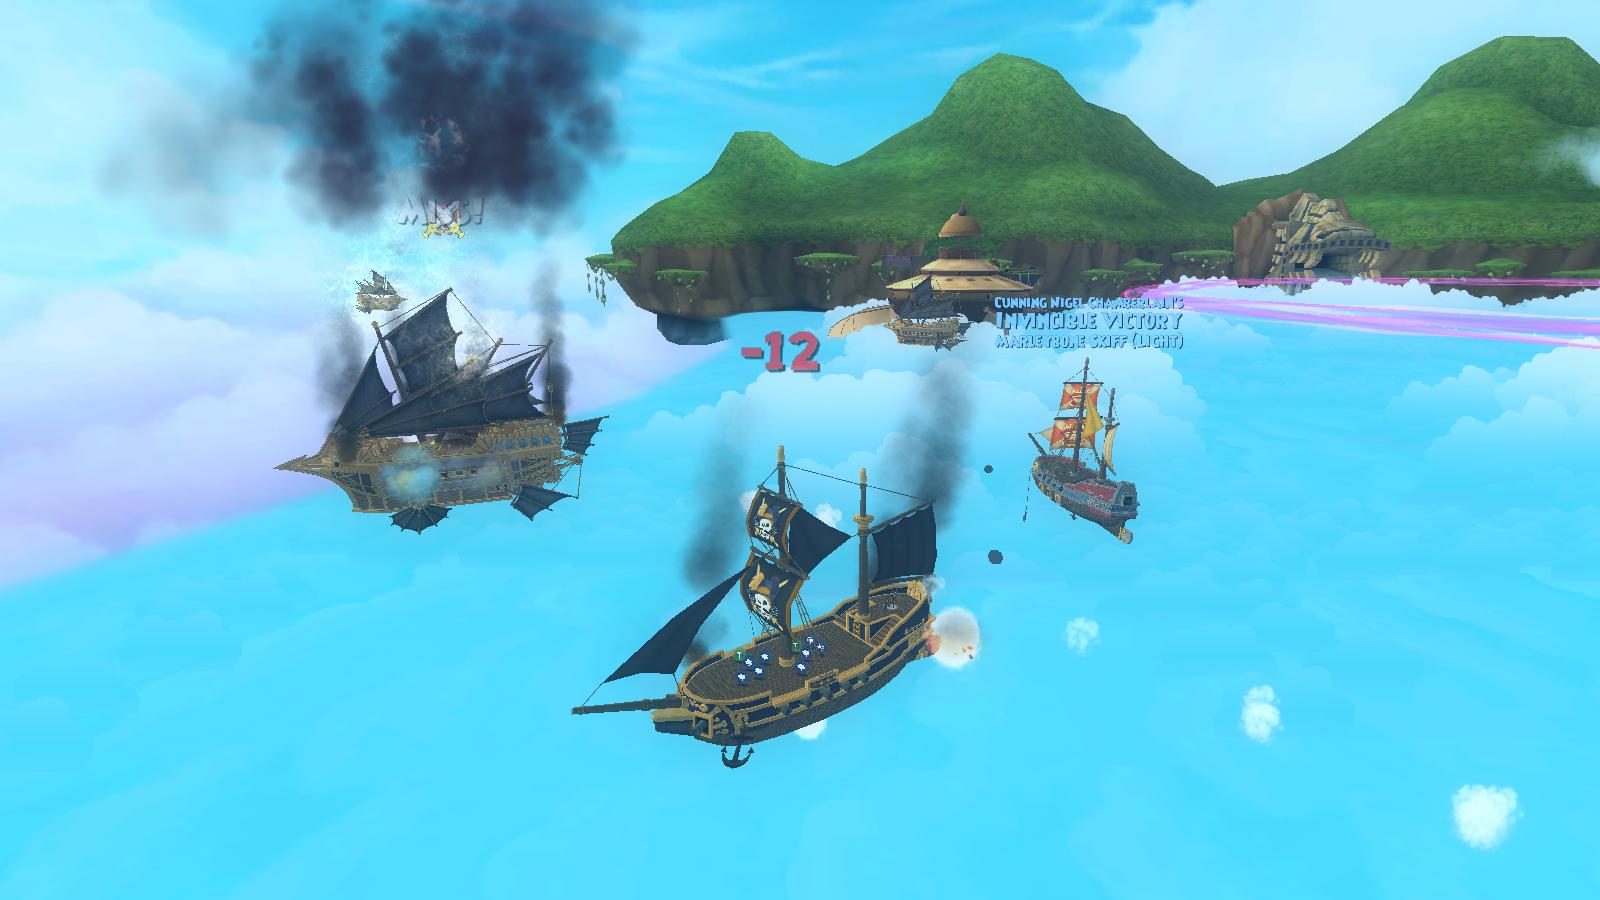
Whenever you attack Sato (until he is at about 1/3 health) he uses the Witchdoctor ability Shadow Step and teleports to a random square on the battle board, which makes him very tedious to fight. After you get him down, you have a chance at winning the Black Rain Shades, though (which I was not lucky enough to get, this time). After I defeated Sato I went back to Egg Foo Yung for the tea. I have to admit, it didn’t seem worth the work. I went back to the Marleybonian Embassy to get my papers to go to Marleybone and entered the stormgate. I was given a warning by the Marleybonian Ambassador about the war and boy, was she right! You come out right into a lot of Armada Skiffs and some cool NPC pirate ships.
My first task? The Isle of Dogs. To be continued in Aquila Quest (Part 2: Uncanny Incarceration)
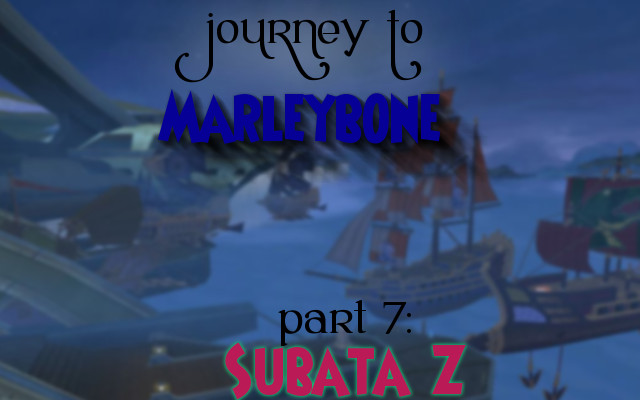
Journey to Marleybone (Pt 7: Subata Z)
After I “dinged” level 45, I was on a roll! After defeating General Tso (or actually forcing him to surrender after defeating someone else after he ran away and after I had a short meeting with Rooke and after threatening his pet chicken so he would surrender— Long story) I finished Khotan Skyway! Next thing I knew, I was watching another puppet show about how I would translate the piece of the map that Rooke had taken from Tso who had bought it from Egg Foo Yung— another long story. Credits to The Deathshard on YouTube!
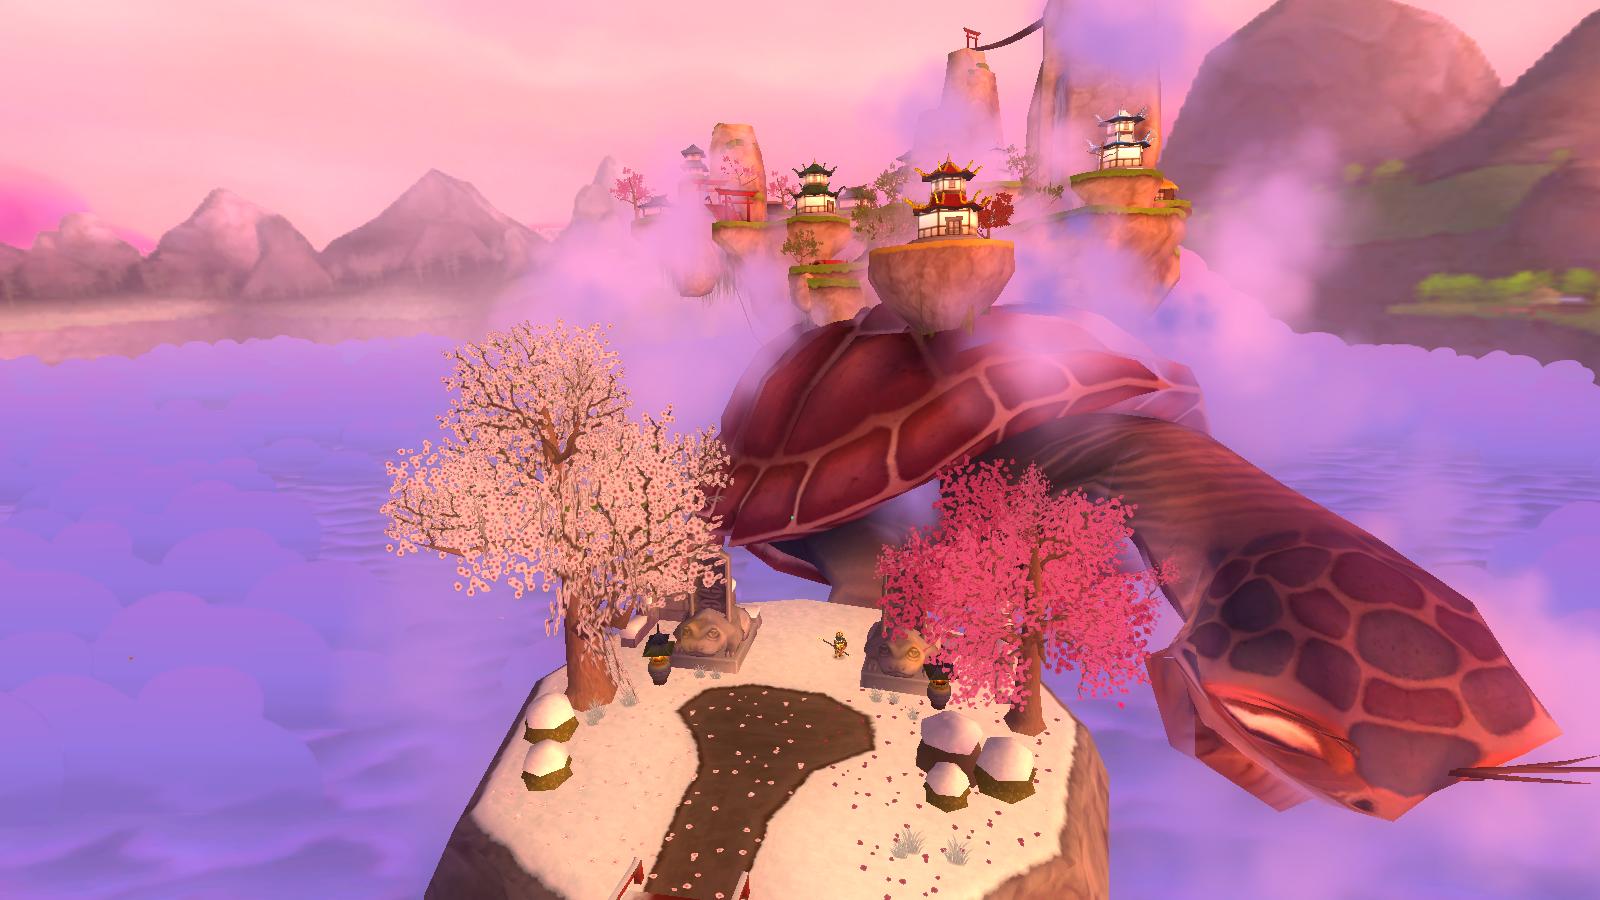
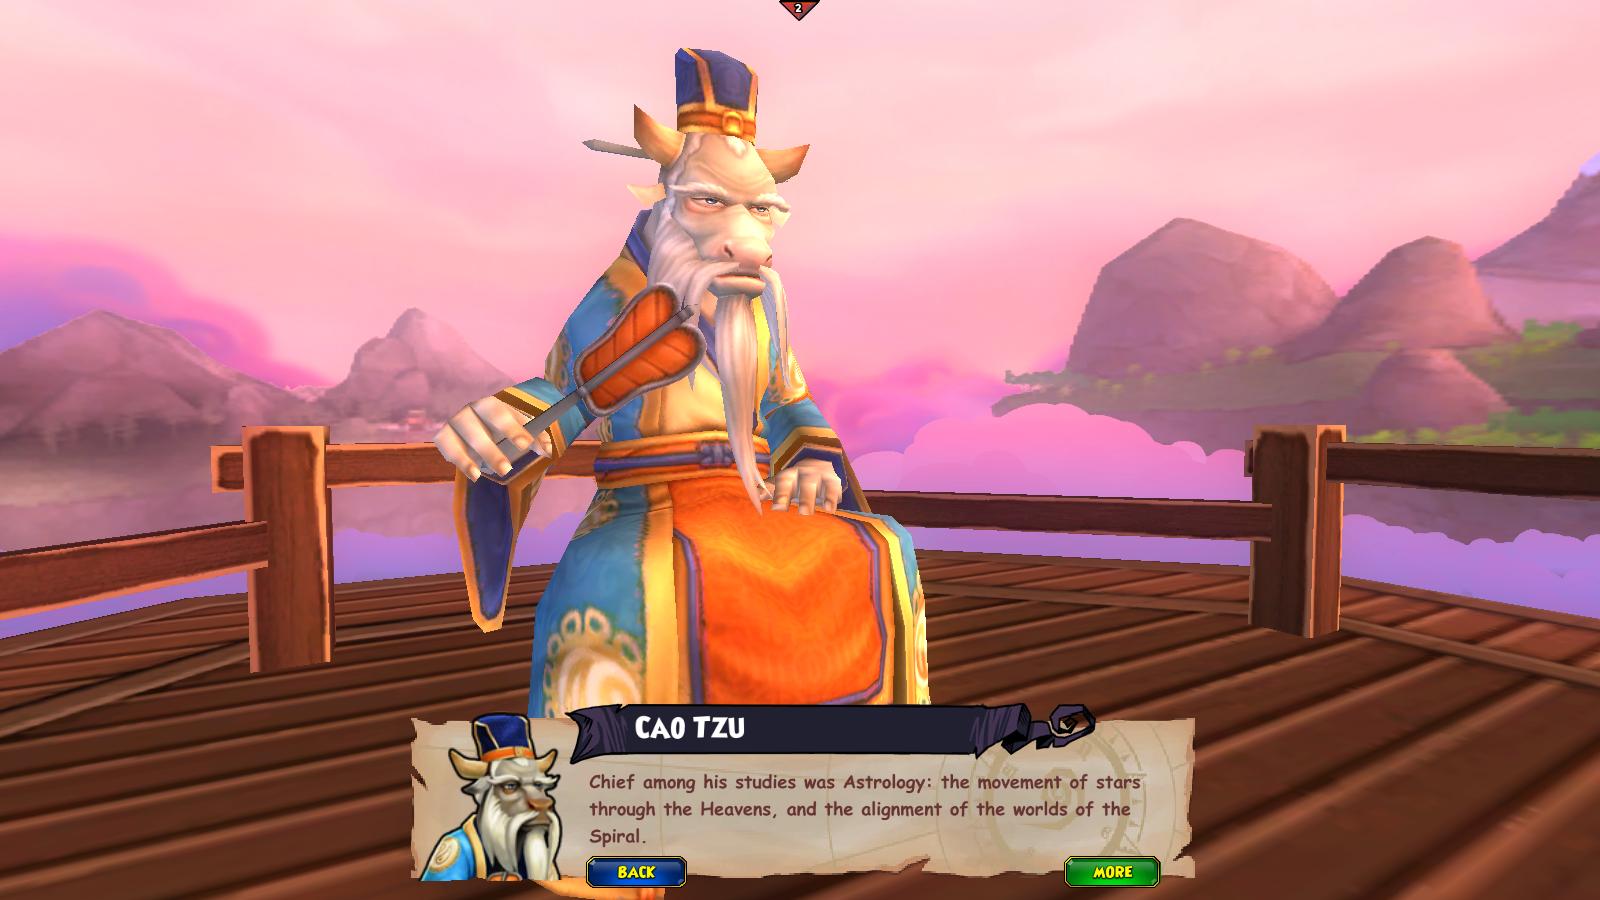
I like how they used Caoism and already had Moodha … But maybe that’s just me. 😉 It also fits with the culture this is based on- KI good job! To talk to Cao Tzu who can translate it, I would have to get to Marazume Castle which is on a giant turtle. (Great.) To summon it, I have to get 5 turtle balls, turtle ball 1, 2, 3, 4, and Z. Shunzang directed me to the first one: Monkey King.
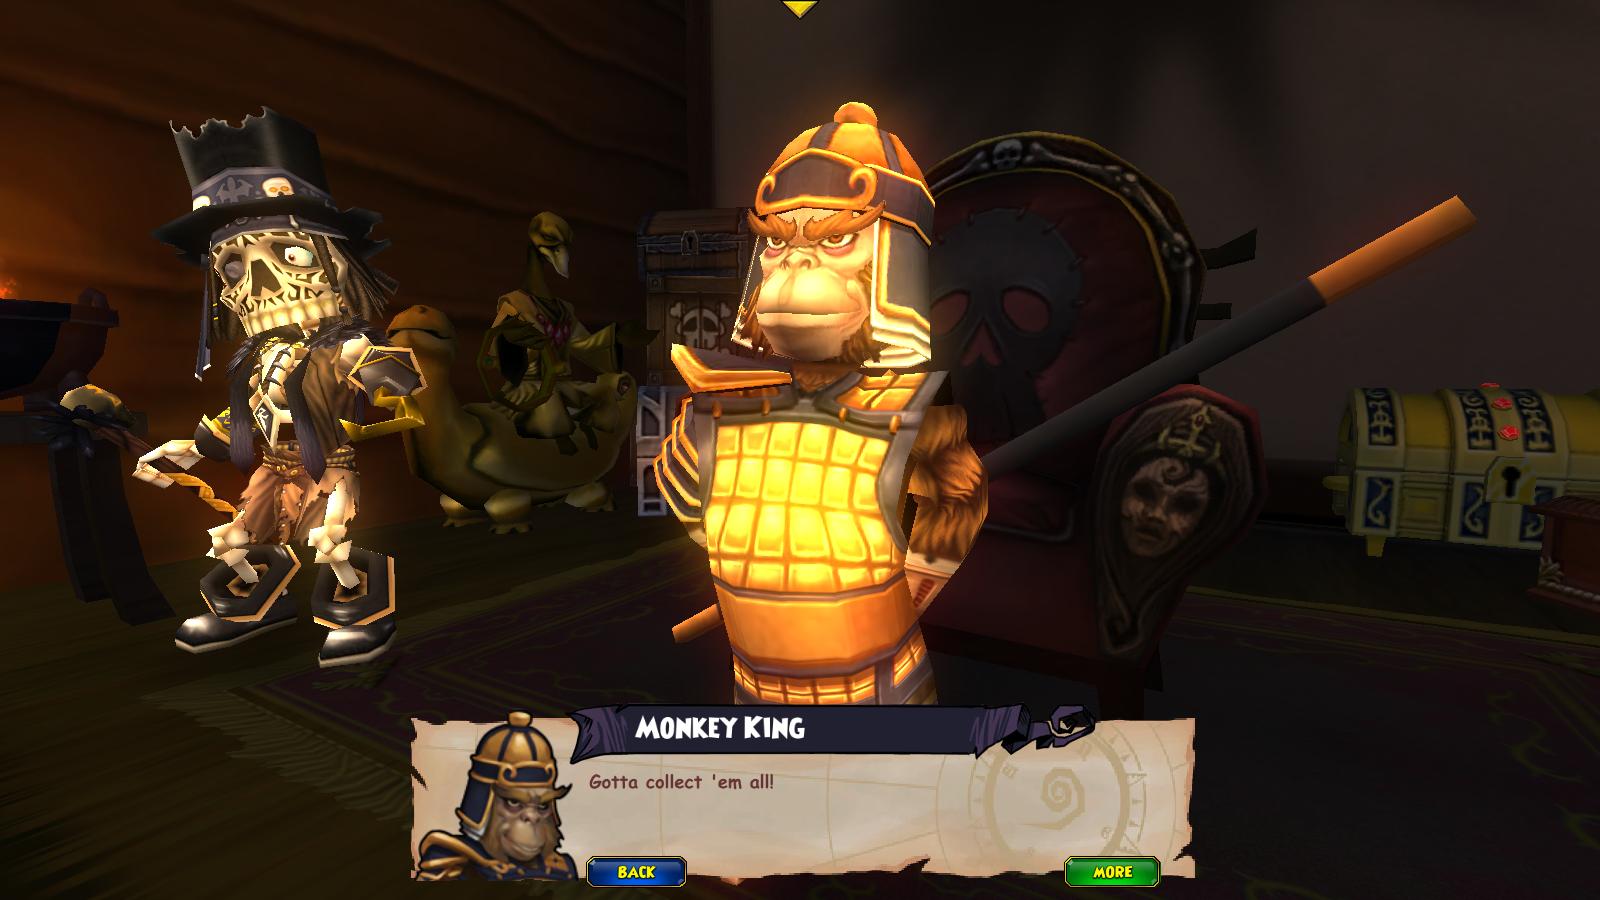
To get him (eventually as a companion) I have to do a couple favors for him like getting his golden stick, then fight off his doppelgangers. The next turtleball was from Pigsy. After that was Friar Sand, who you fought after getting a Pearl of Winter to freeze the water below him- Friar Sand is immune above water. He has really good drops too, I’m definitely going back to farm him. Next was Dragon Prince, who I also had to do a few favors for… and the last was Shunzang. He required Moolong tea, which of course was from the Yakooza who wanted me to do a 3 hour dungeon… But anyway after I got that I had all the turtleballs and it was time to summon the Great Turtle.
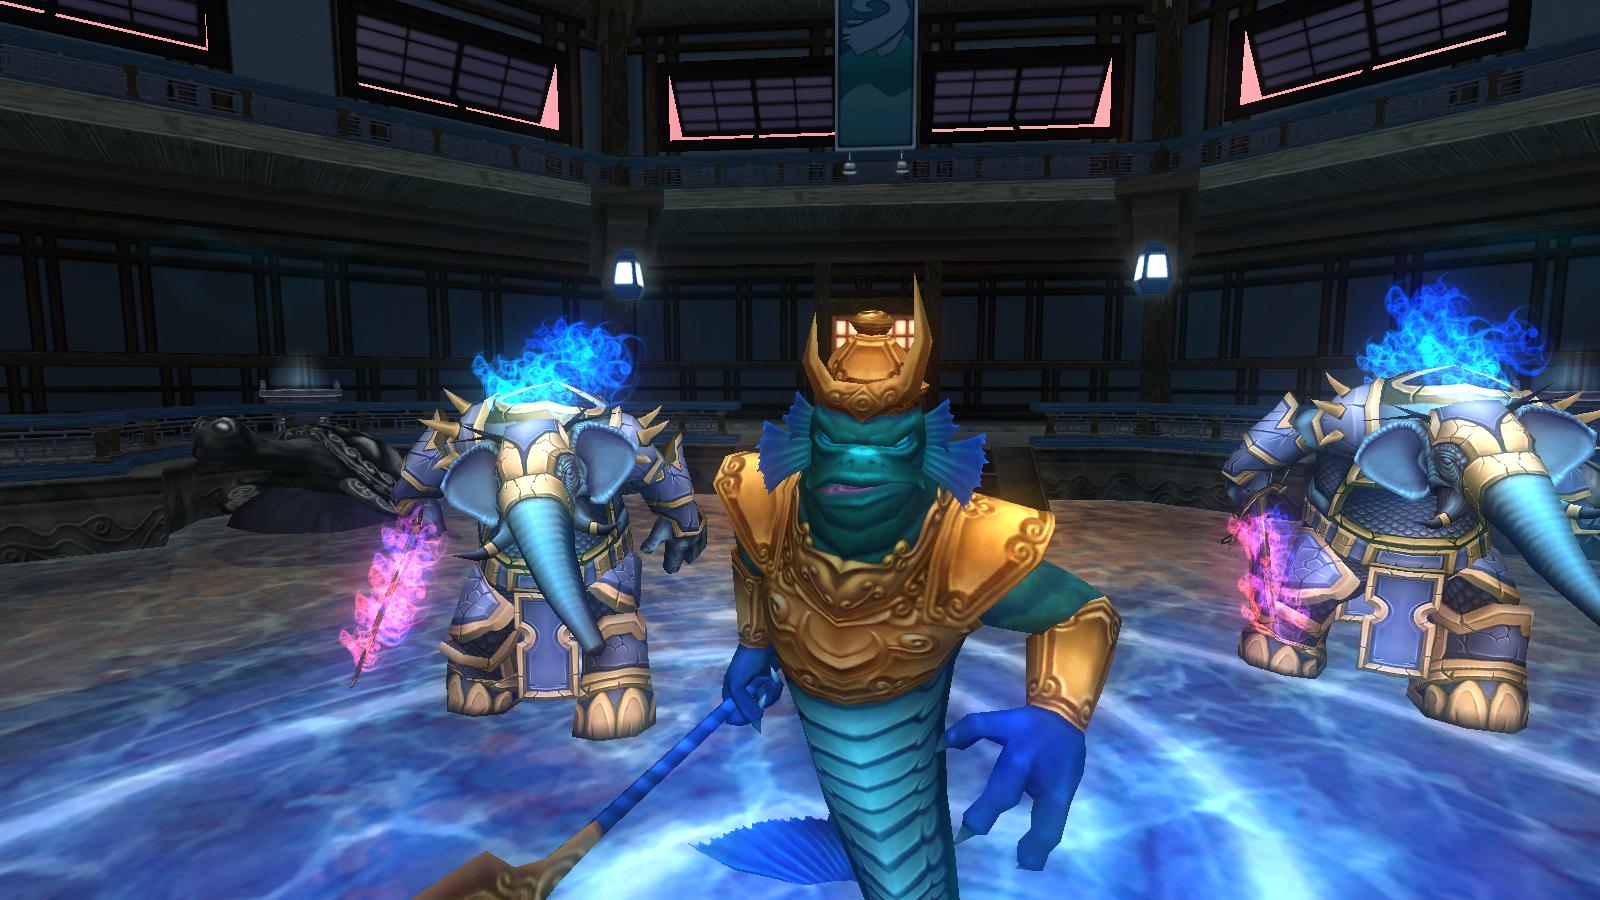
In Marazume castle I had to fight 5 guardians to prove I was worthy for Cao Tzu: Wood, Fire, Earth, Metal, and Water.
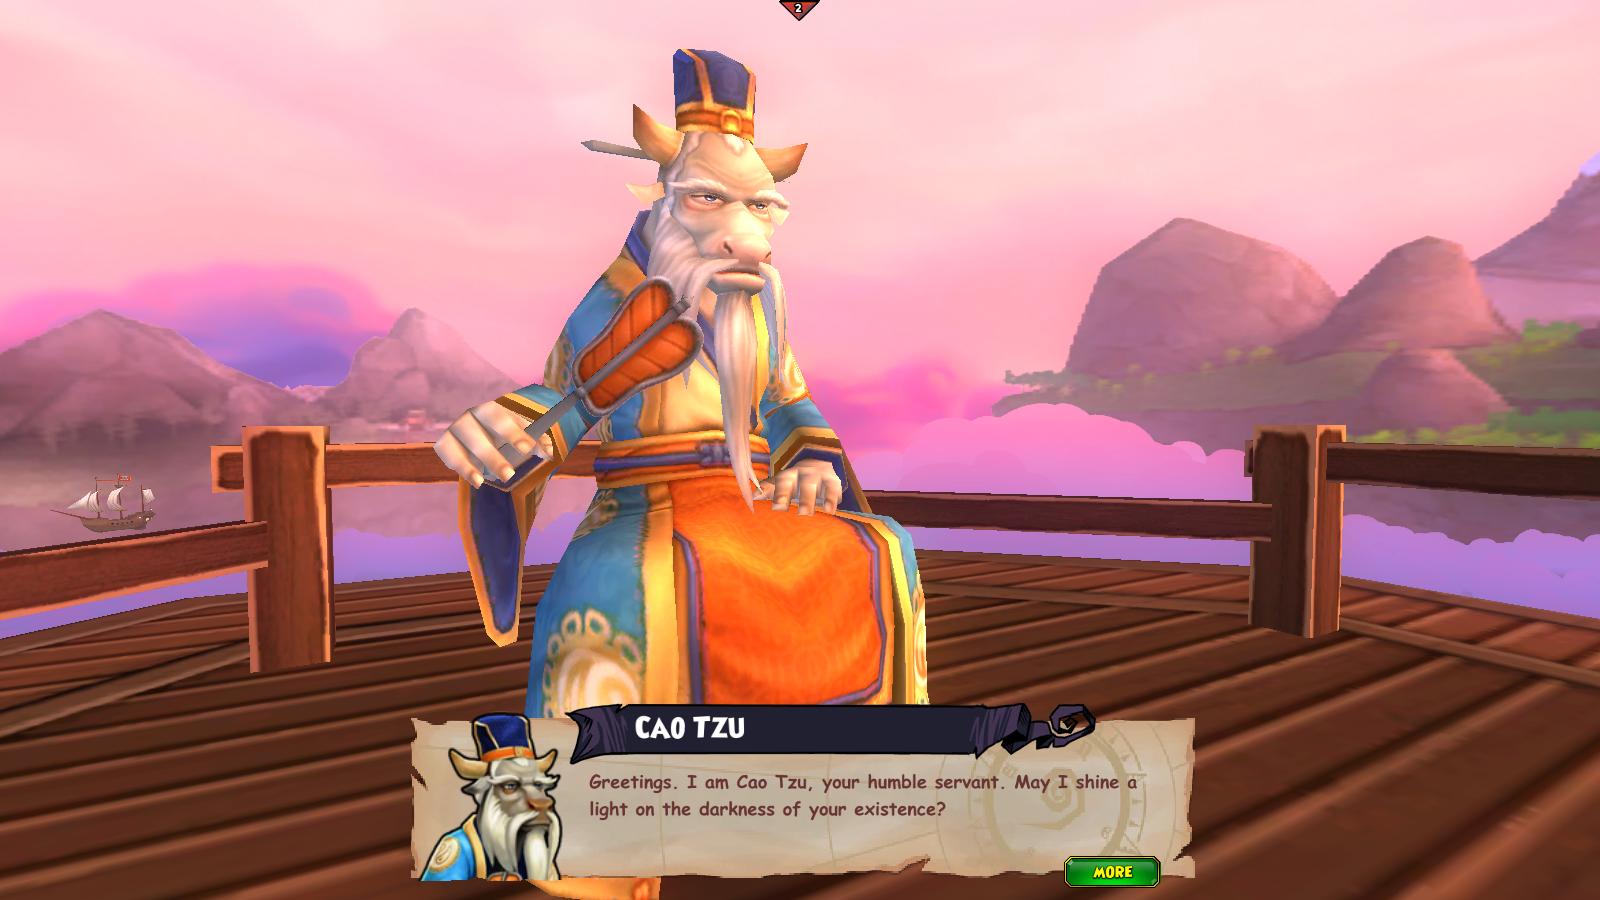
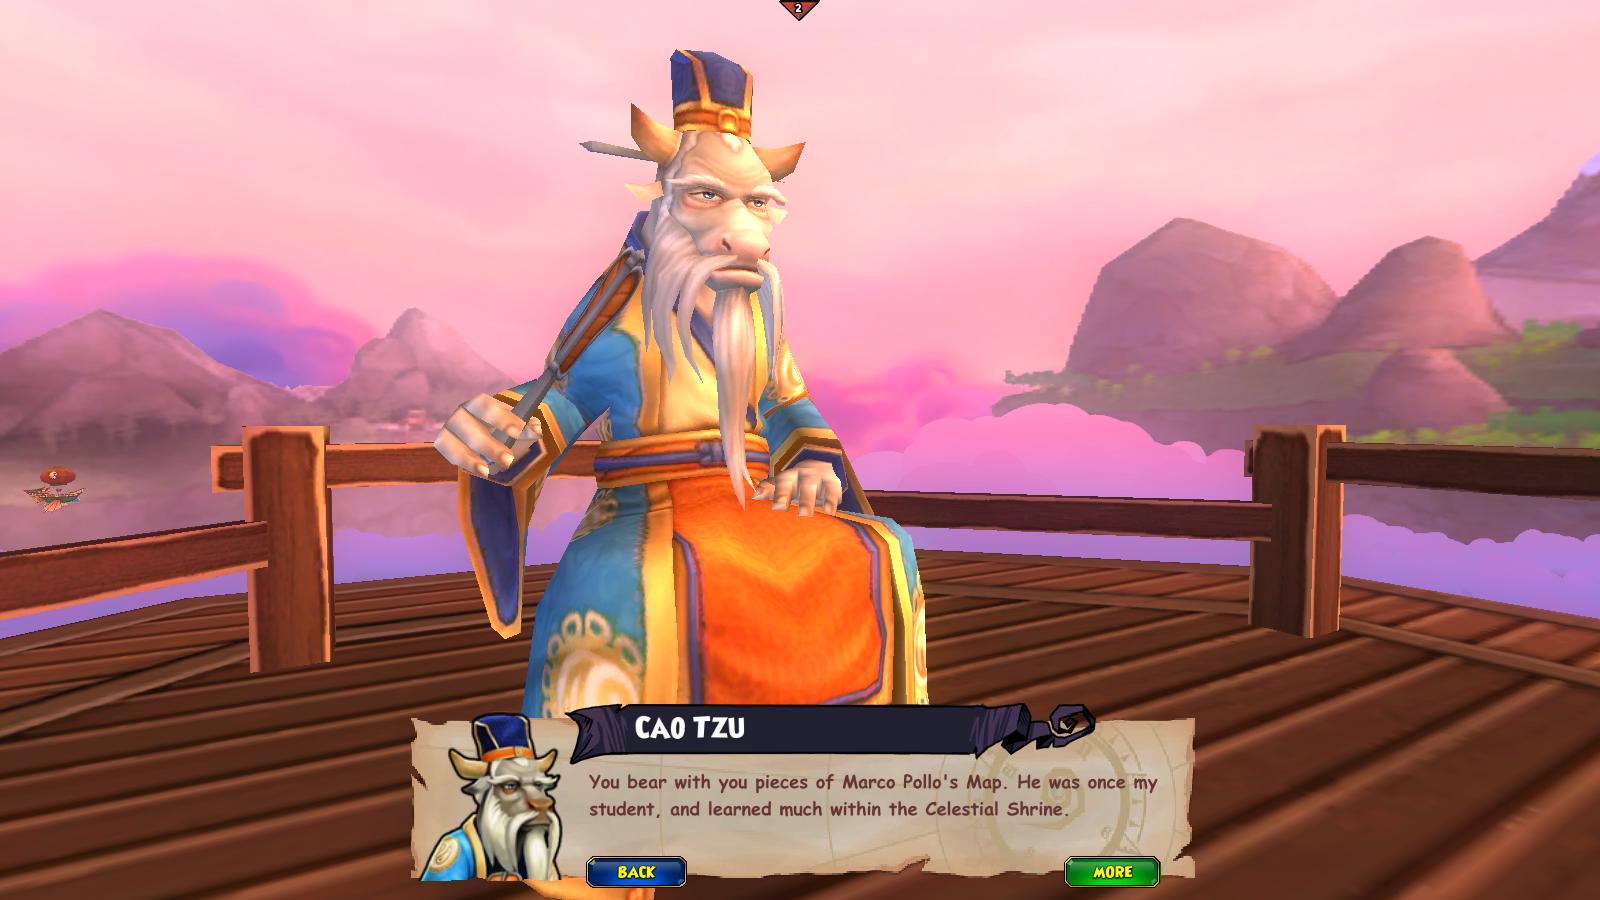
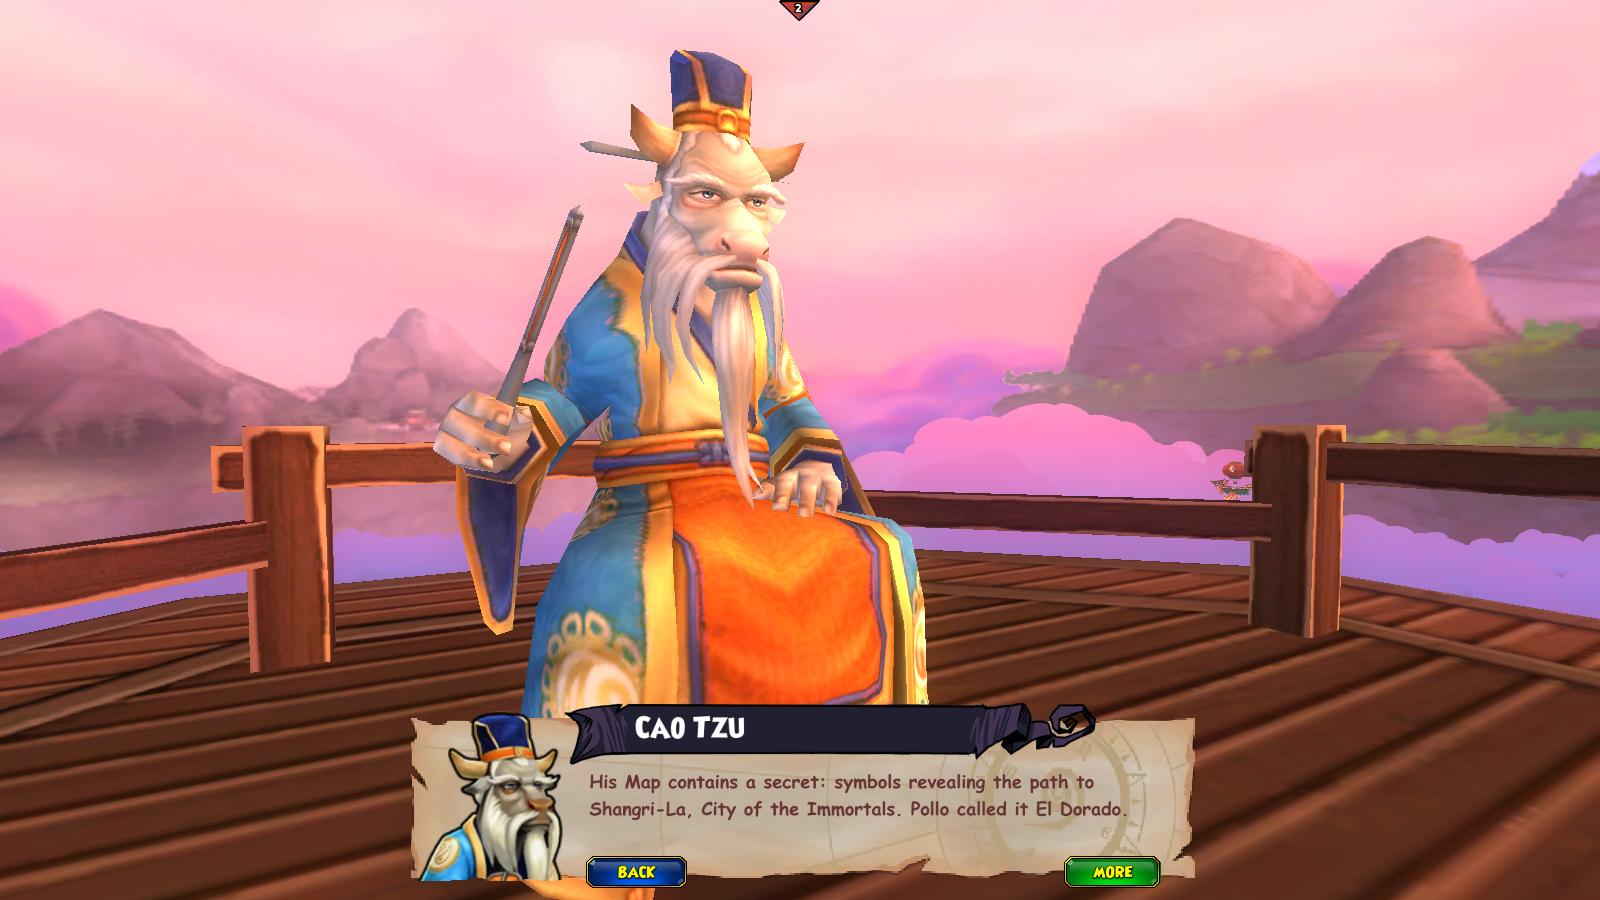
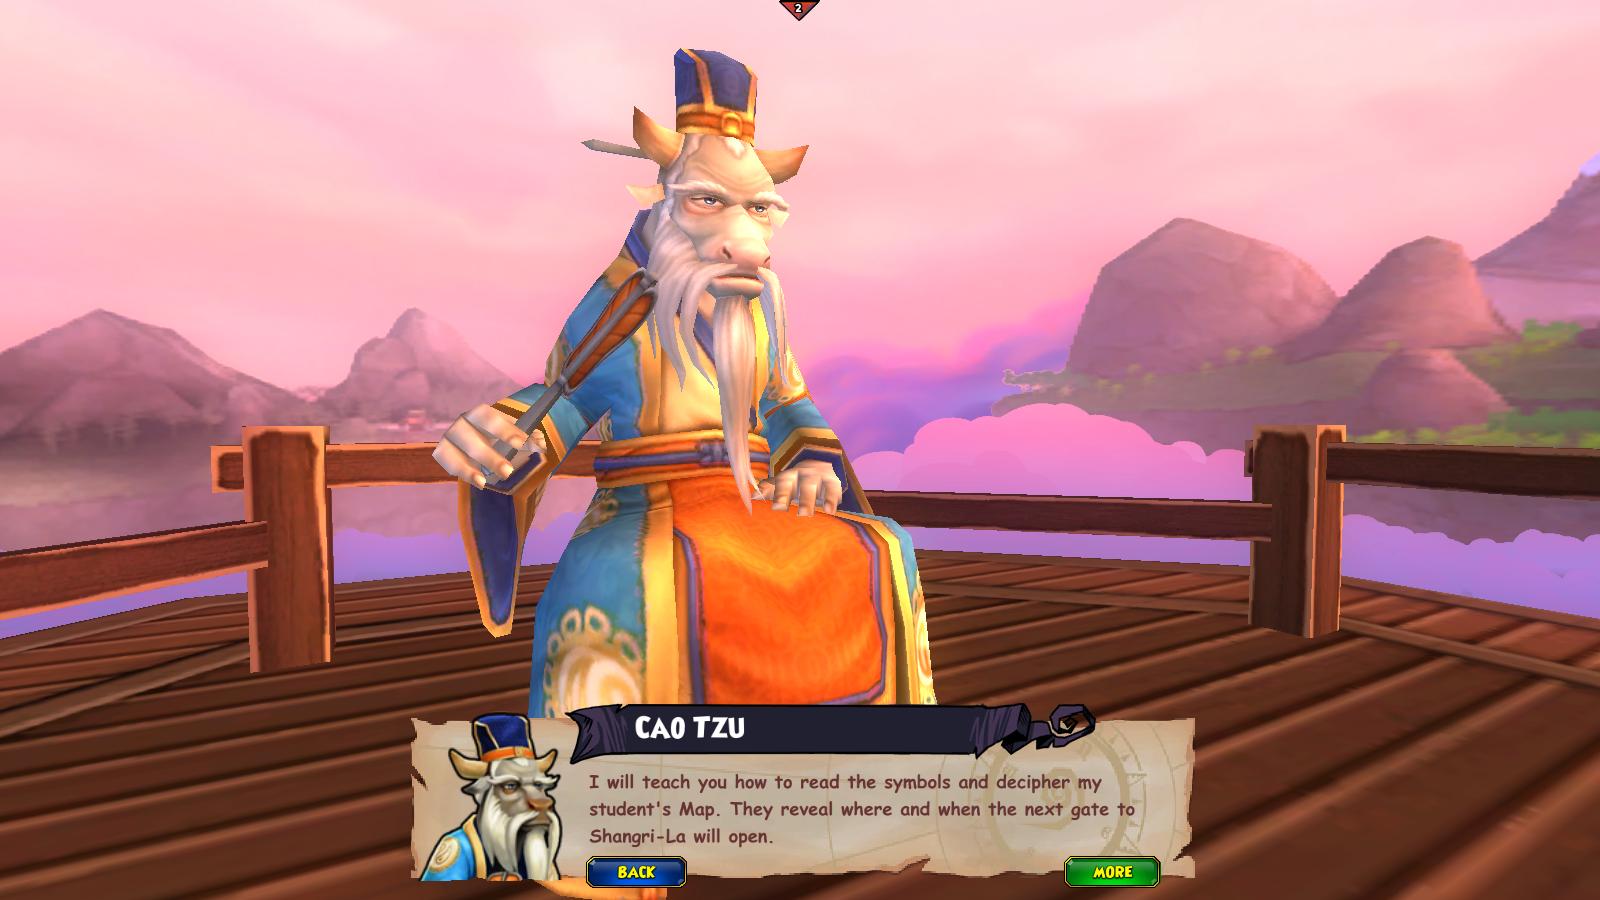
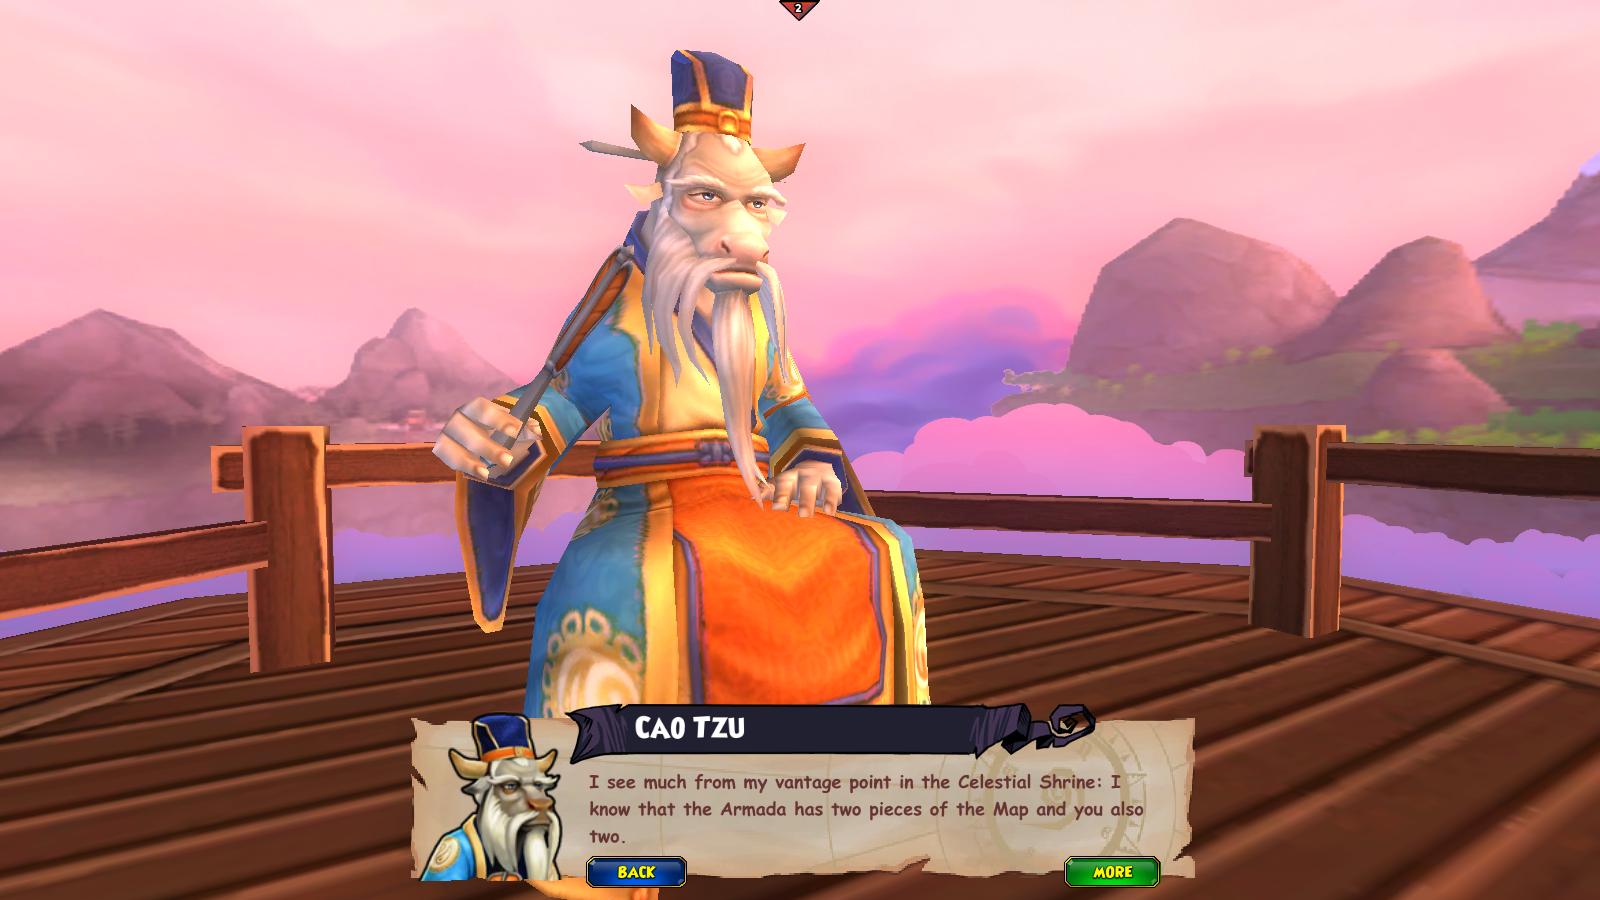
And after that, I finally got to talk to the sage Cao Tzu, finishing my work in MooShu! (rhyme not intended 😉 ) Spoilers ahead: if you don’t want to know the end of MooShu don’t read the dialogue below.


That has completed my “Journey to Marleybone” journey! See you later!
Journey to Marleybone (Pt 6: Meddling in MooShu)
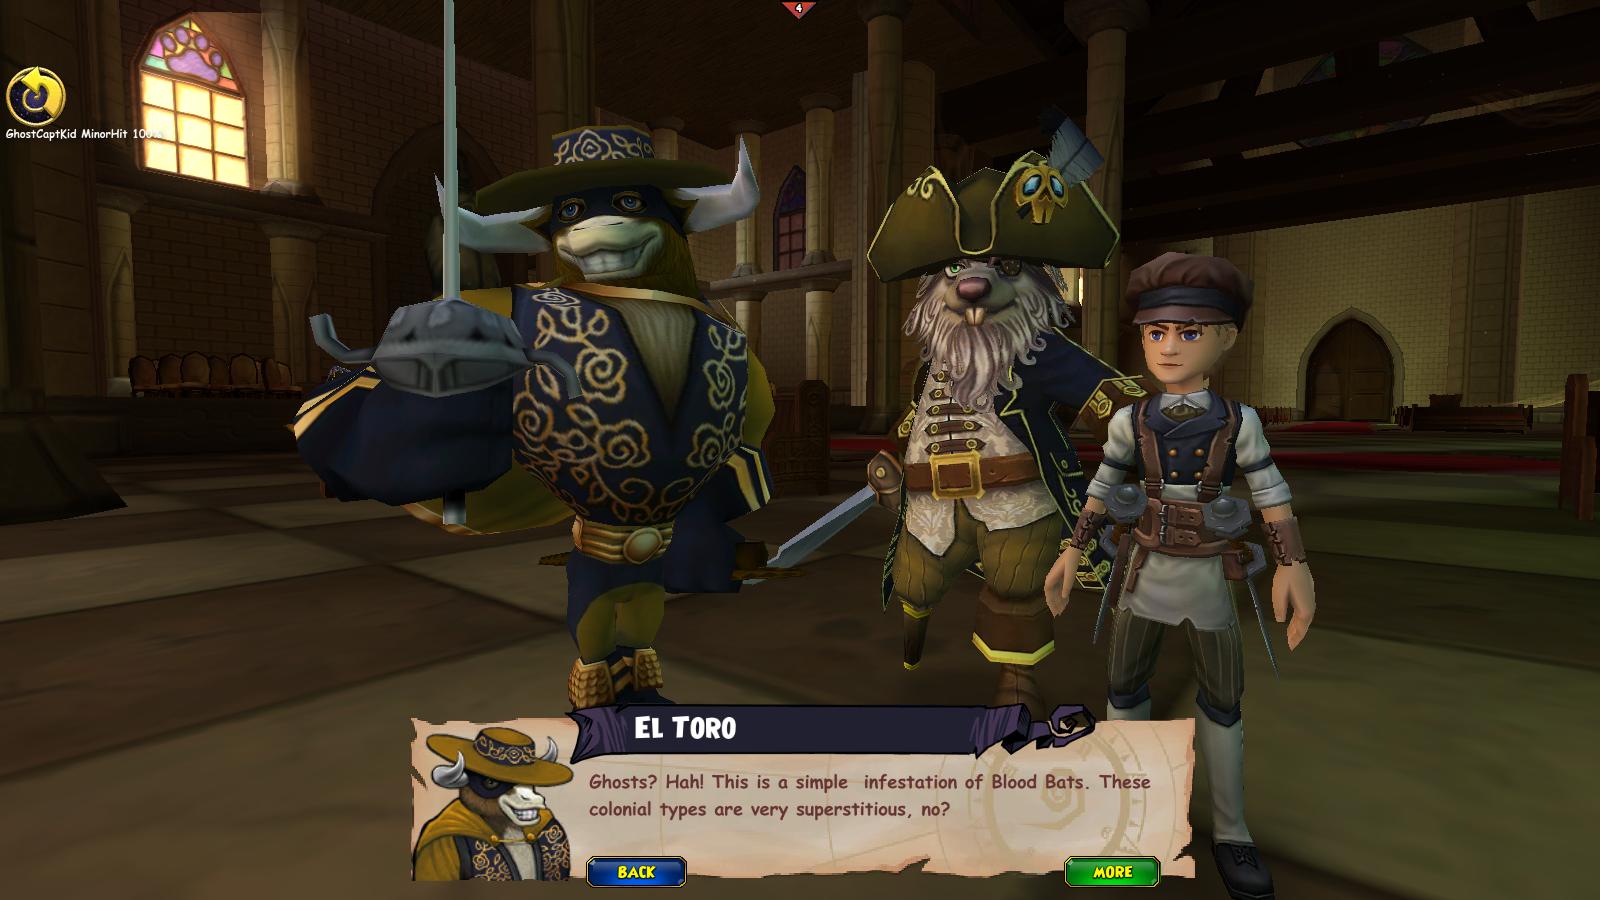
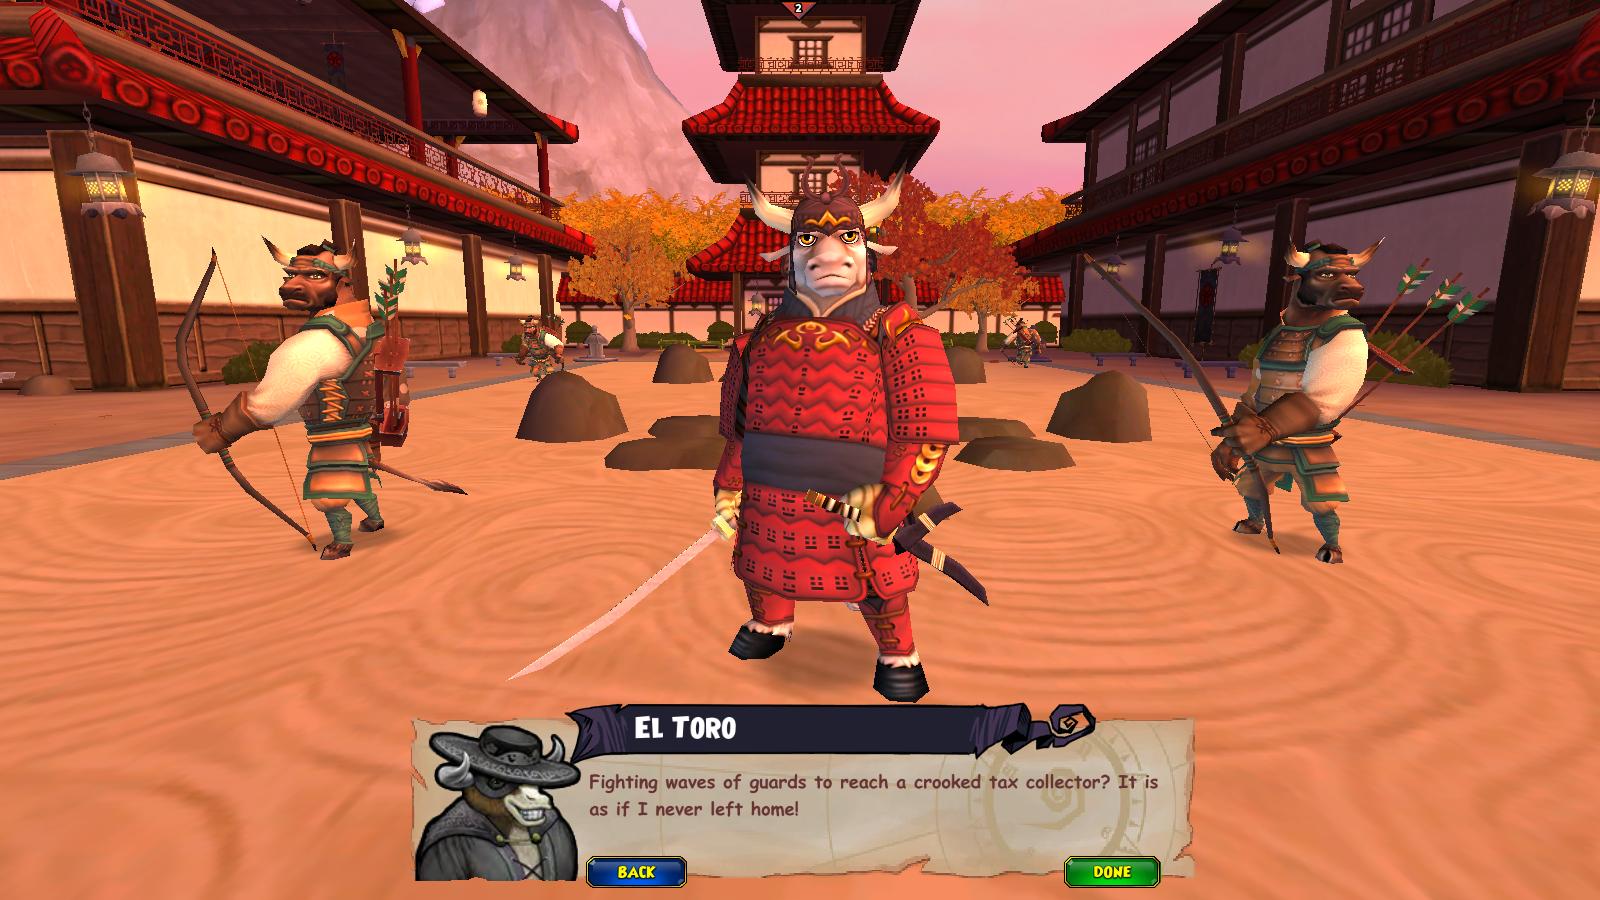
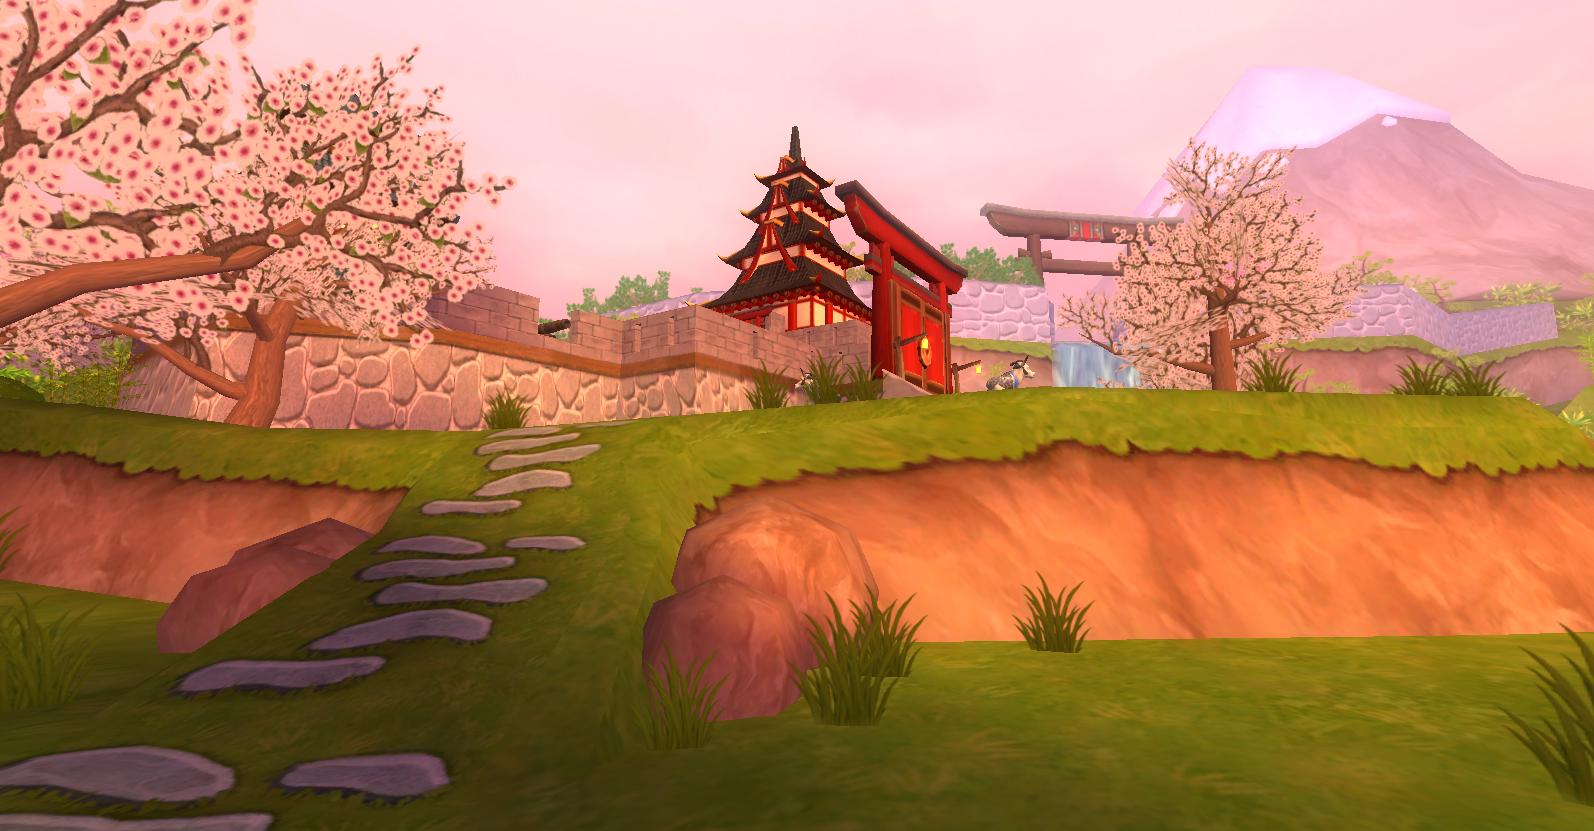
Now, it’s time to go to MooShu! From what Avery told me, I know that Egg Foo Yung, the next person who has a piece of the map, was imprisoned by the Yakooza. I was sent to Hammamitsu Garden, the only place where you can go as a visitor. I had to please lots of people before being smuggled through the seas in a barrel (yes it was awkward) to help the Yakooza before they help me. Lots of work. The first task was to help the Yakooza in a village where the innocent people were getting taxed very unfairly. El Toro had a very funny line about it being the same as Santo Pollo.
After I finished that, there was a bunch of helping the Yakooza that I forgot to take screenshots of. Whoops… Well what happened was I was trying to help the Yakooza trust me so that they would let Egg Foo Yung talk to me (since he has the map.) Once I finally talked to him he wanted me to fight Doctor Noh because Wan Mo was killed by the ninja pigs who worked for Doctor Noh, apparently. The next person on the Ninja Pigs list was a friend, the mayor of a village that I had helped. The next thing that I had to do was fight Doctor Noh to stop him, which made Egg Foo Yung tell me he didn’t have the map anymore. Now I have to fight General Tso because he has the map… in a 2 hour dungeon!
To be continued in Journey to Marleybone (Part 7: Subata Z)!
Journey to Marleybone (Pt. 5: Dead Man’s Hand)
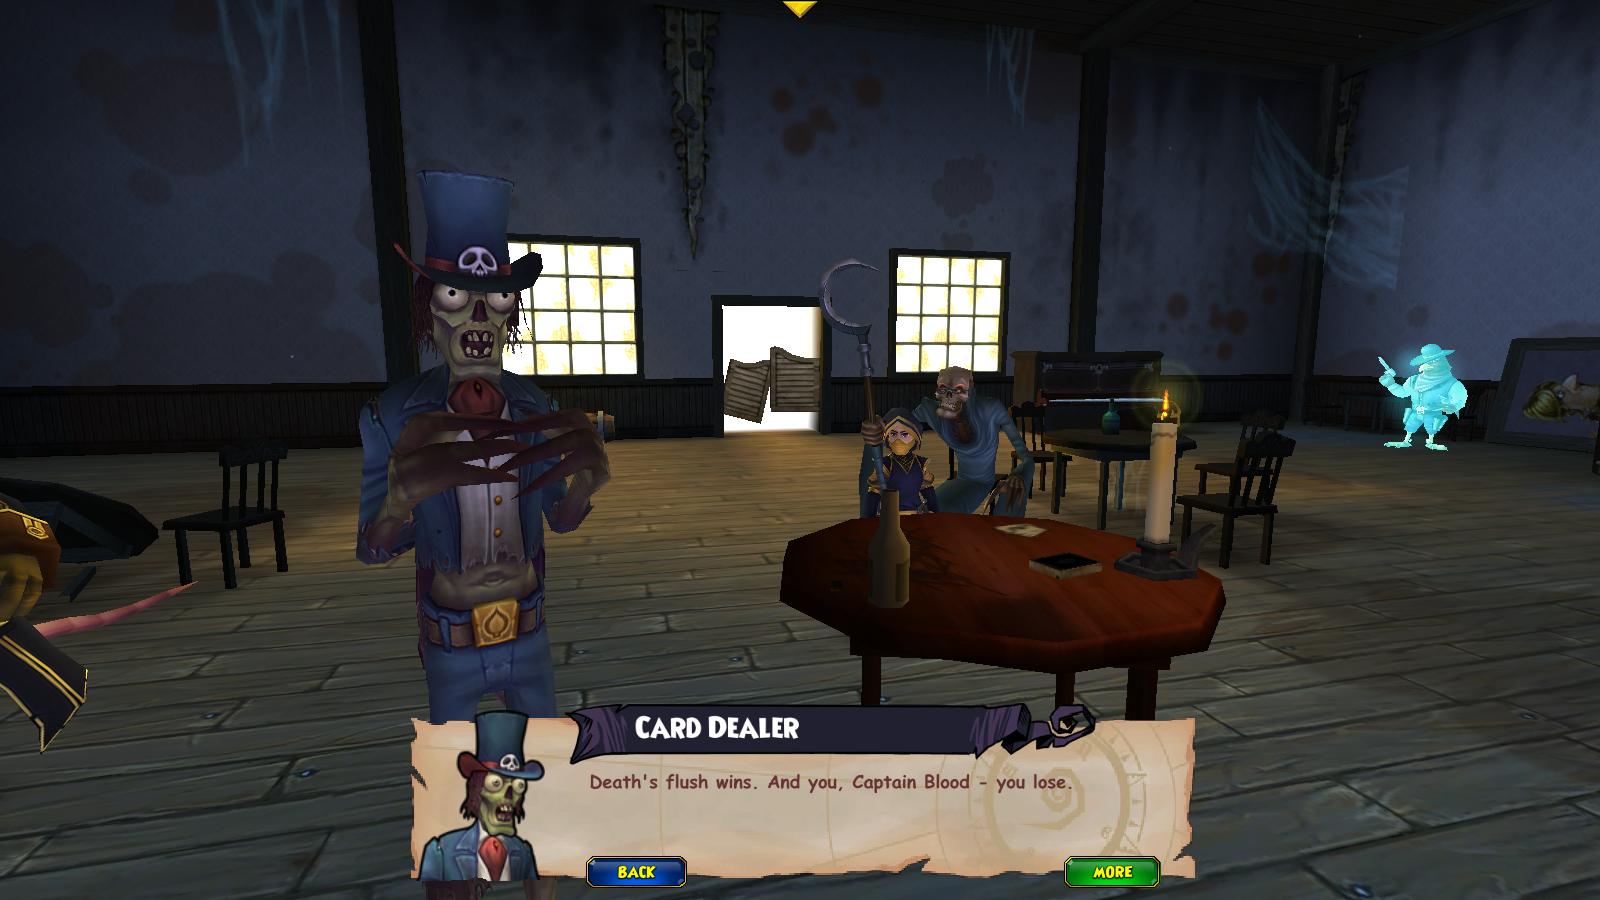
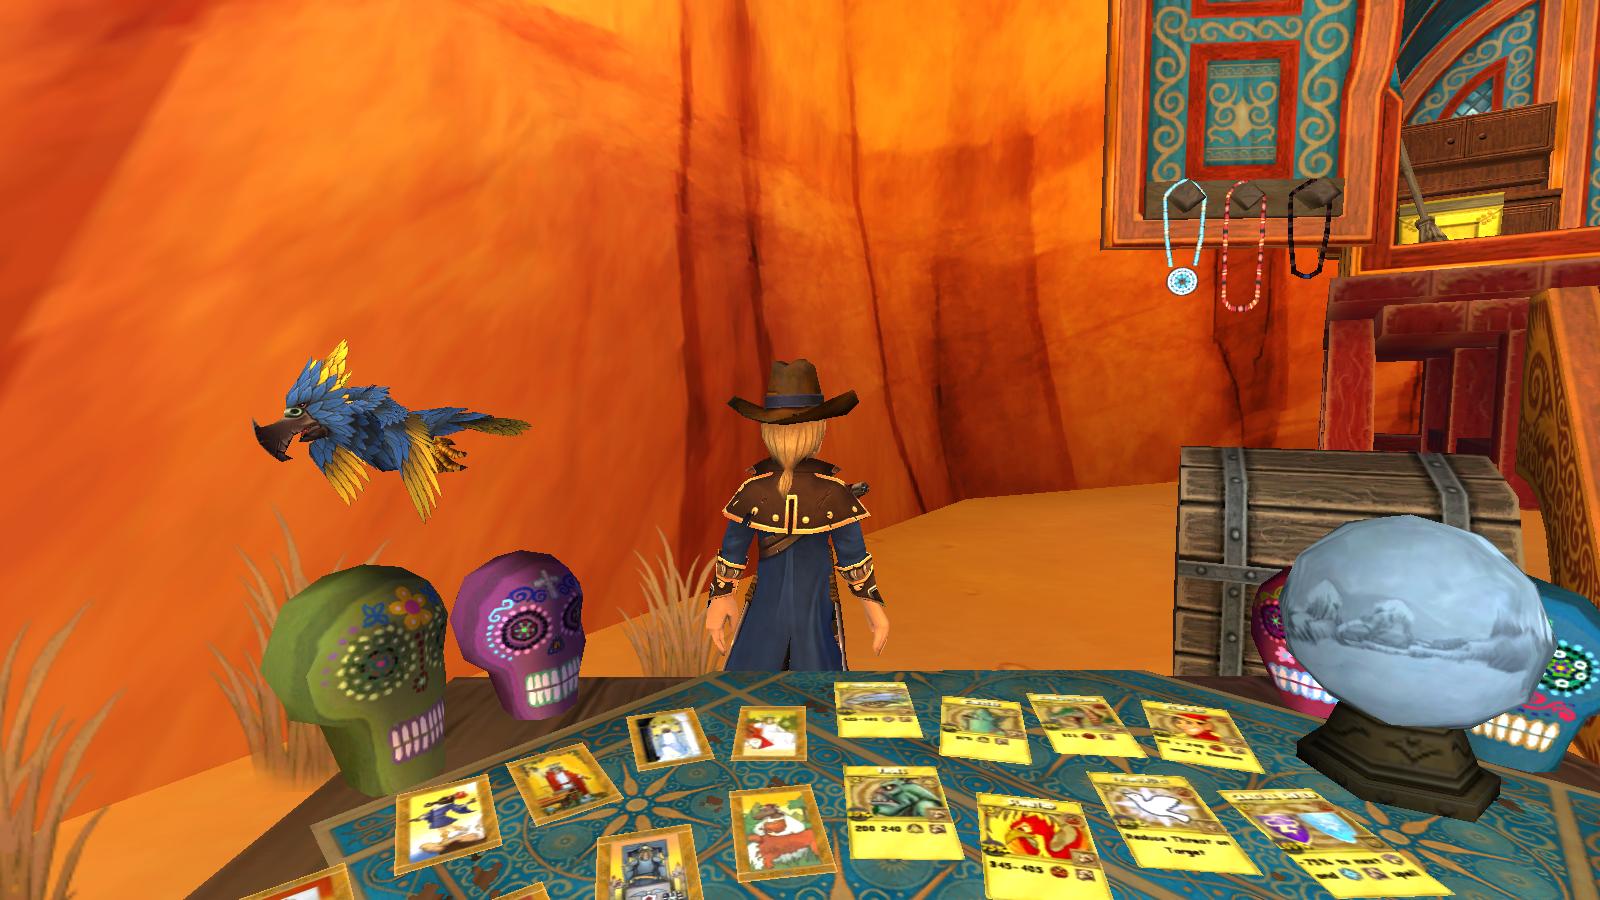
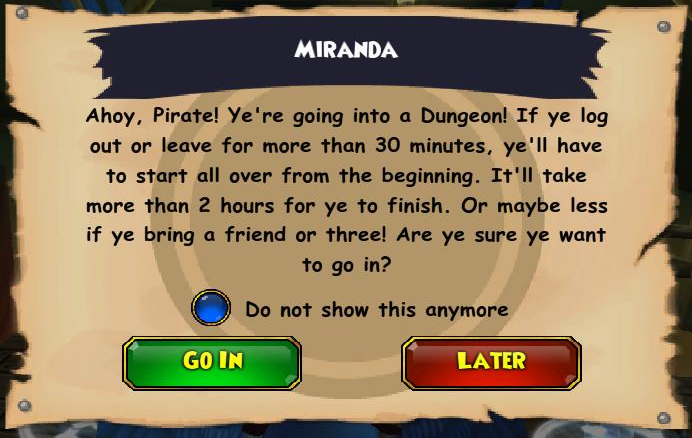
This is another Journey to Marleybone post! If you haven’t read one of these before, click here to view the archives of posts that are tagged with “journey to marleybone”! Where I left off, I was about to enter the haunted town of Miranda. It wasn’t that bad, I have to admit. All you have to do is avoid as many battles as possible. You have to fight a lot of undead, and go back and forth between the saloon (where the card dealer was) and other assorted places (collecting the cards scattered around Miranda.)
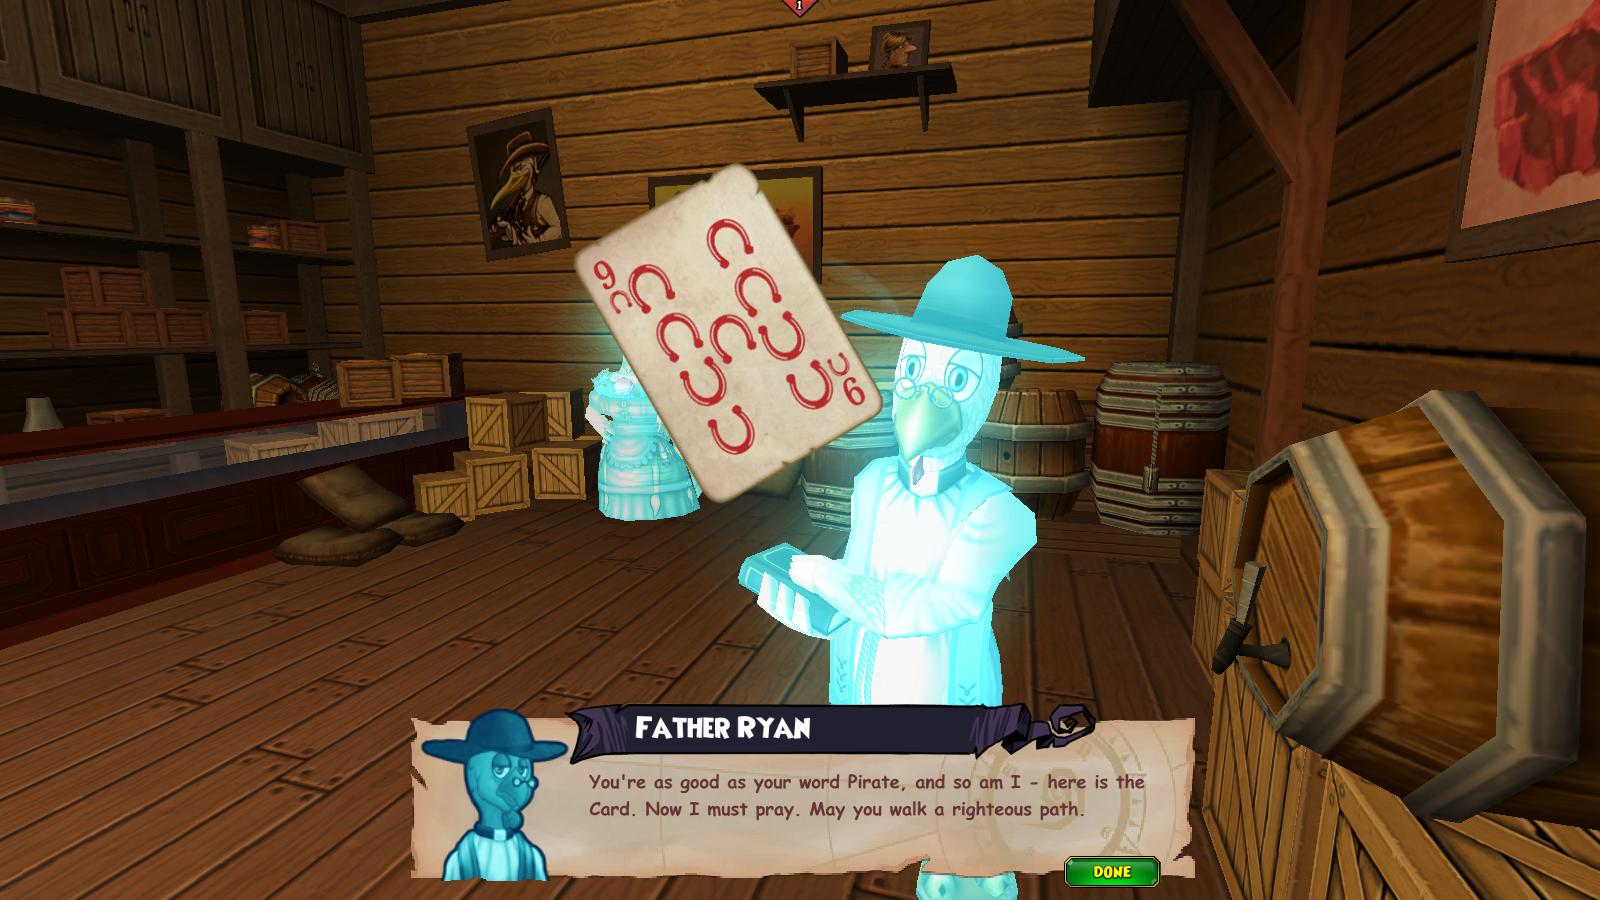
The first person I got a card from was Father Ryan. He gave me the card because I found the lost pages of his prayer book, which were also scattered around Miranda.
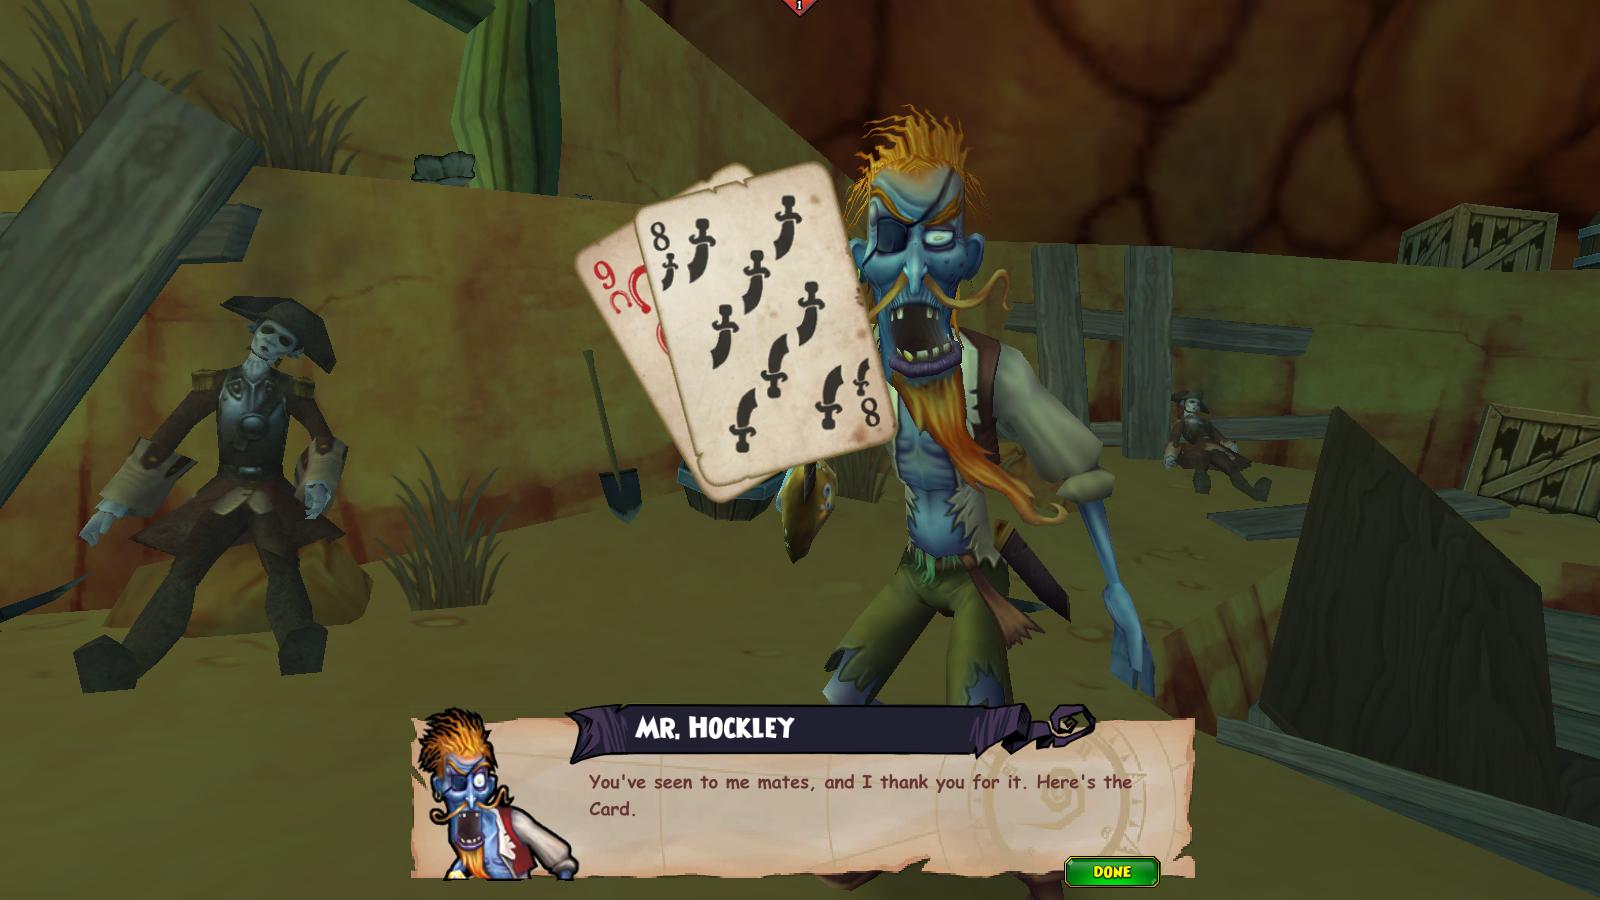
The next person was Mr. Hockley. He had left his crew alone, but never came back. He guessed the undead had already got to them, so I was given a card after I had found them and given them a proper burial, which lead to a fight with more undead.
You see, I don’t have a screenshot of the third card. I had to take it from a faithful member of Blood’s crew, who was in a mine down below the town. (It was pretty easy to avoid two fights here.)
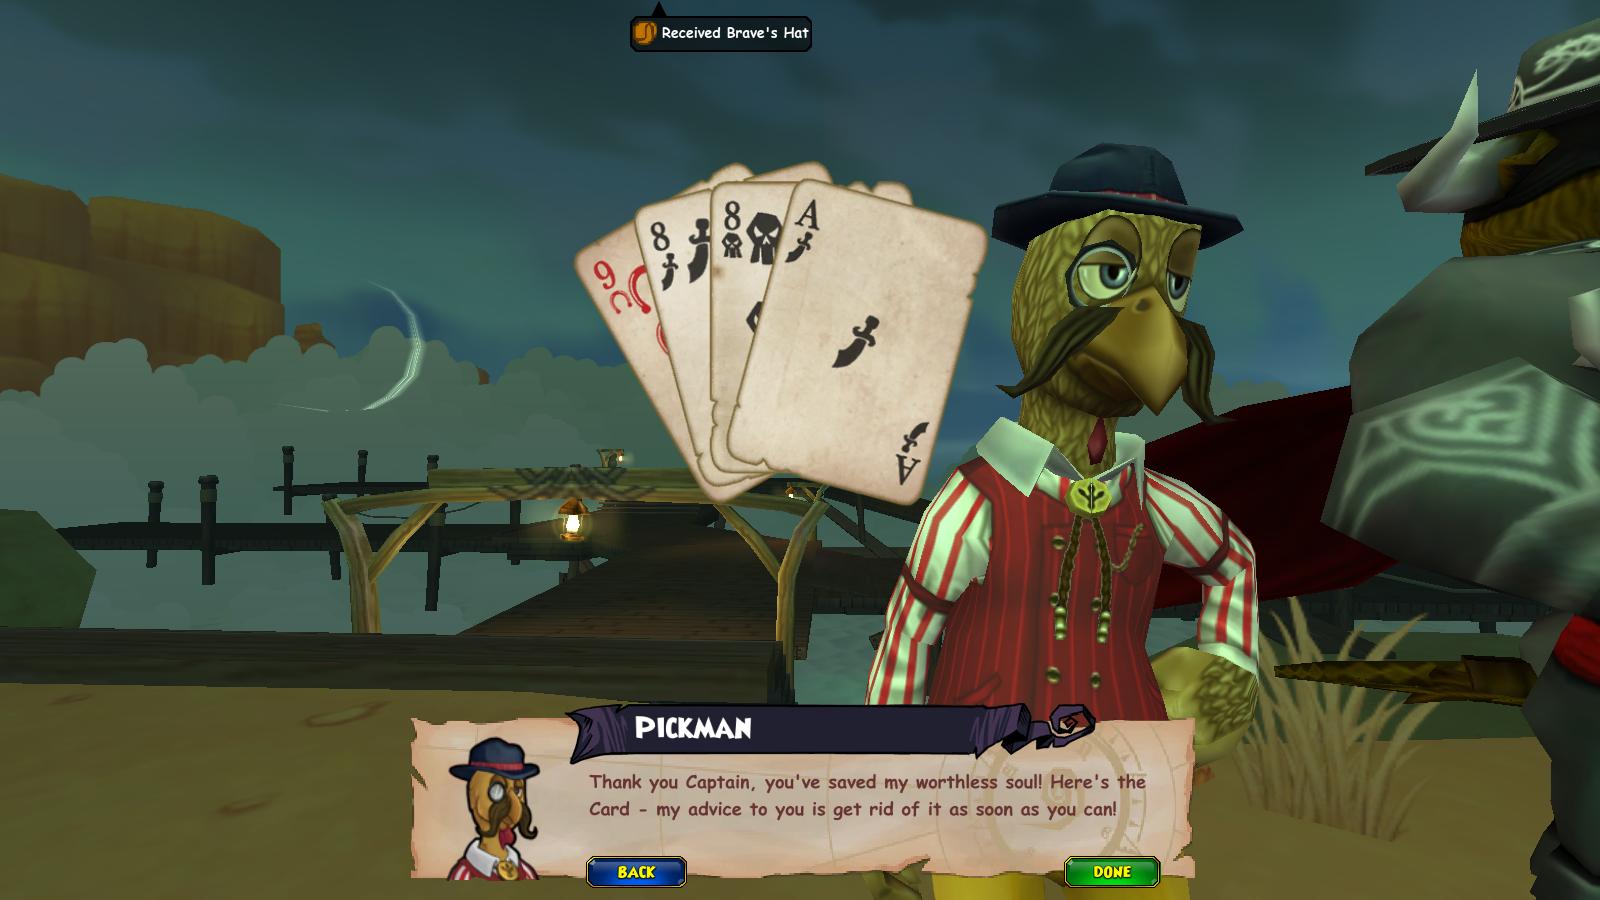
The fourth card was from Mr. Pickman, who was lost, but had one of Blood’s cards. To save him, you have to fight about three unavoidable battles.
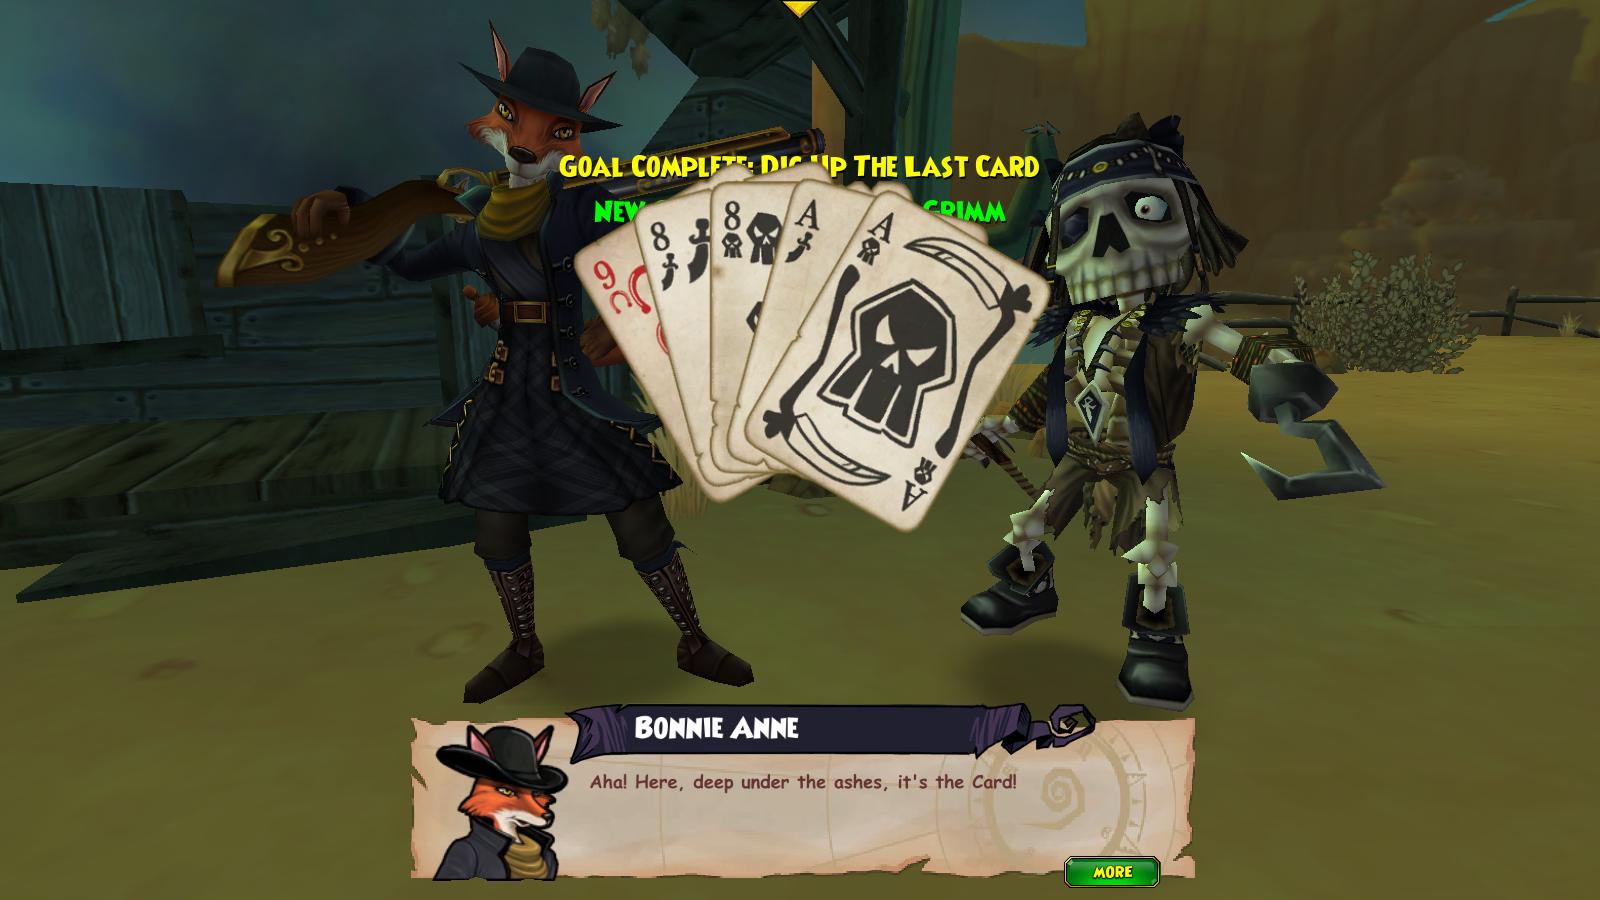
The last card was underneath a pile of ashes that used to be a barn, I think. But after that, some of the townspeople’s ghosts are cursed, which is another unavoidable fight. After that, you head back to the saloon to talk to the Card Dealer again. You also see Death, to finish the game of cards. After you put the cards in the dead man’s hand, Captain Blood is no longer immortal. Blood tries to stop us from playing it, but it’s already done. The only problem was… We still had to kill him.
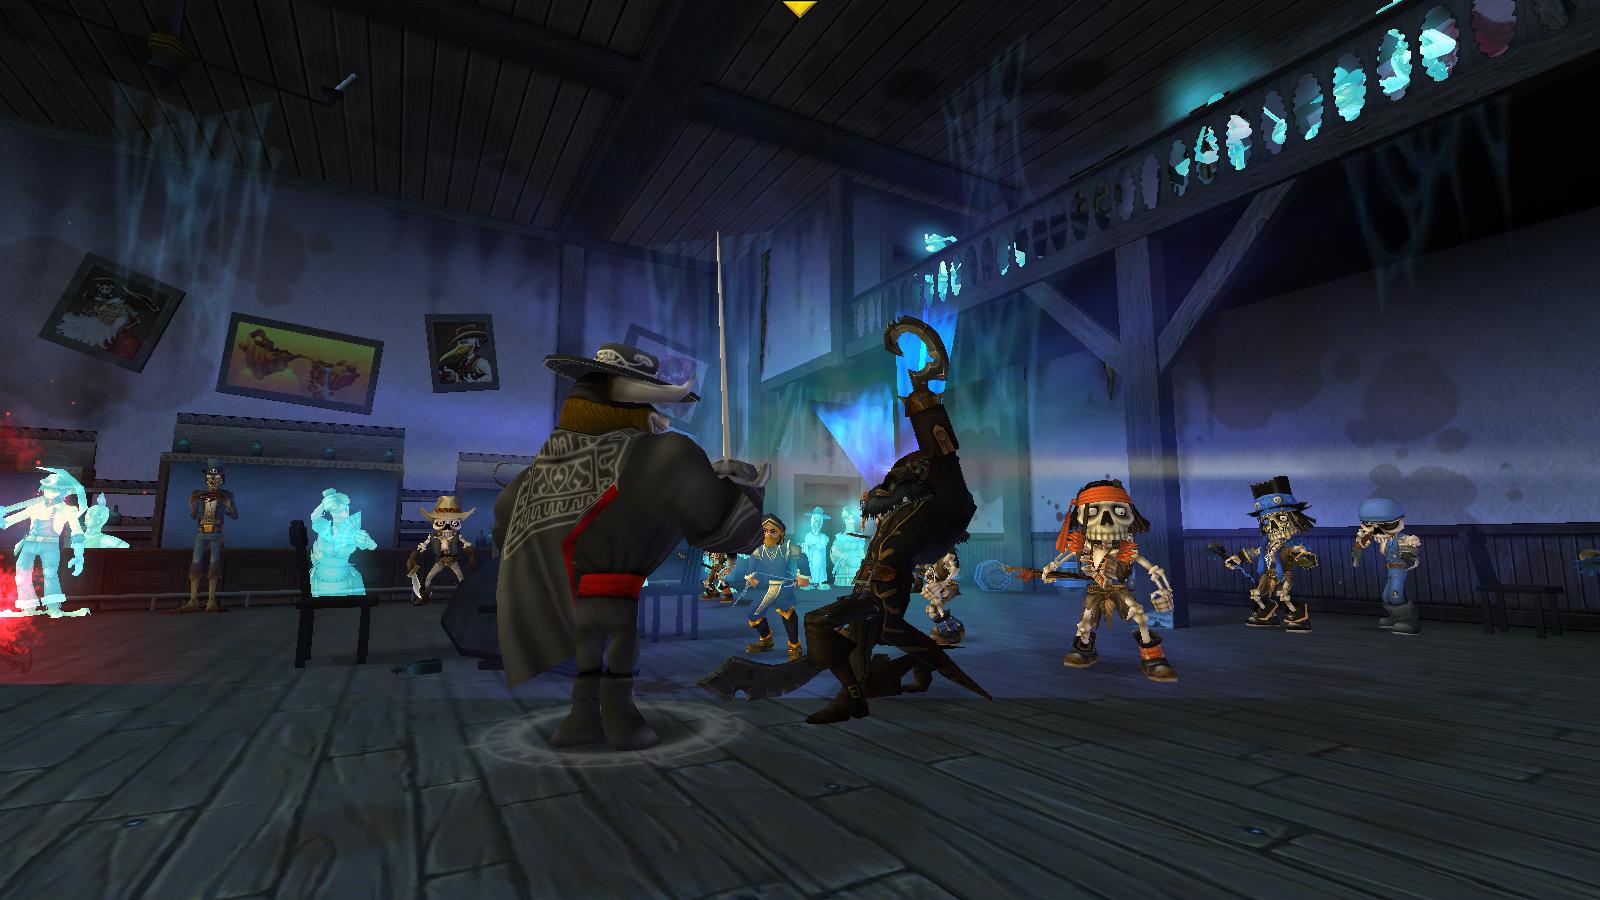
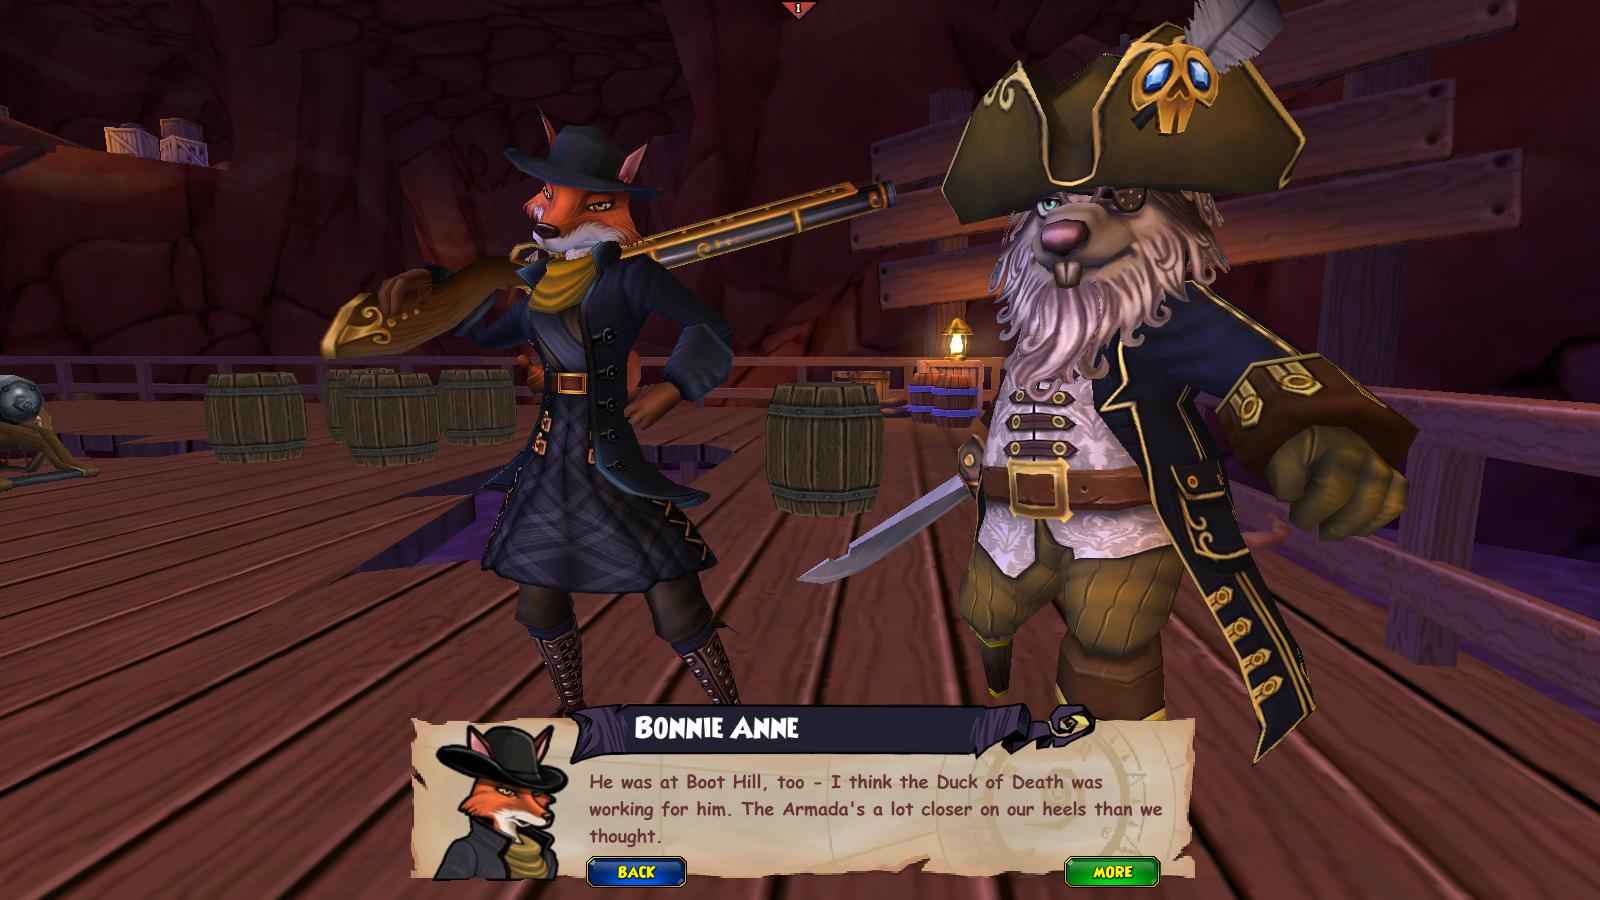
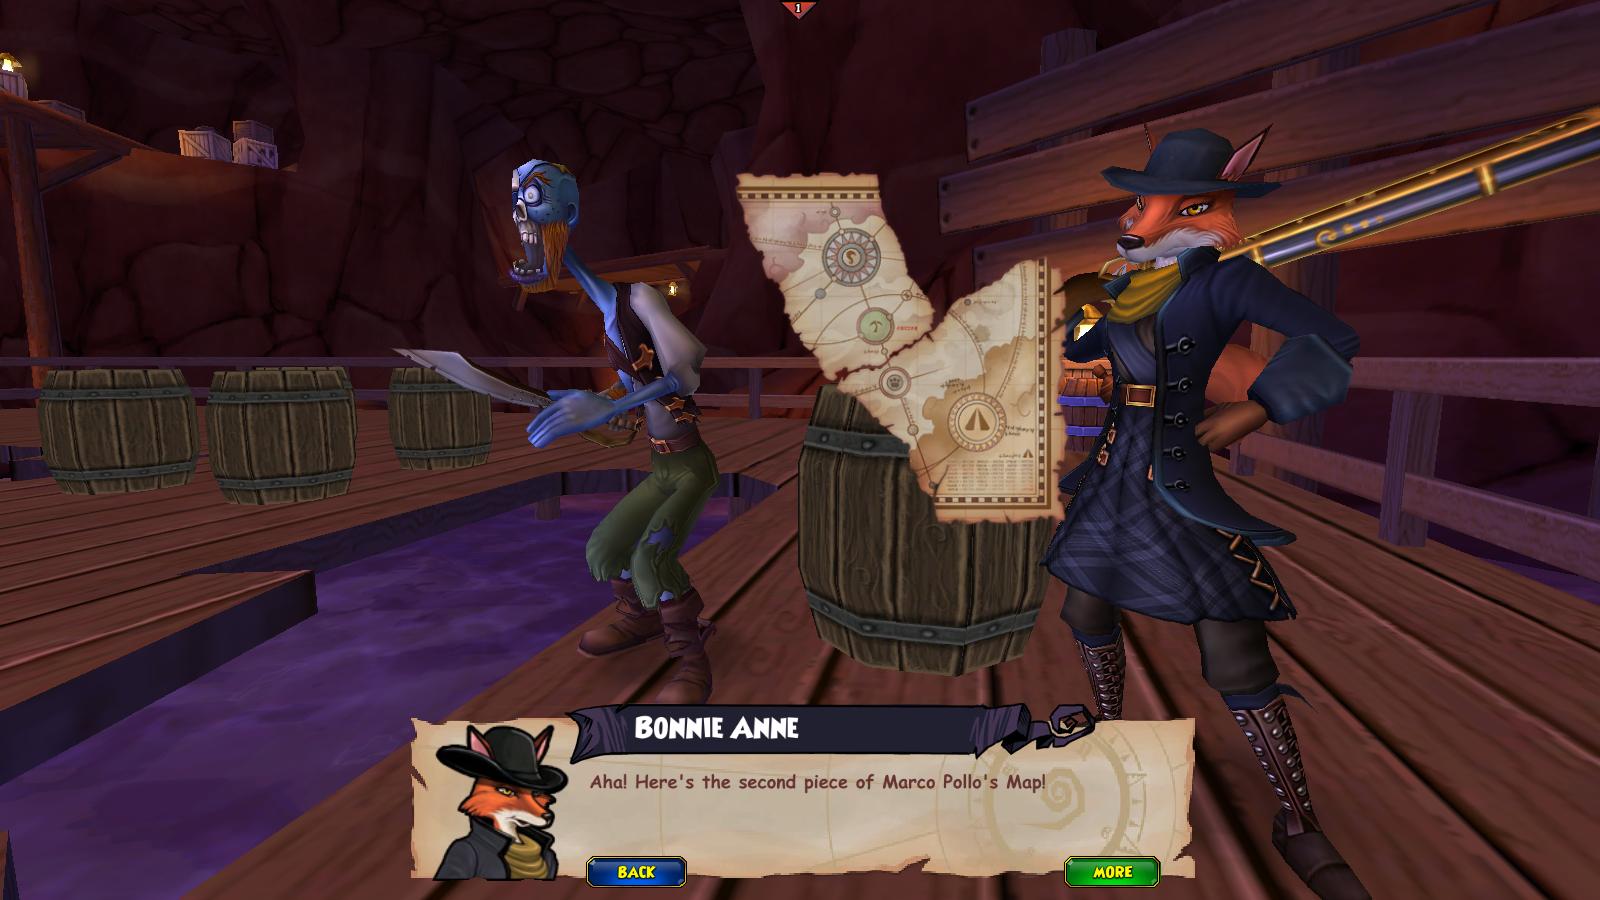
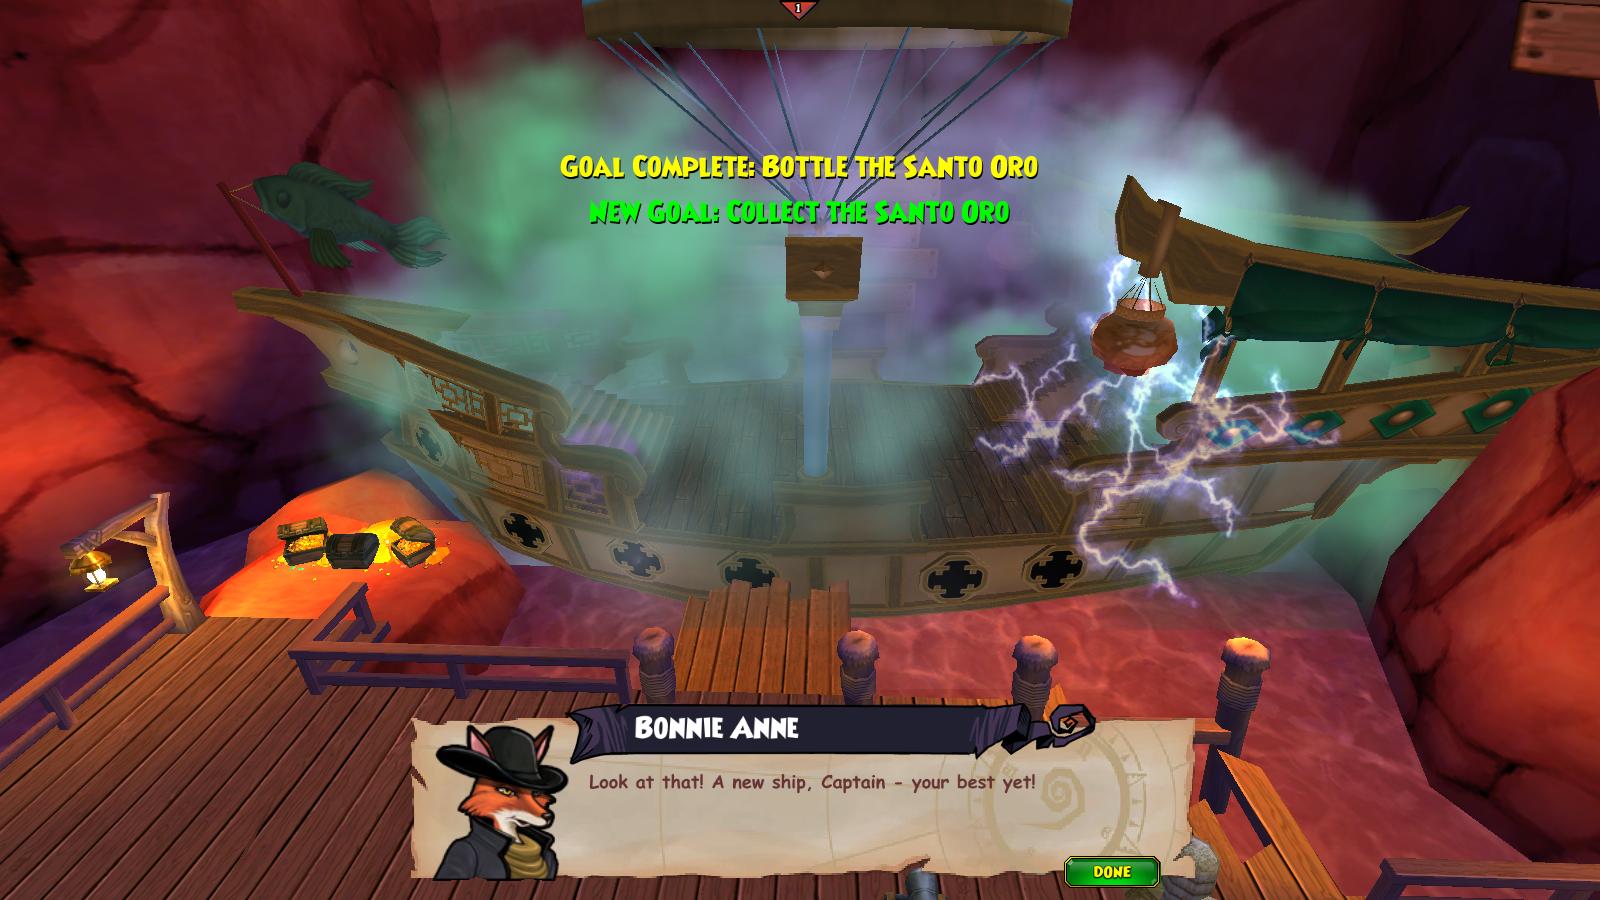
There’s the final battle! He’s done for. Now, with Captain Blood out of the way, the path to the treasure has never been so clear. Time to go into the Motherlode Mine to get the piece of the map. But before that, we have to fight 12 more ghost ships. (I should have known…) Well after that, it was time to go look for Captain Blood’s Treasure in Motherlode Mine! It said it was only a half-hour dungeon, so that was good. I went and found the Santo Oro, Marco Pollo’s ship, which was a pretty cool MooShu skiff. The way to the treasure was blocked off, so we went to blow it up with dramatic flair! 😉
We went down to the platform by the Santo Oro that we had spotted, but were then halted by Deacon! It’s never easy for us.


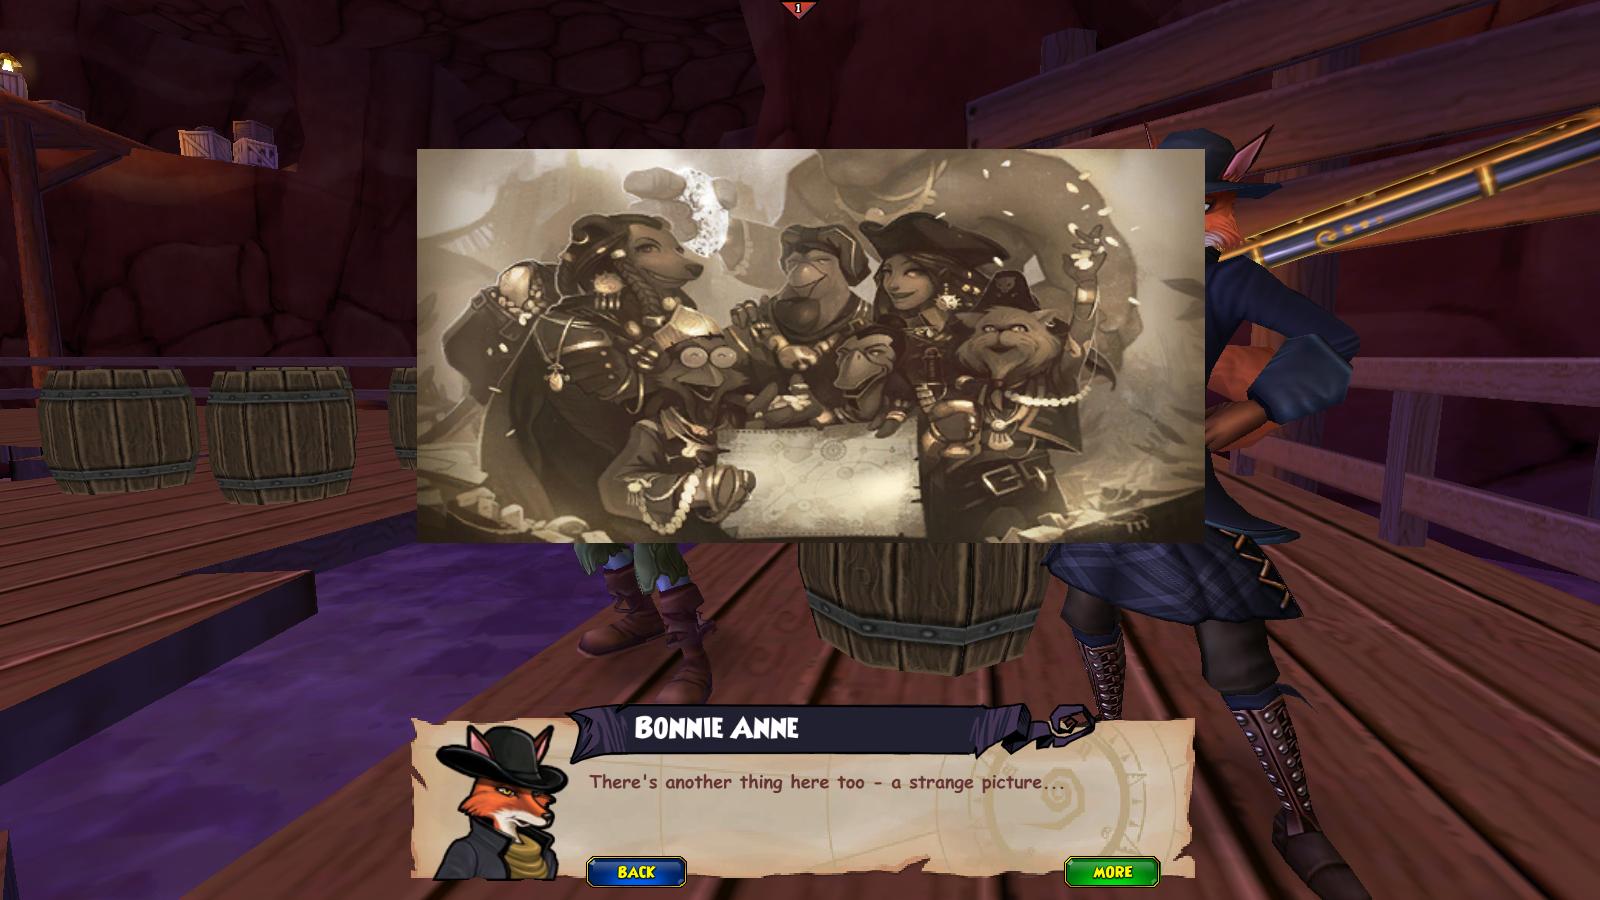
We returned to the historian, Desmond Argleston and Captain Avery to tell us about our next adventure. Avery found out that all of the pirates in the picture have a piece of the map, and the next one should be from Egg Foo Yung, a duck in MooShu! (Subodai was particularly happy about getting to go back to MooShu.) To be continued in Journey to Marleybone (Part 6: Meddling in MooShu!)
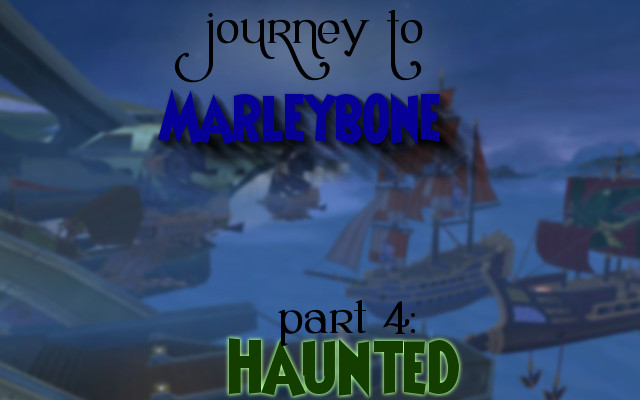
Journey to Marleybone (Pt. 4: Haunted)
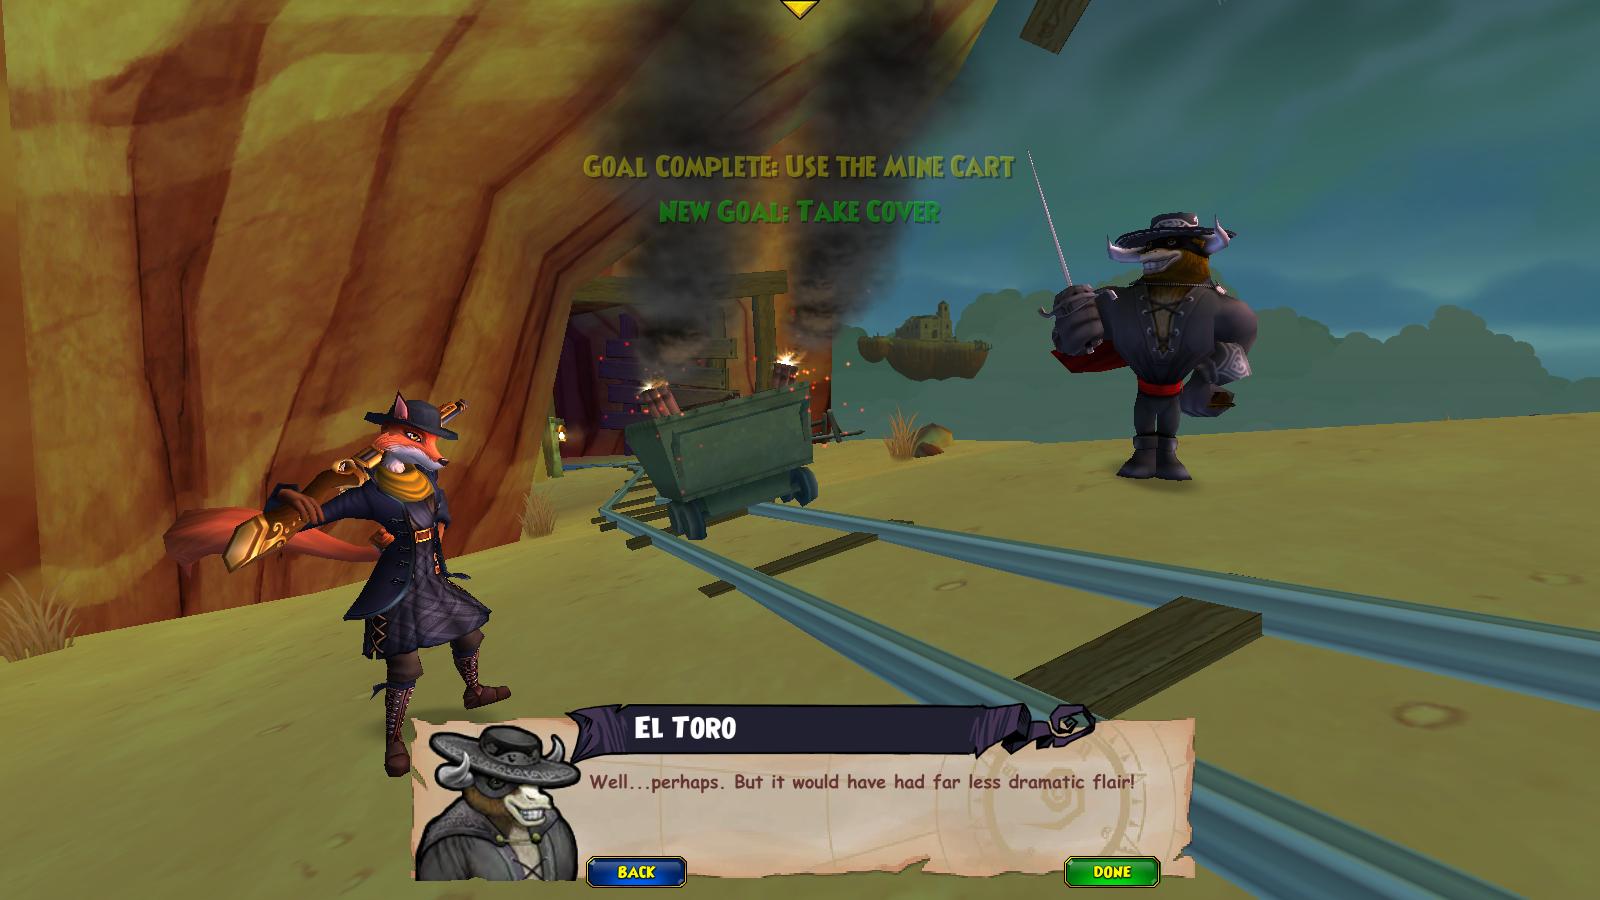
After the Magnificent Six (seven including me :)) were reunited again, I was sent on a quest to start a range war. Boy, was that hard. You start off by fighting the 12 Wild Bunch ships. Oh my goodness, could there be any more ship battles? (Self: Yes there could be. Every battle could be a ship battle. Self: FINE…) Well, after I finished those ships with some help from other people, I had to stop Buck Bronco in a 1 1/2 hr dungeon. After that… the final part of Tumbleweed Skyway- Old Jailhouse. I had to stop the Wild Bunch once and for all, because they didn’t like being caught constantly.

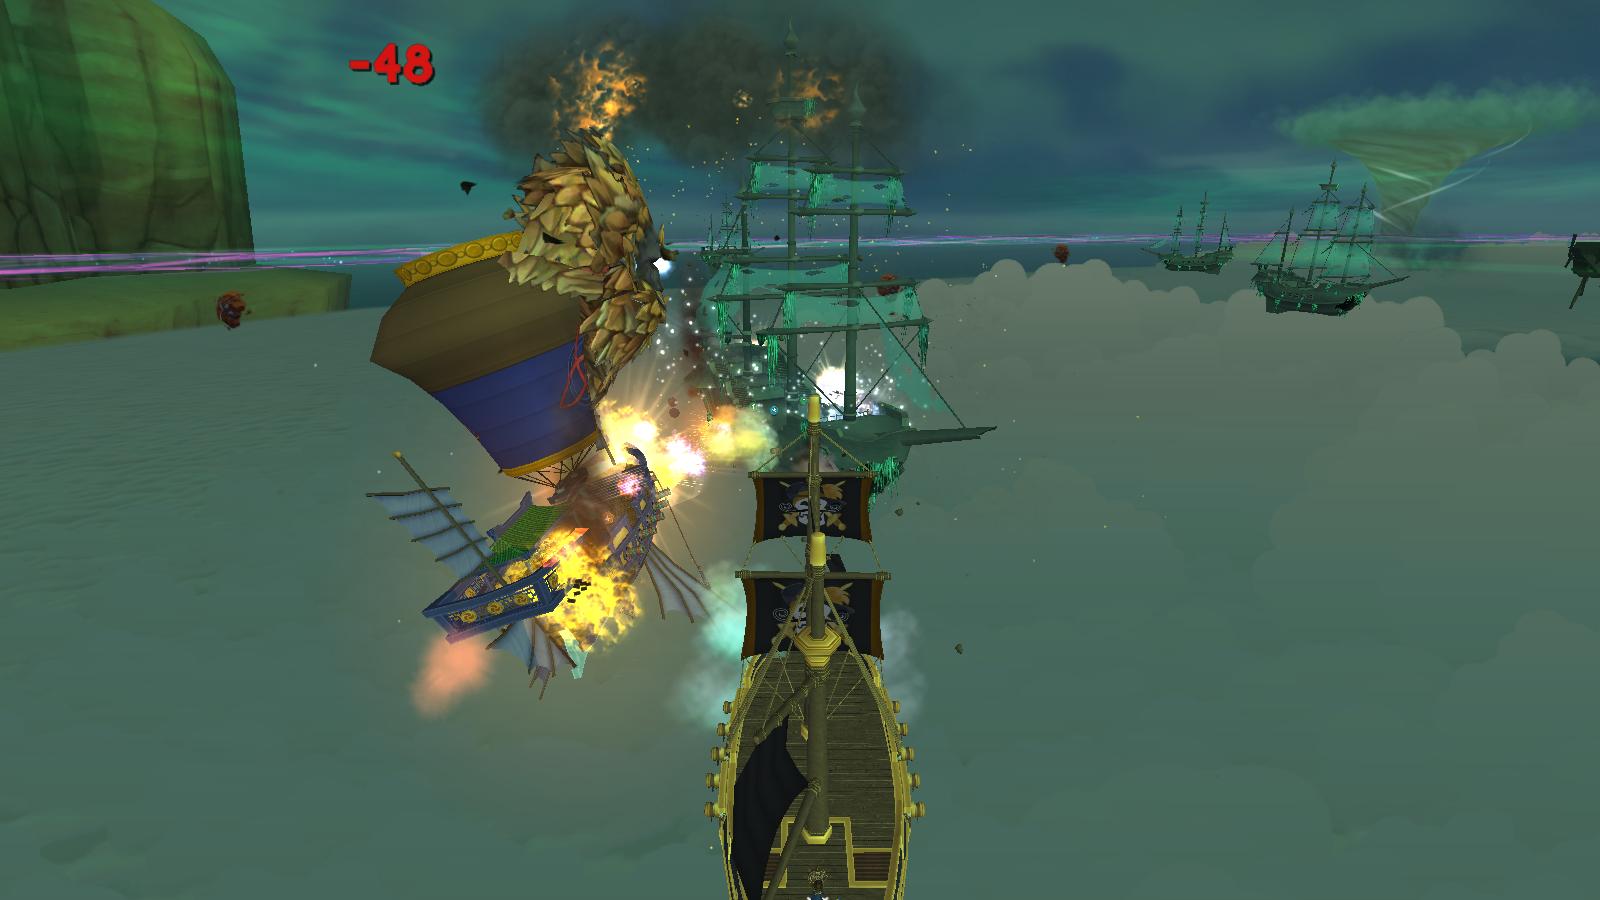
After several interesting battles, I was finished with this skyway and went back to Sly Winkum, who knew about Captain Blood. He told me he was on his crew and that Captain Blood was in Haunted Skyway last. But when I went to Haunted Skyway, they told me they needed help and they needed it ASAP. So then I got sucked into 12 more ship battles: with Ghost Ships.
After that, it seemed like it was all Colonel Church needed, so I was sent to talk to Lt. Jim Masterson. He said there was a jailbreak and needed to ask around for what the prisoners were looked like. I went down to the mine and found a “weasely” person I was told about, then was sent into the Comanchero Vortex in search of Crazy Horn, a reckless bison. After I had captured both prisoners, they told Jim Masterson who was the leader of their operations- Captain Foote. I was told to look for him in the Hang ’em Jail in the Dusty Vortex. He was pretty hard, I came out with less than 100 health and all three of my companions defeated.

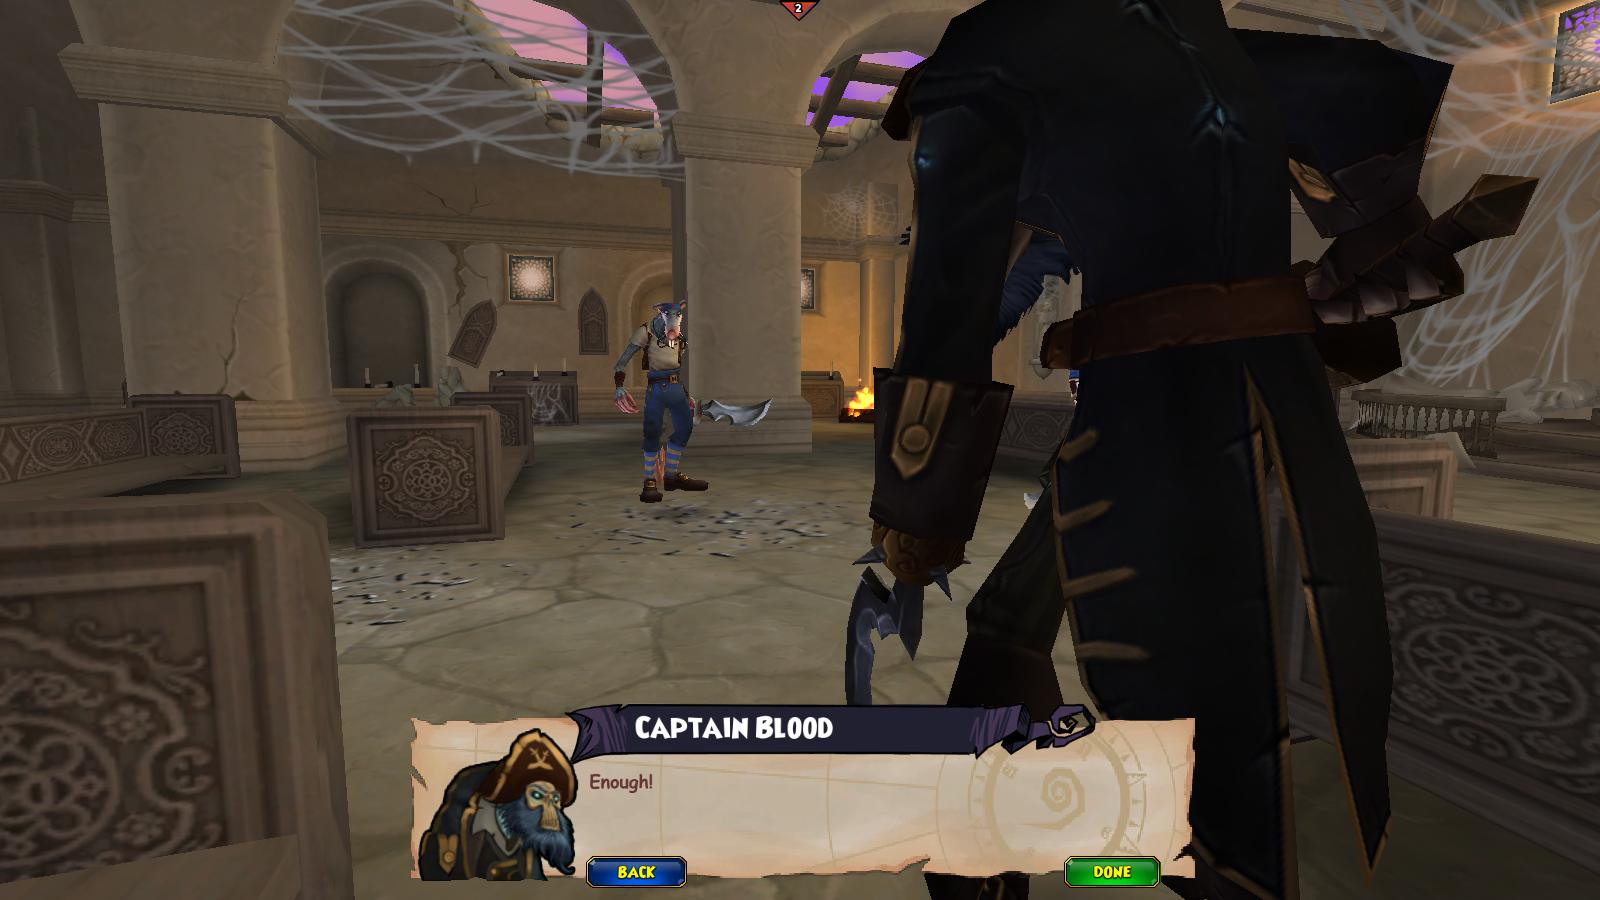
Next, Colonel Church told me to look for Sabatini in the Abandoned Church. This was rather exciting, because it was my first sighting of Captain Blood.
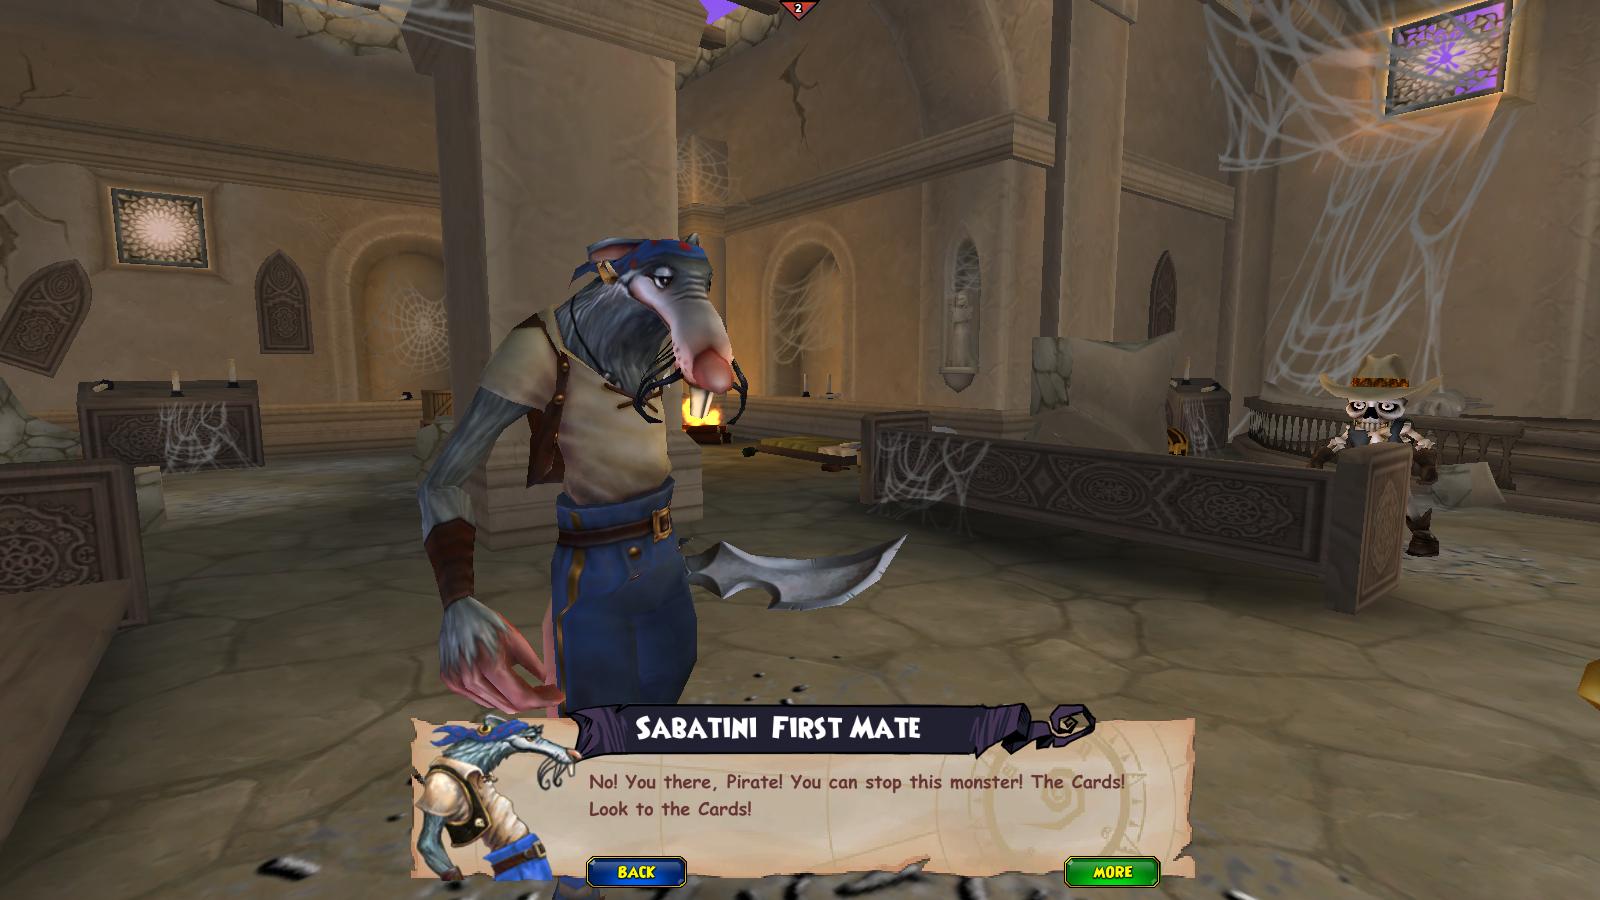
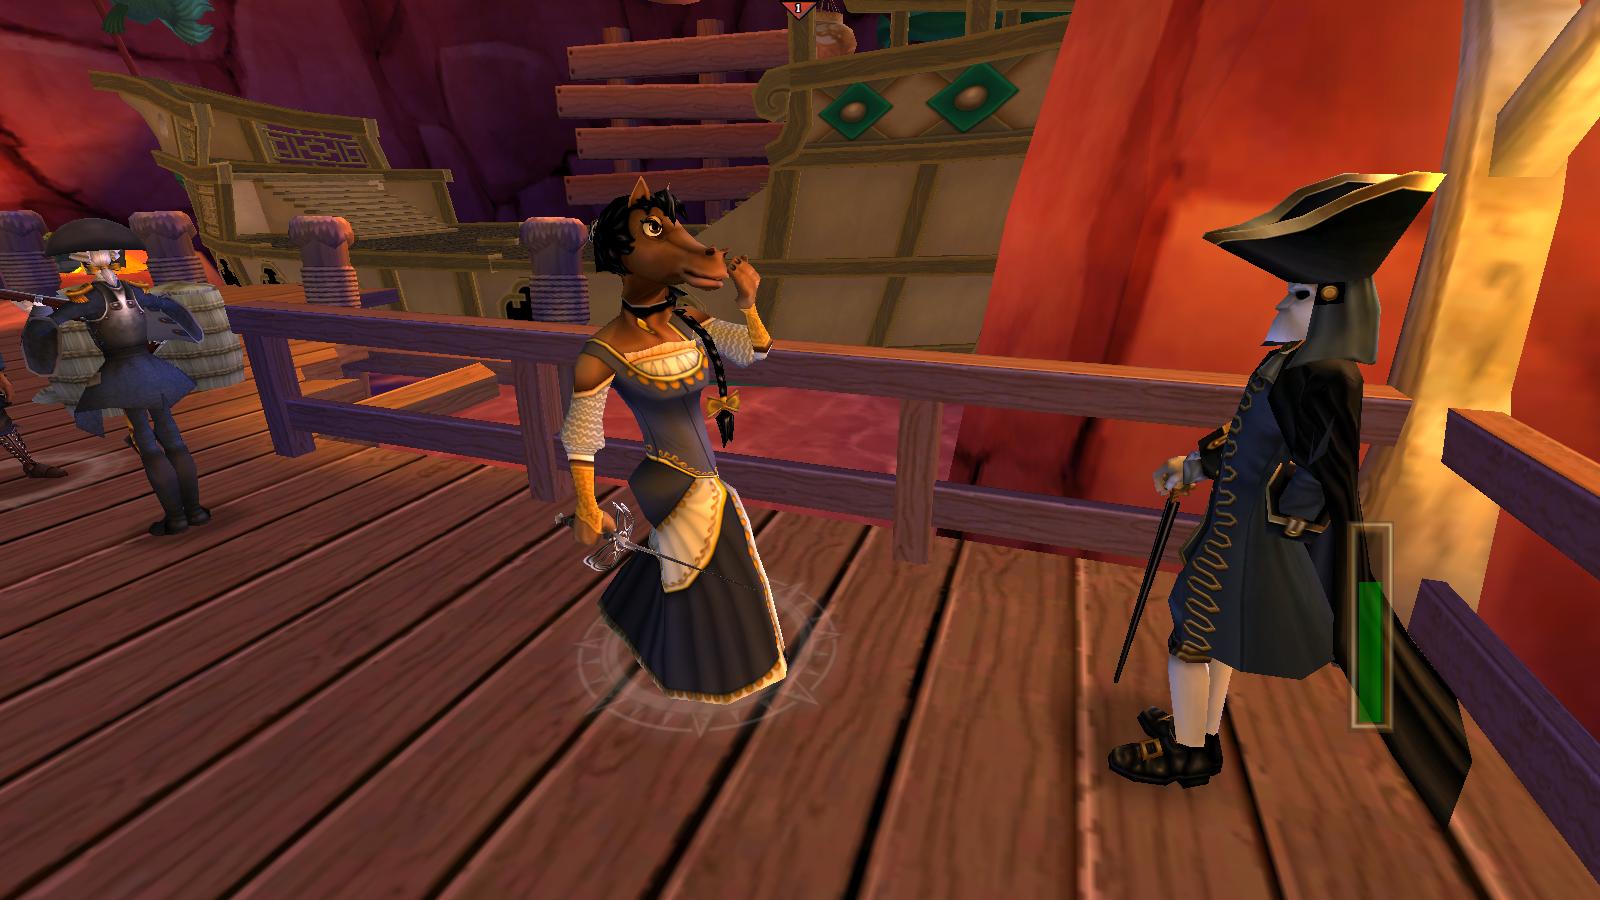
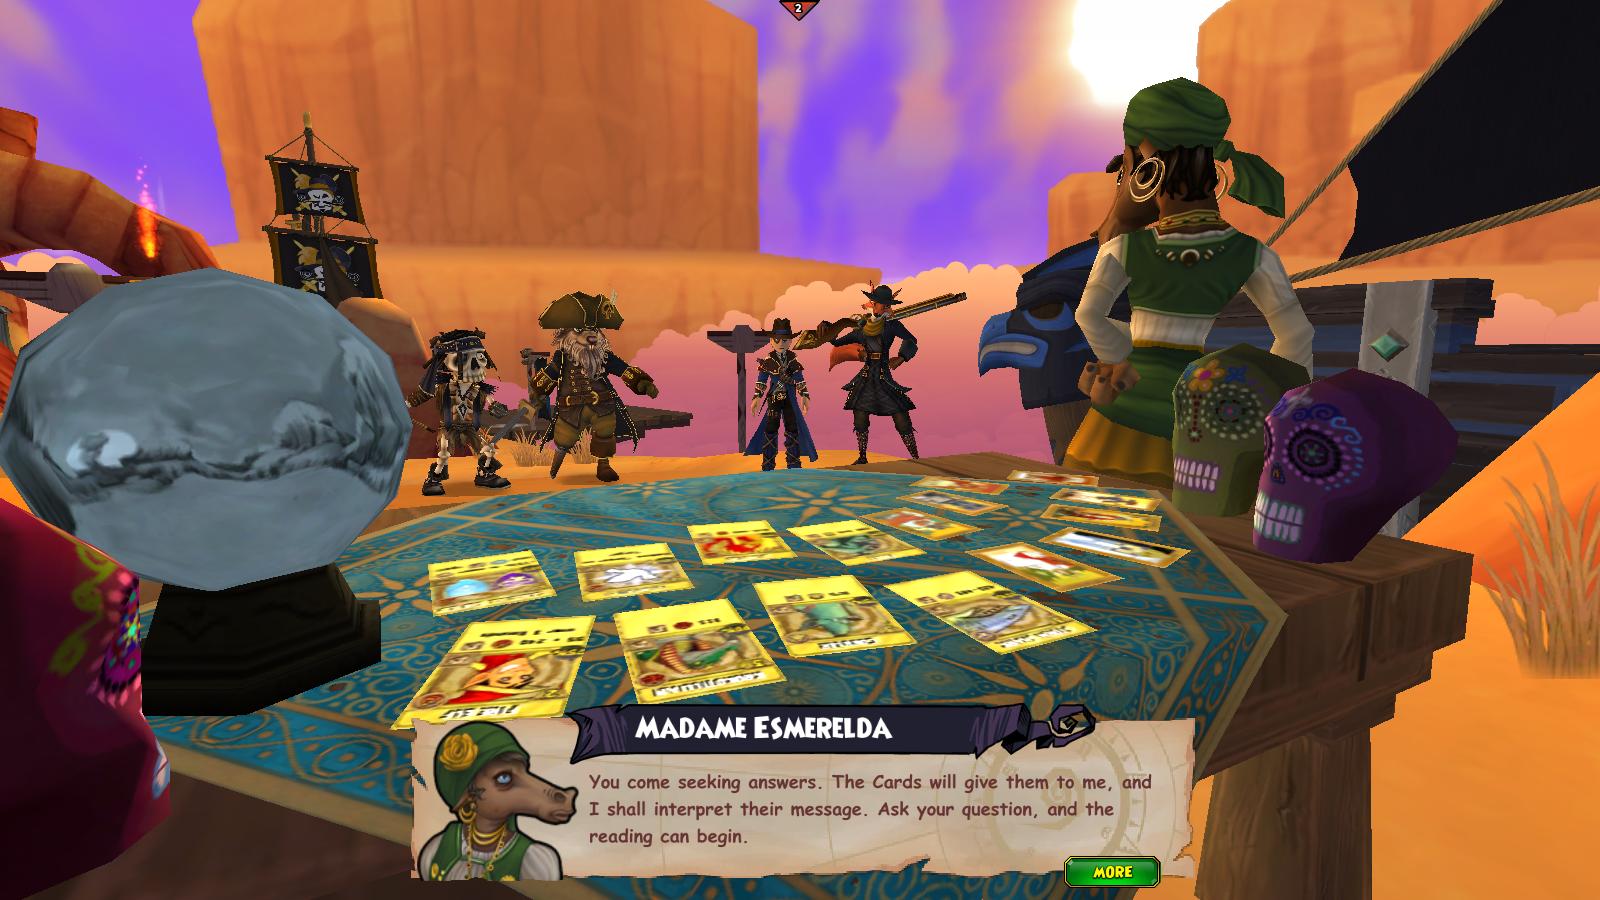
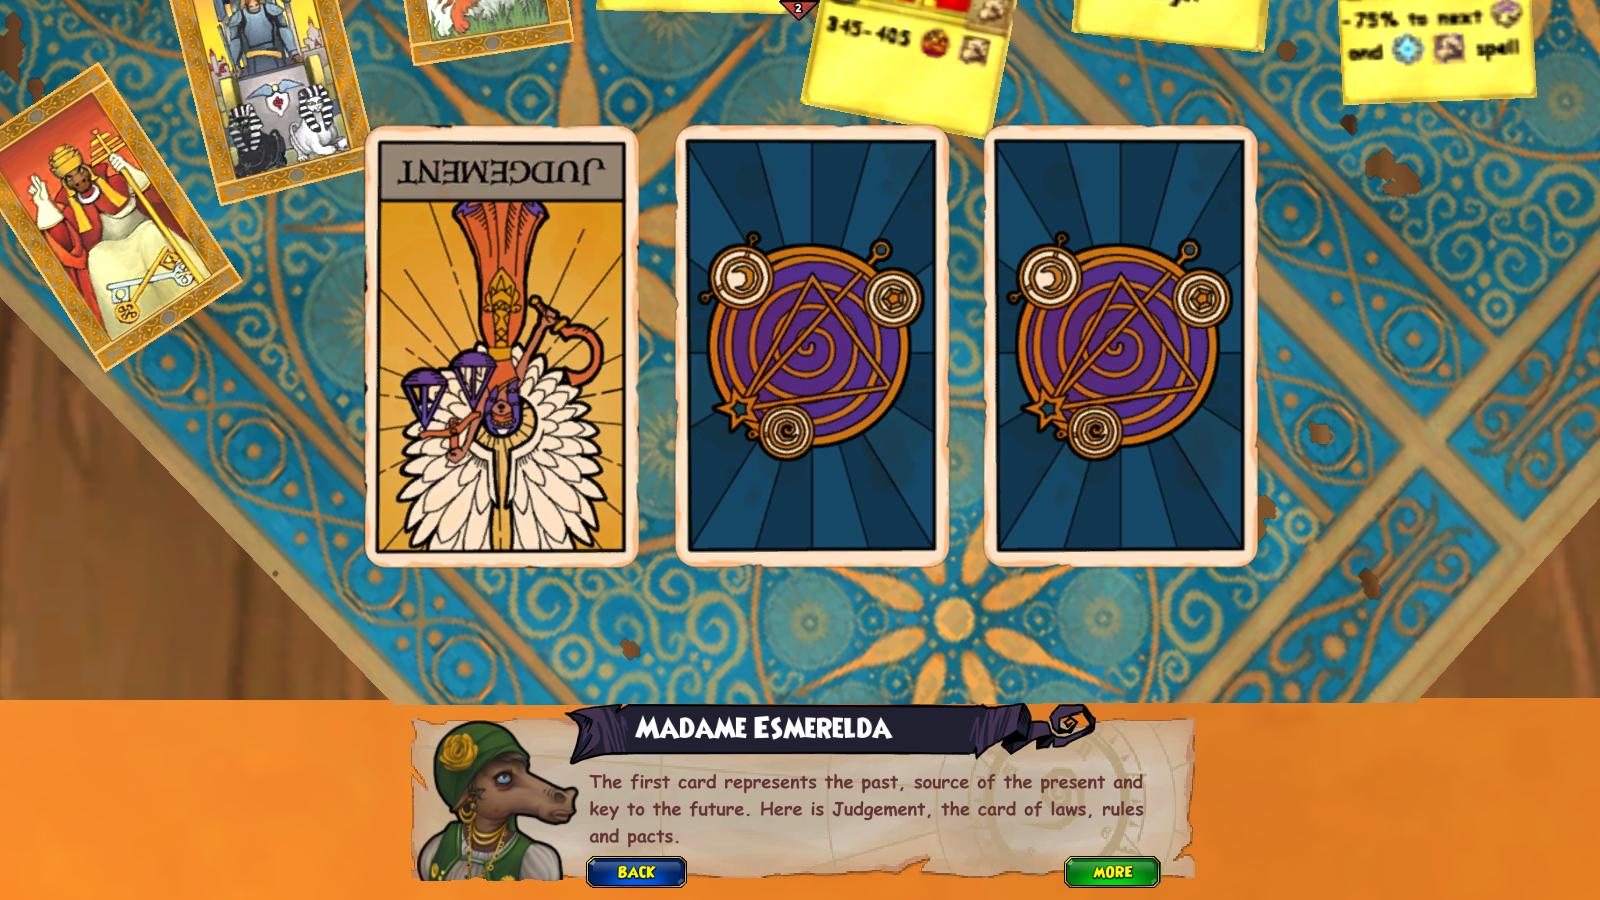
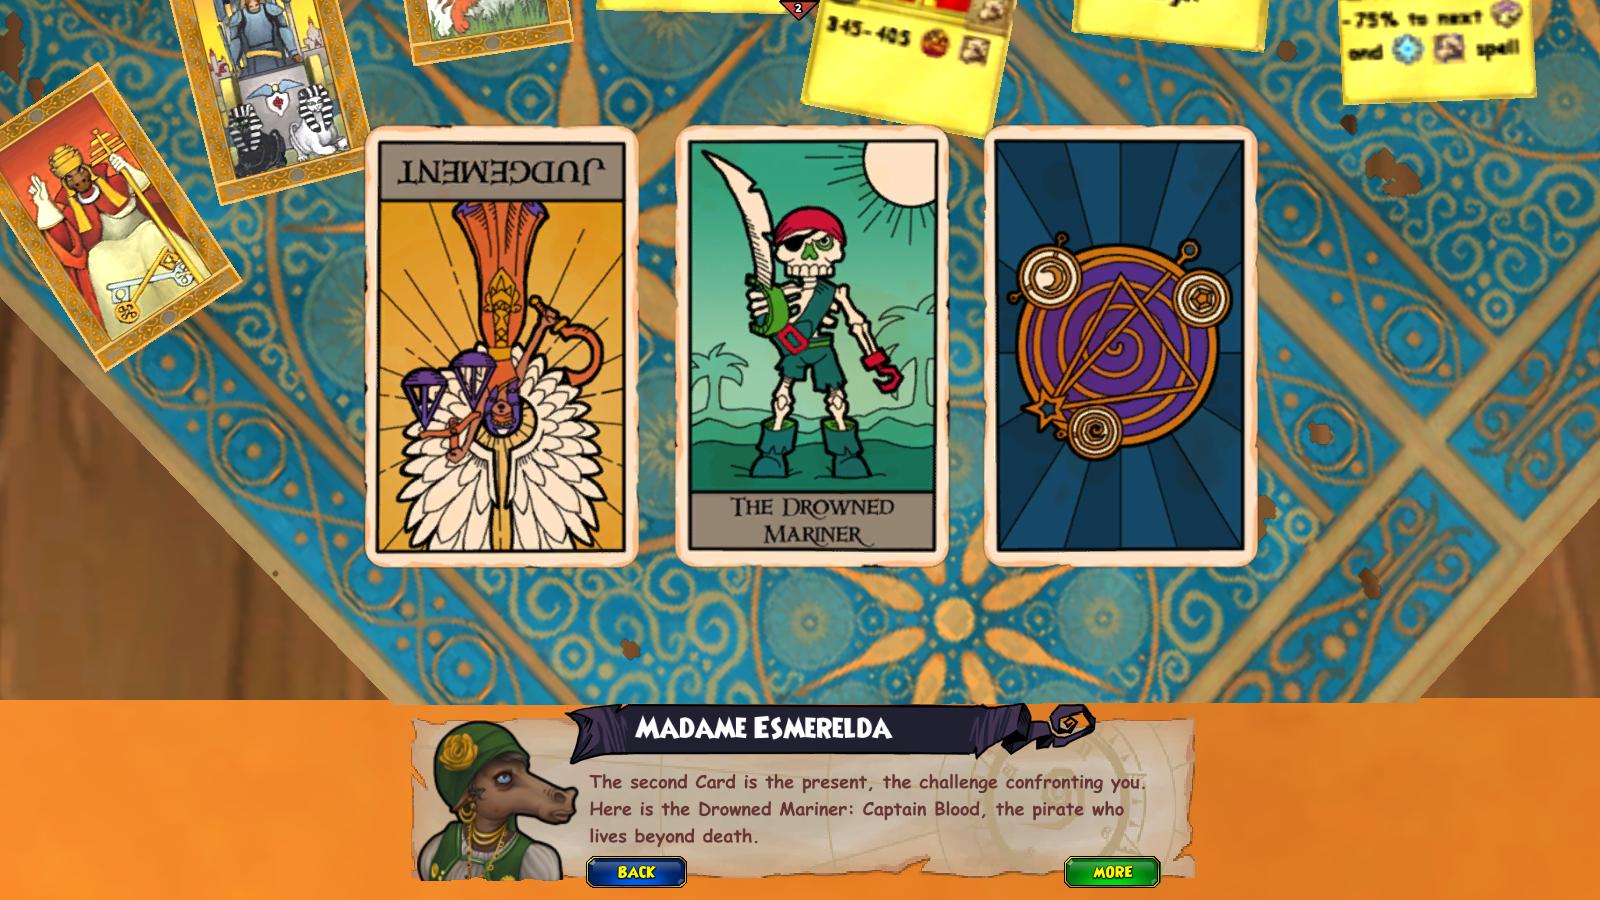
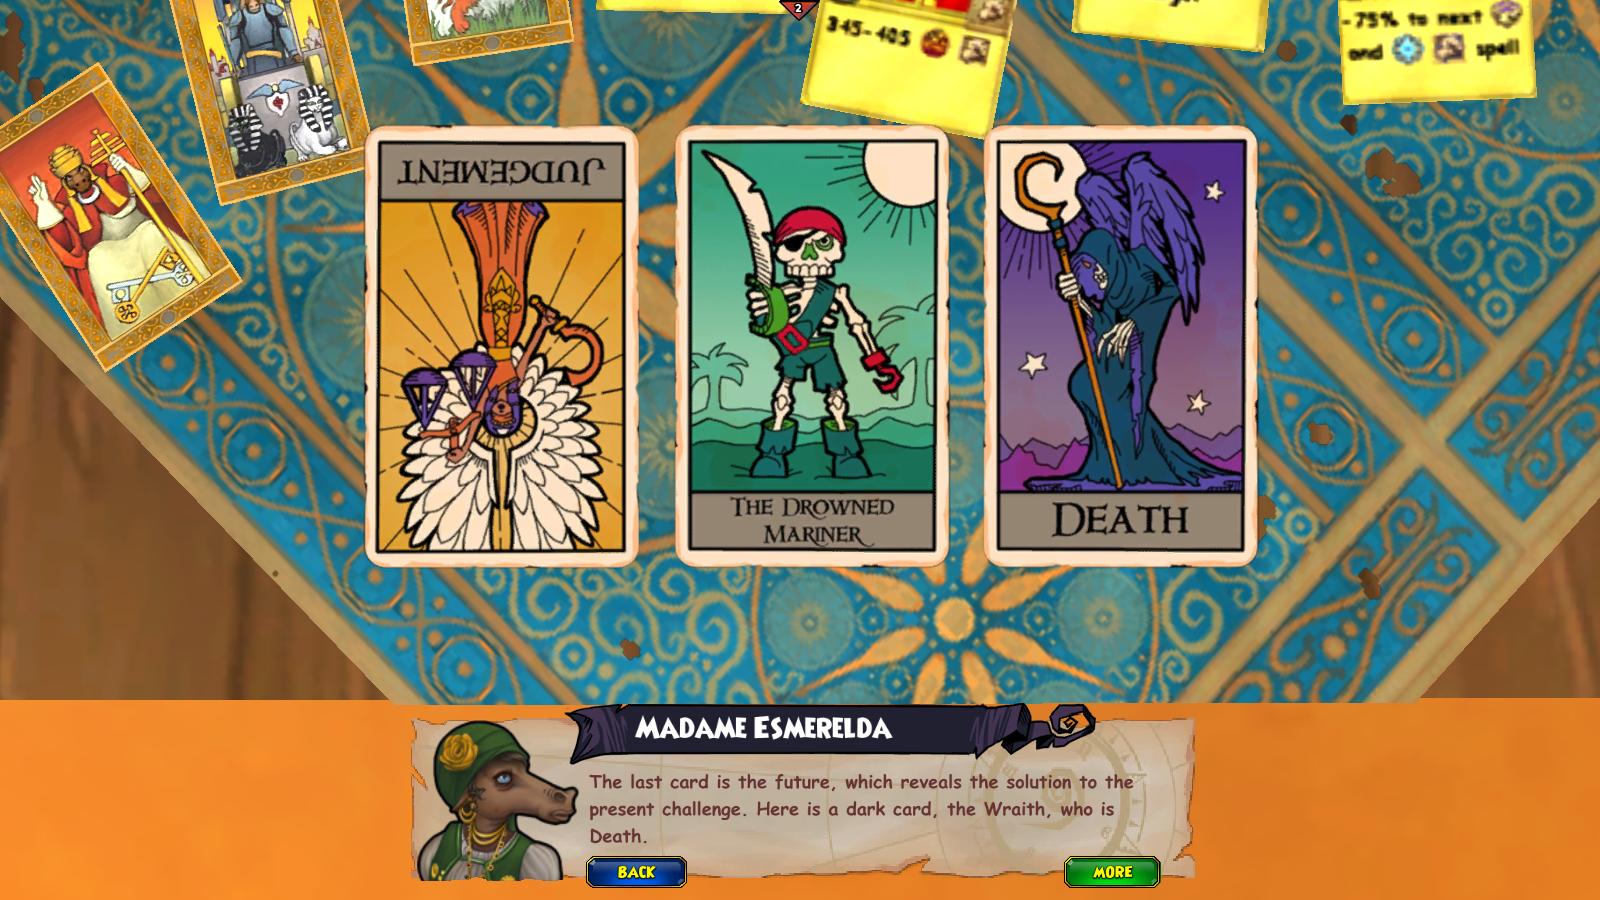
After fighting a few of Blood’s minions, I followed Sabatini’s instructions to go to the Isla des los Muertos. They showed me the cards of the past, present, and future. On the table they even had some Treasure Cards. 😉
Then, I had to go to Santo Pollo to get corn which I was a little confused about. I fed corn to the ravens on the tree of Ravens. They told me “Black Bart,” which apparently is someone who I can use to attract Death if I collect the lost spirits he created in Haunted Skyway. Sounds like a plan! After I had collected 12 lost souls, I proceeded to find Black Bart in the Old Church graveyard. After a fight with Black Bart, I had an interesting meeting with Death that included a puppet show.
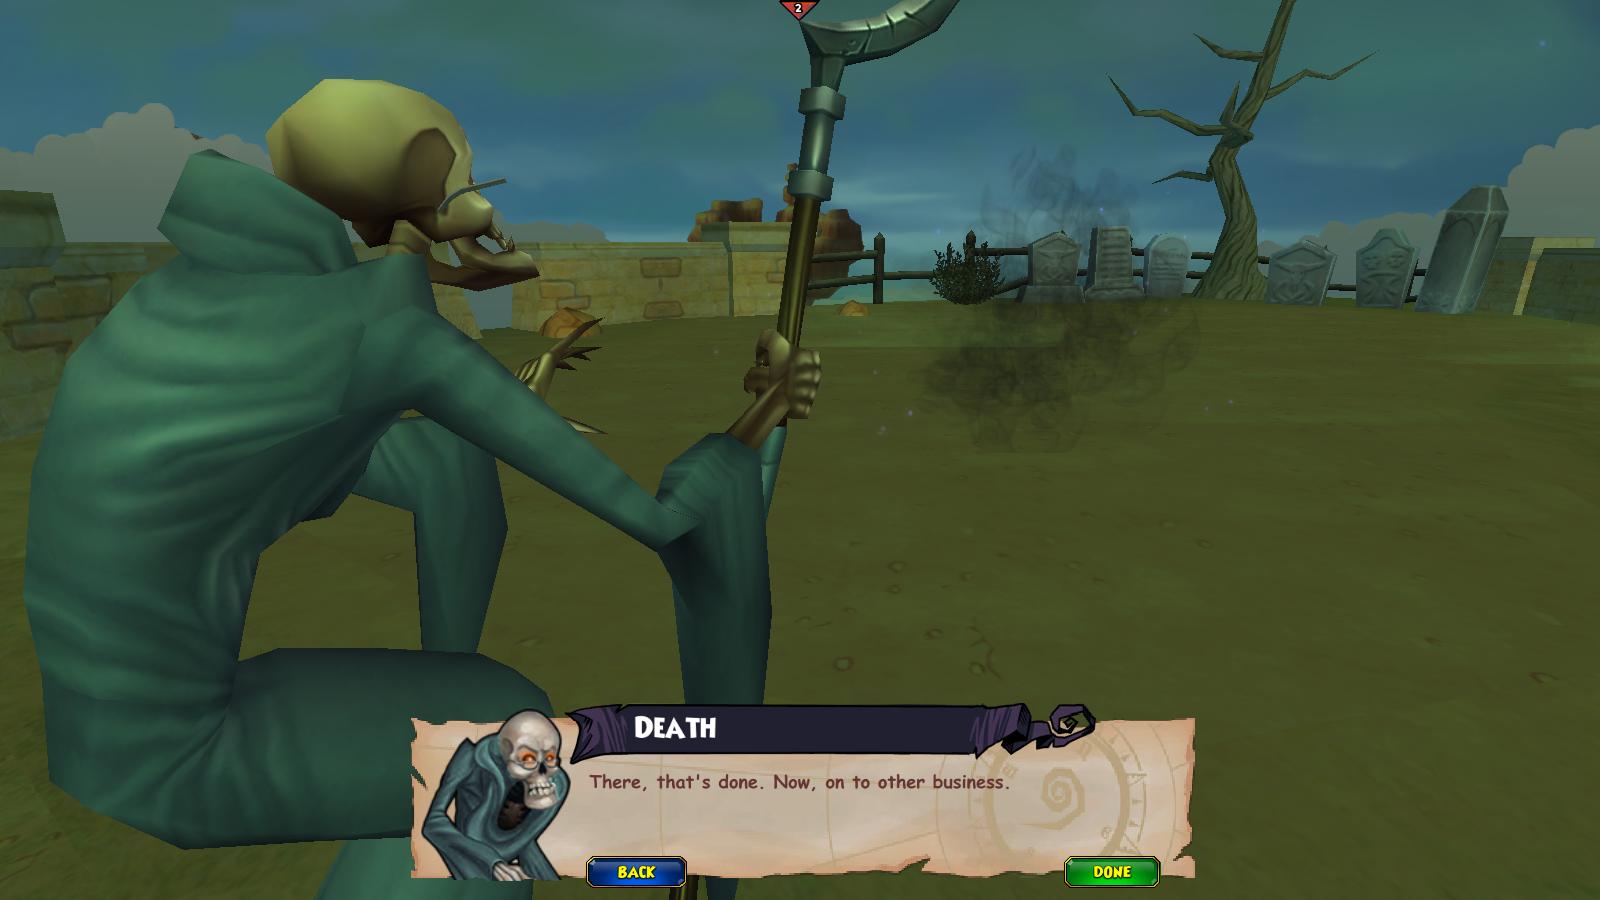
I learned that Captain Blood and Death had a game of cards, where if Death lost, Blood can live forever. Death was about to win, but then Captain Blood left and never came back. I needed to find some way to get Blood to play his hand. The next place I was headed was back to Tumbleweed because Sly Winkum was part of Blood’s crew. He had something interesting to say, though.
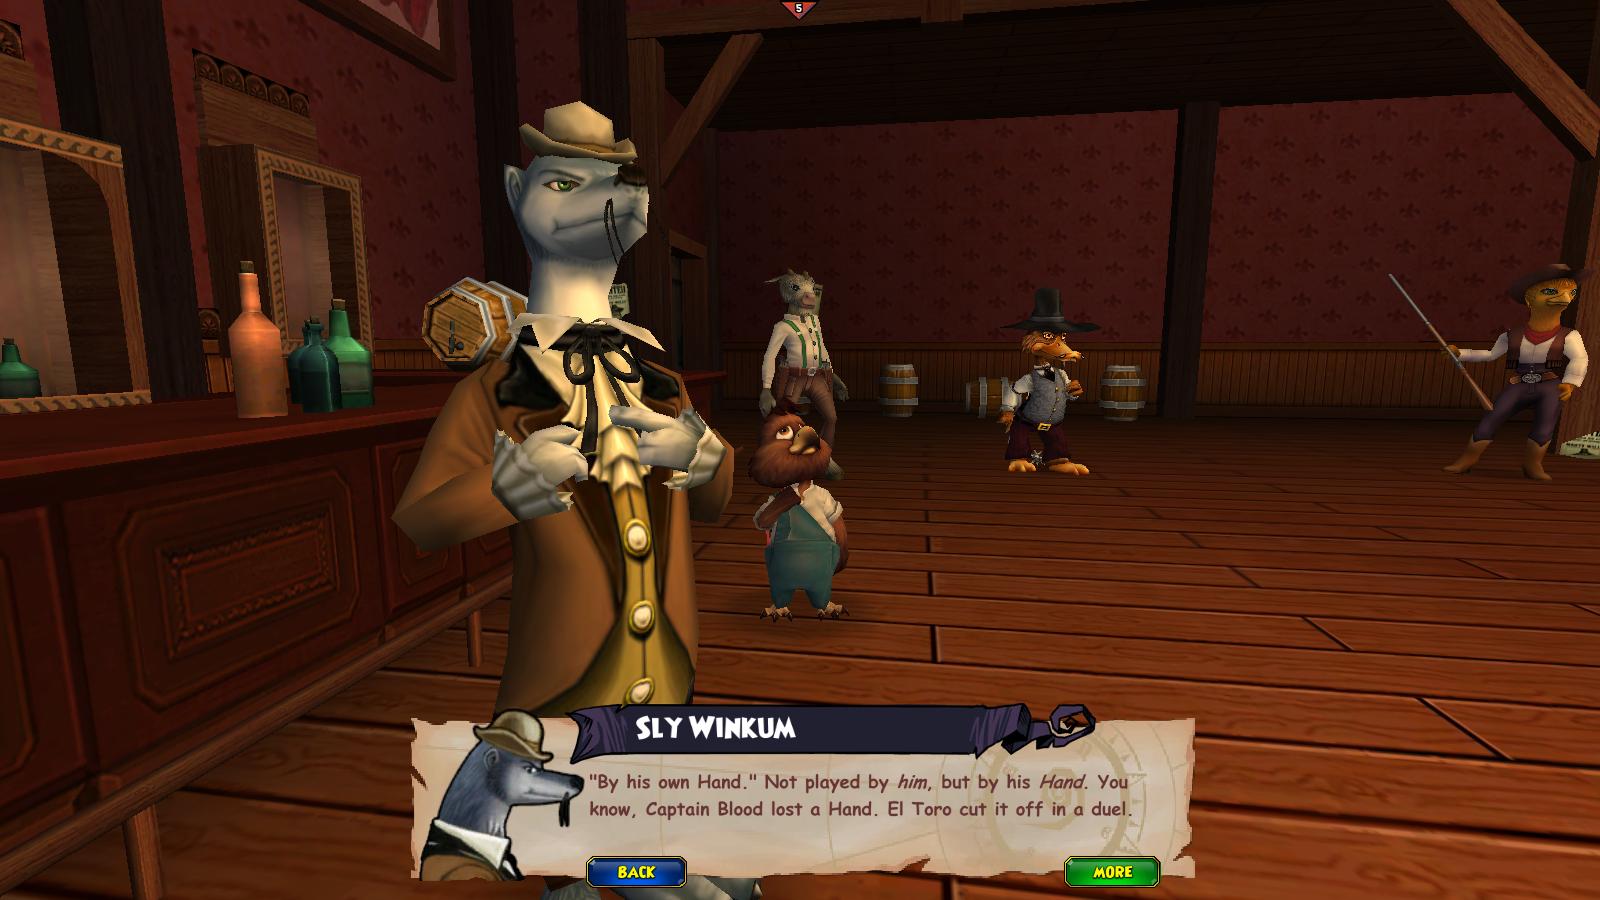
The next place I was headed to was Santo Pollo to talk to Don Rodrigo about what he knew. (hehe) Next thing I knew, El Toro, Mustang Sally, and I were off to Gold Creek to find Blood’s hand, because it was cut off at Gold Creek. After we quickly retrieved it, we went back to Sly Winkum so he could tell us where to get the cards. They’re in the cursed town of Miranda, scattered all over. But Miranda happens to be a two-hour dungeon, so that’ll be for the next post. To be continued in Journey to Marleybone: Part 5: Dead Man’s Hand.
Journey to Marleybone (Pt 3: Trouble in Tumbleweed)
Now that I’m in Tumbleweed, it seems that they are being attacked by the Wild Bunch. No one knows how to stop them. No one. Except Timmy. (My video recorder isn’t working, here’s TheDeathshard’s video)
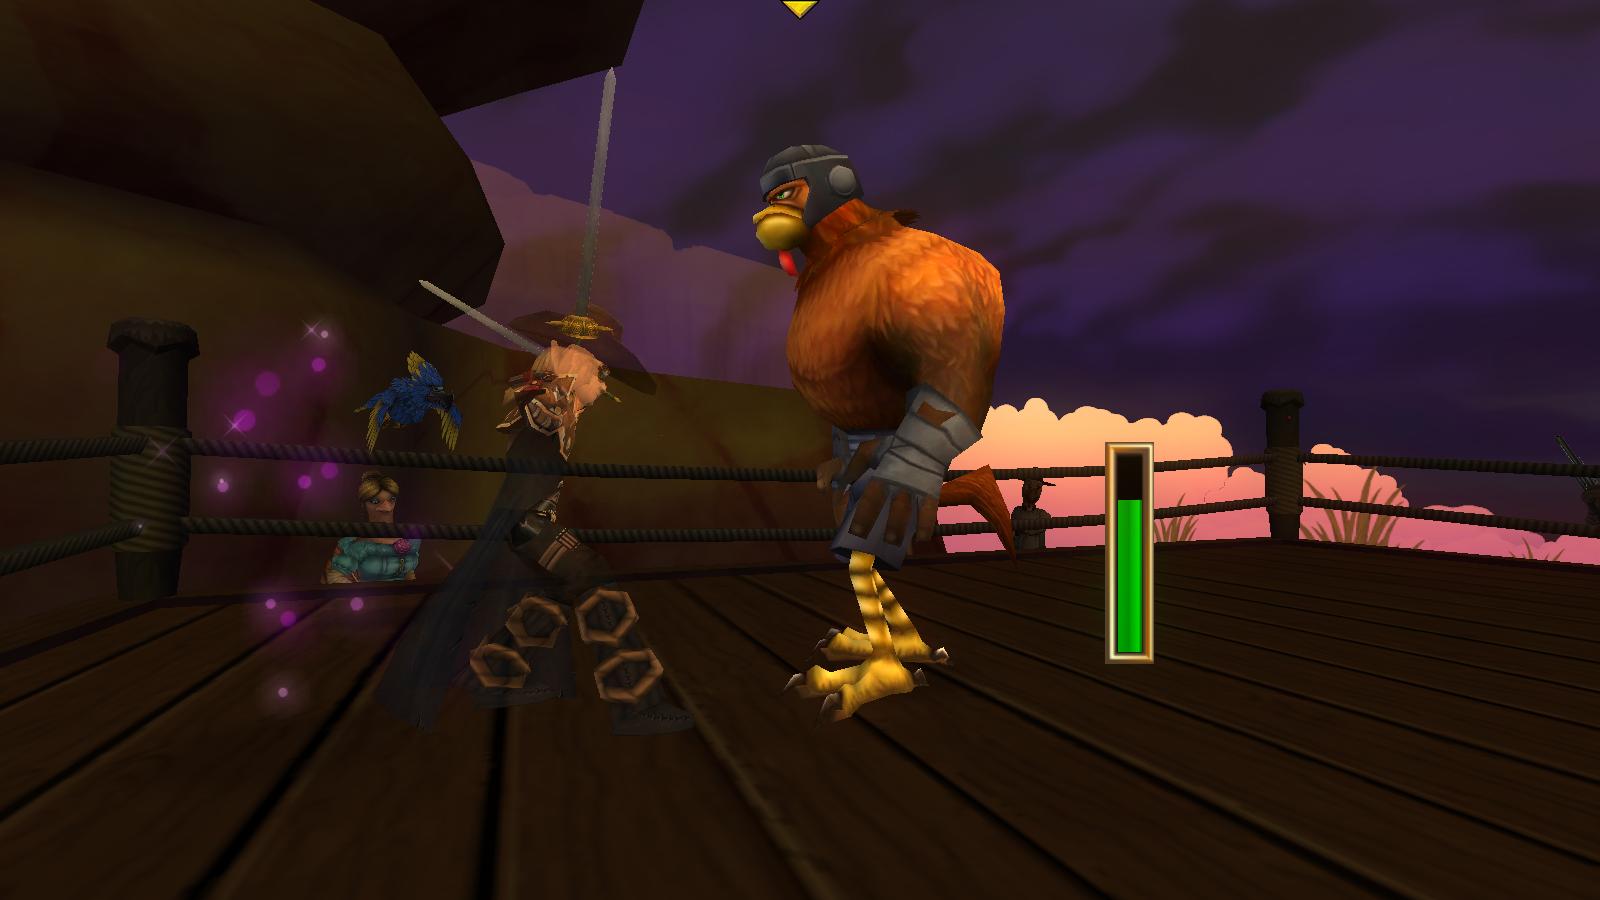
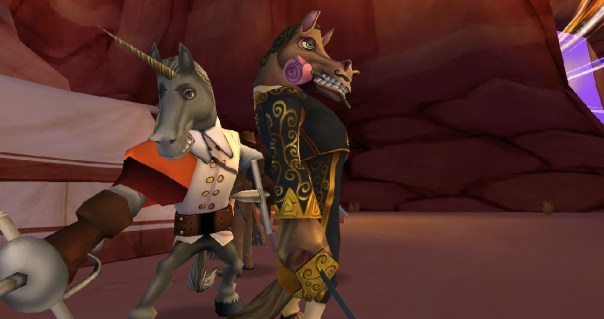
So my quest is to re-band the Magnificent Seven! It all started with Duck Holliday, who lives right in Tumbleweed. He told me the first person I needed to get was Buffalo Bill, since they didn’t really get along very well. Buffalo Bill went from a lawman and now runs the Traveling Medicine Show (what went wrong?). Duck told me that he was a bit of a gambler, and that if I could get him to bet something, he would have to rejoin. I bet him that I could beat Tyson, the chicken pugilist (don’t worry, that means boxer), he would join.
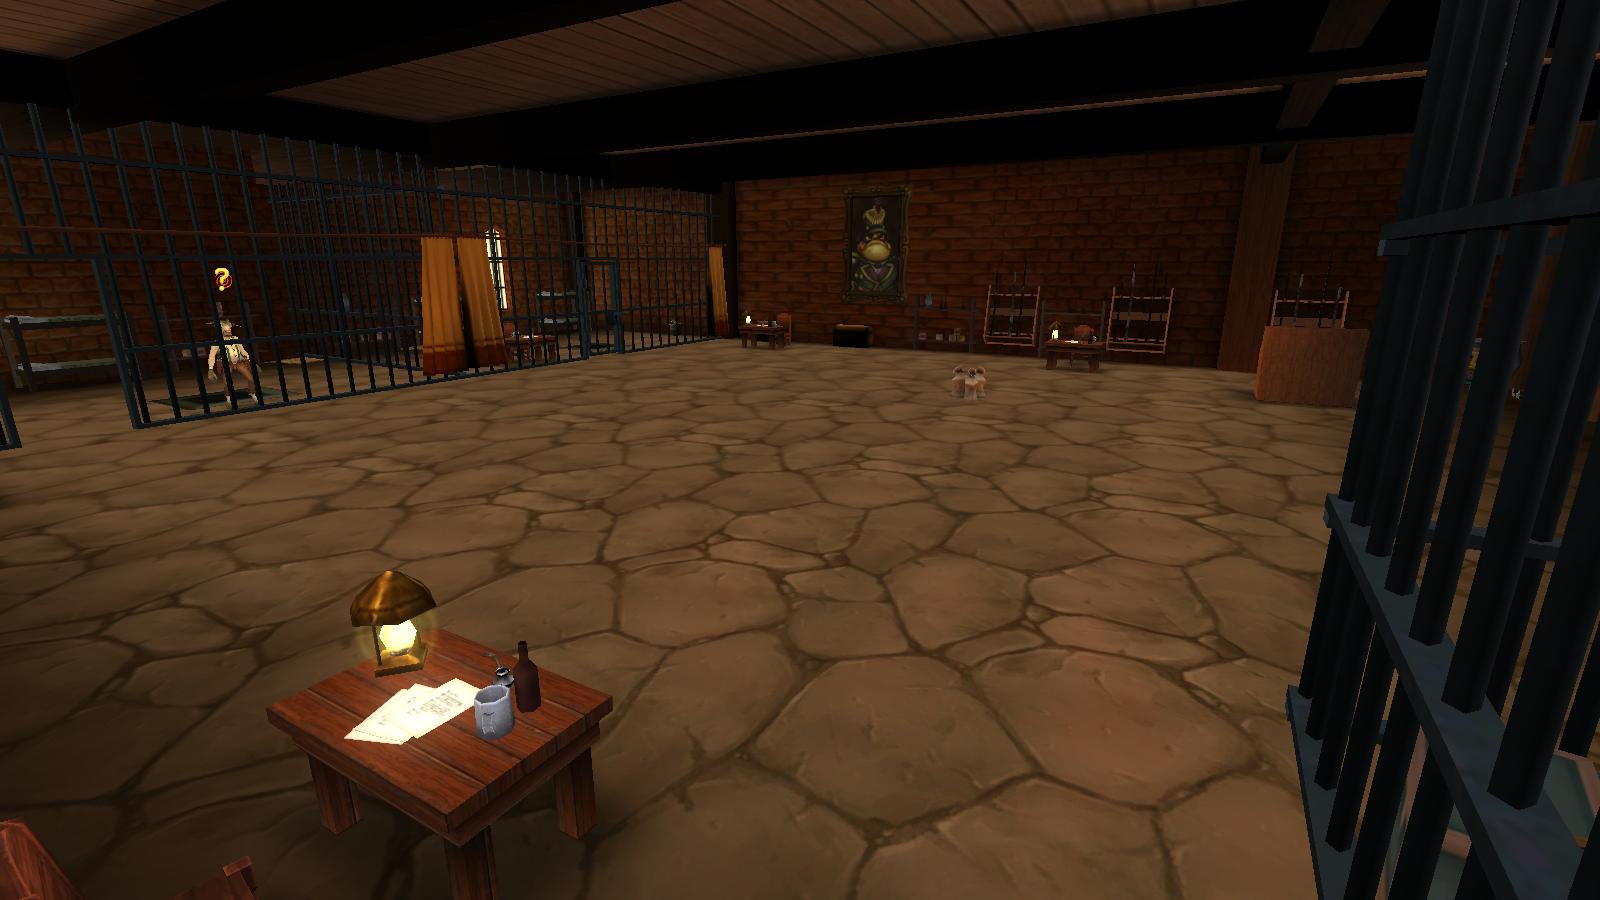
I won and finished part 3 of 7. (Duck was already in and sadly, Wyatt passed away.) The next people were Jane Canary, Bill Peacock, and Bat Masterson. Jane convinced Bill, and while they were getting ready my task was to defeat ships for Bat. Grr… After a week of procrastinating, I teamed up with some other pirates and collected six strongboxes from those Banditoads. 6 out of 7! The last was Billy the Kid. Last, but not least! The only thing was, Billy, was kind of in prison. Not kind of. Completely in prison. Jailbreak!
Whew! I think you have to fight 6 sets of Frogerales. After everyone was back together, 7 out of 7, the plan was to meet back at the Old Chirp Place. After we got ambushed by the Wild Bunch, we headed back to Tumbleweed to start a range war on the Bunch. To be continued in Journey to Marleybone: Haunted
Journey to Marleybone (Pt. 2: Saving Sally)
So, we left off with me having to defeat 10 Armada ships. Check!
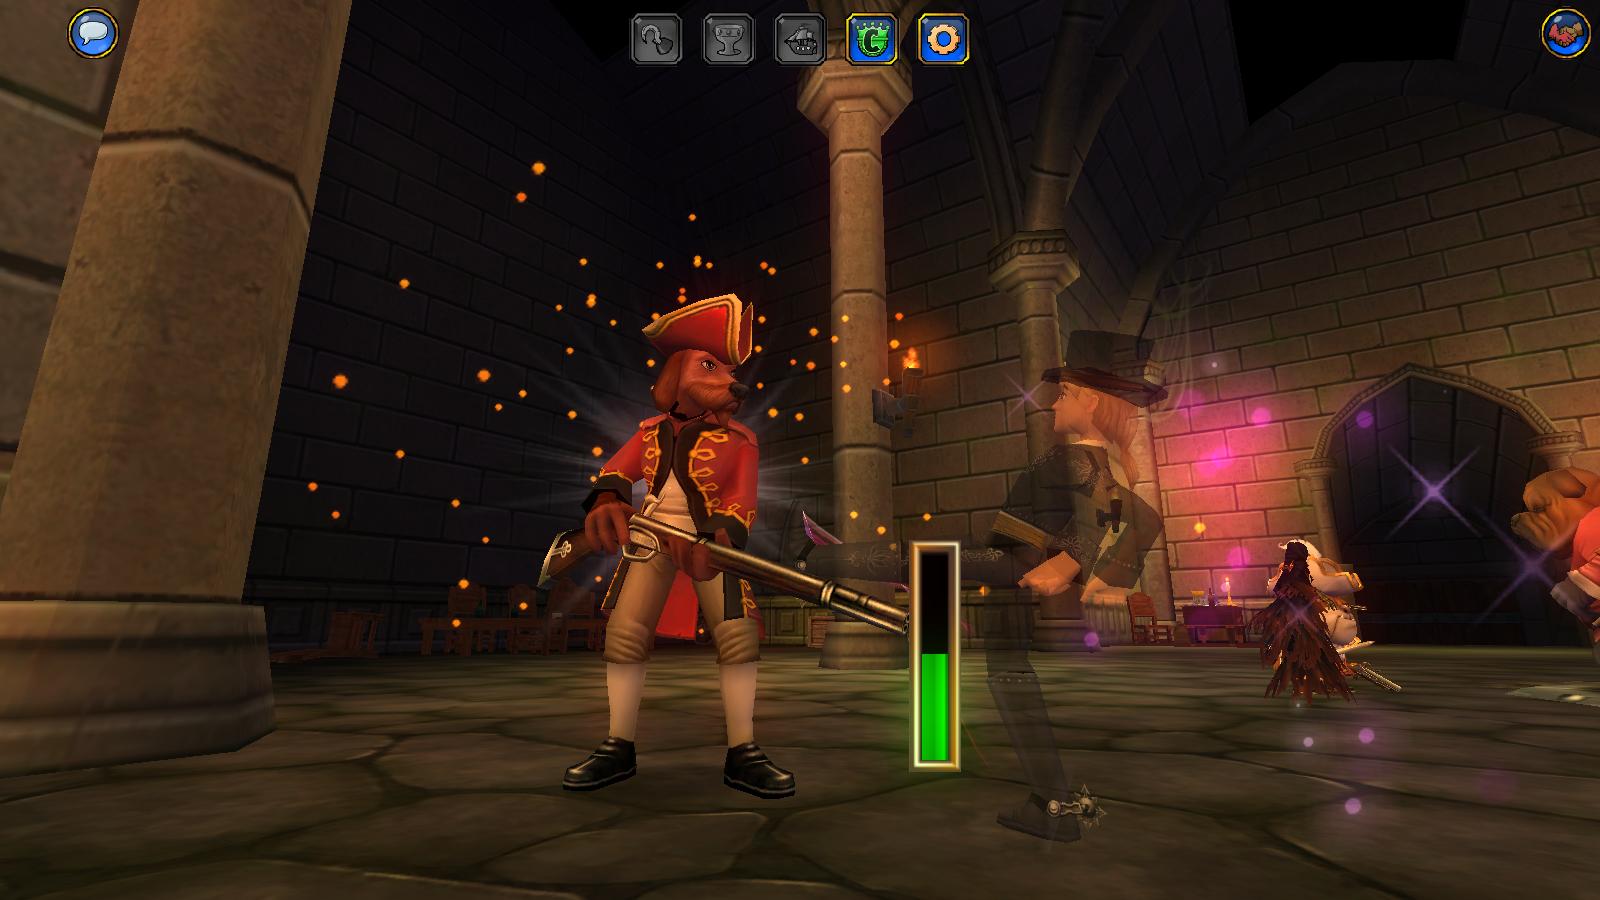
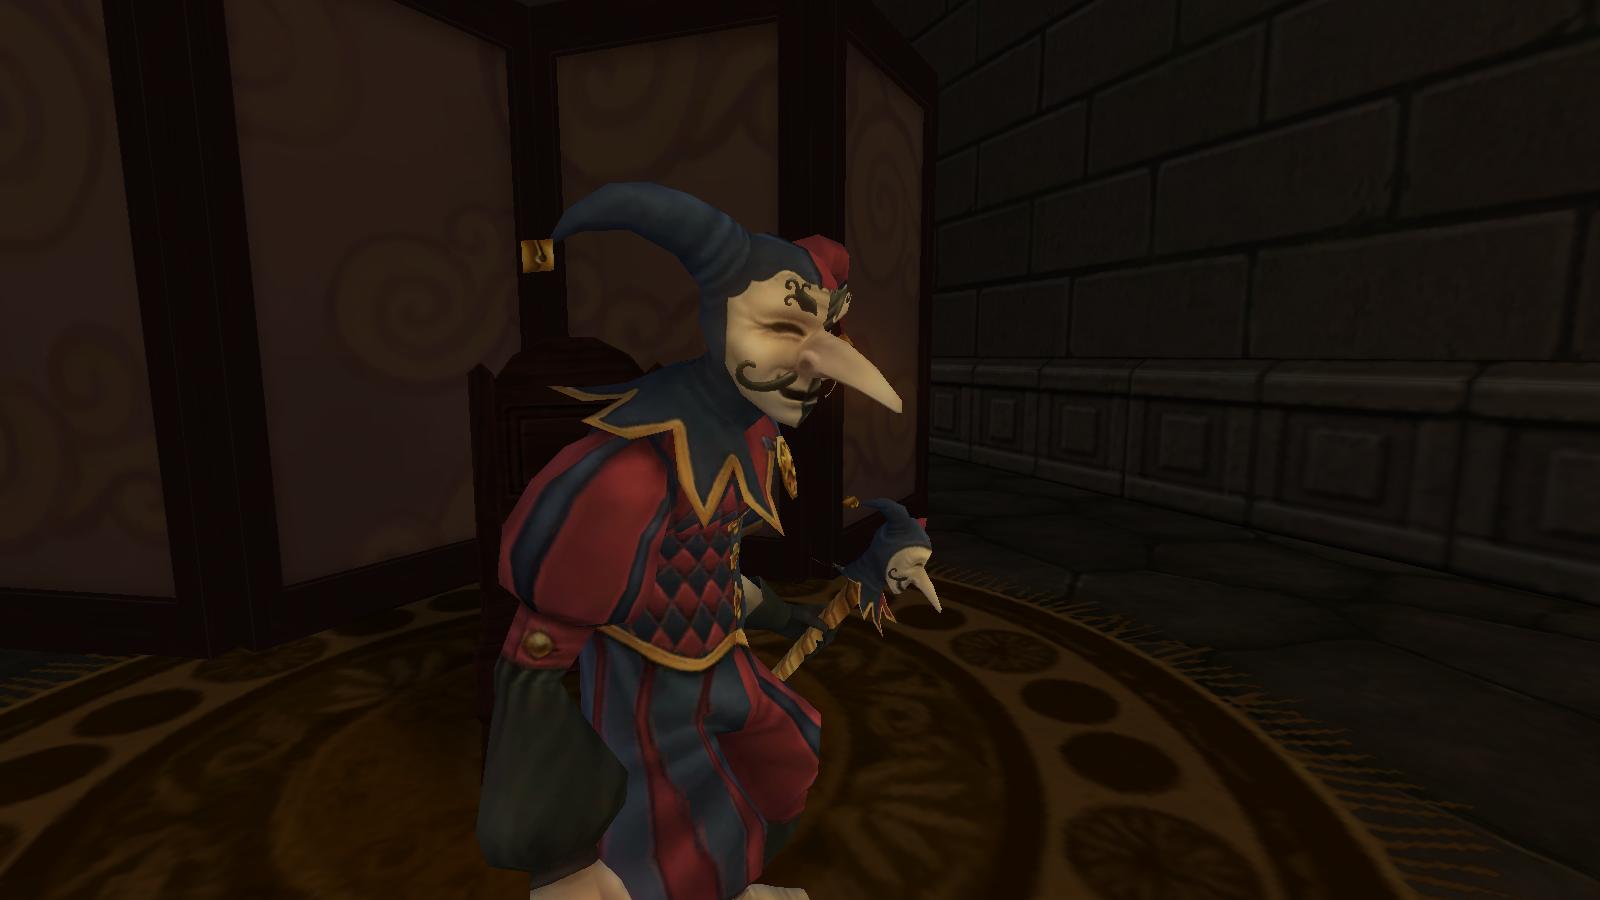
After that, I had to do the equivalent of breaking into the Governor’s Mansion: Dreadnaught Regal. After defeating three rounds of clockworks and blowing up lots of Powder Kegs, I was back out. The next thing Catbeard told me to do was the biggie: Fort Elena. Fort Elena, if you don’t know already, is the heavily guarded prison of the Marleybonians, which happens to be storing Mustang Sally and Napoleguin. Ka-ching! So I broke in, learned a new ability or two, and fought some Redcoat guards.
Check! After that I kind of had to find Sally. Or Napoleguin. Or both. First I met some other prisoners that I may…
…or may not have seen previously.
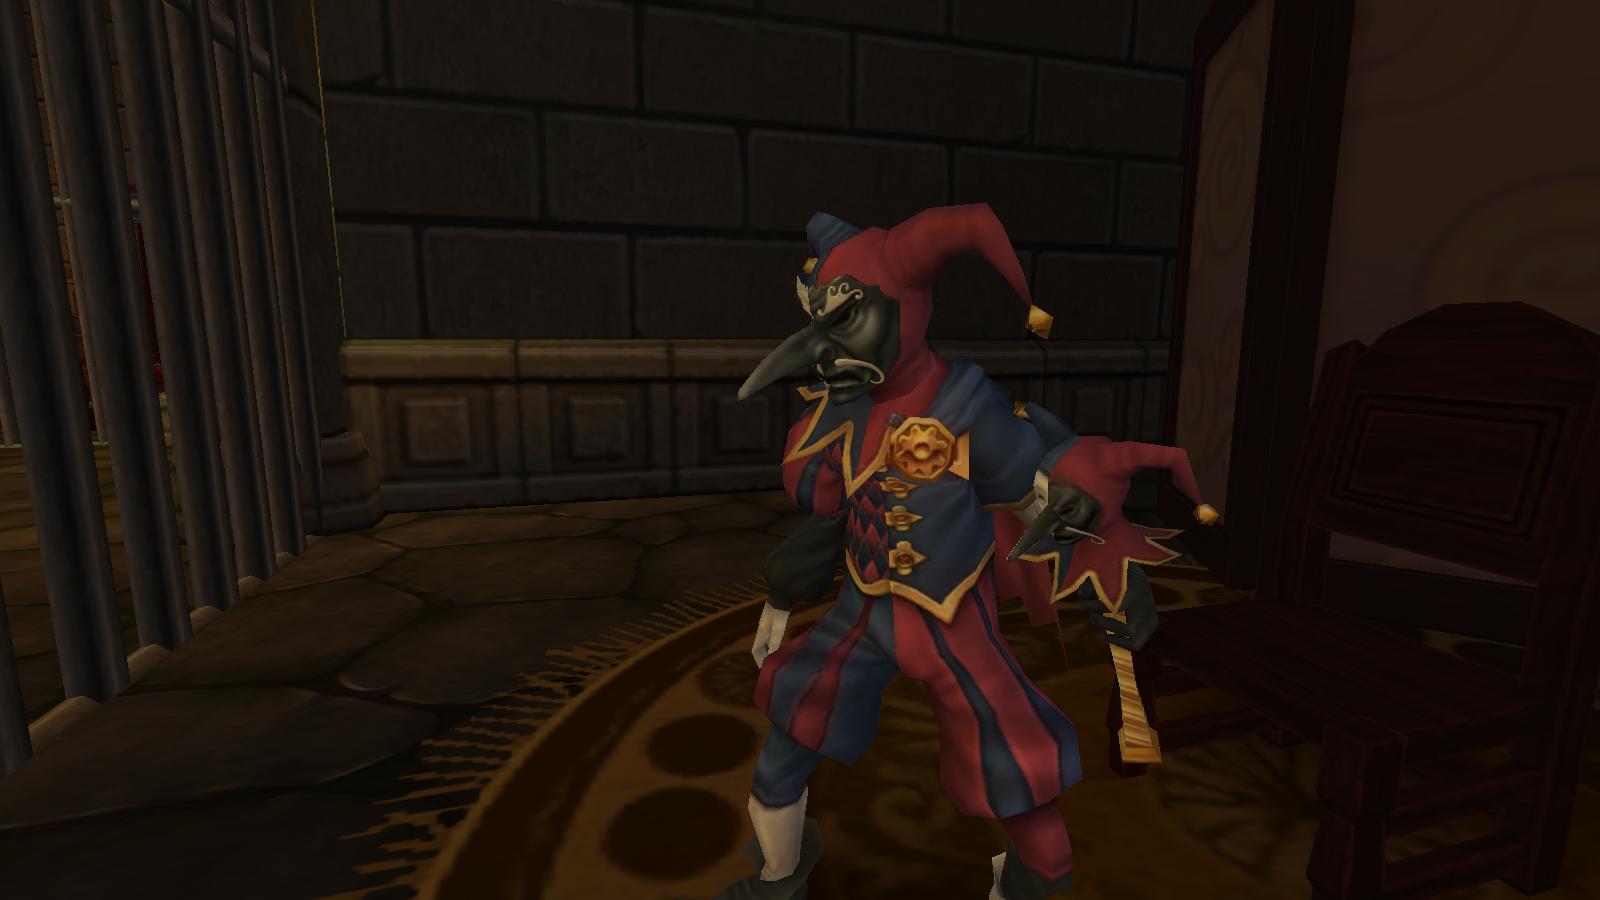
Is he a Phule or something? 😉 Finally I fought more Redcoats, some Armada, more Redcoats. (This is a long, if repetitive, dungeon. Dungeon as in instance and in dungeon.) I found Sally. Armada. Napoleguin. Fancy cell, eh?
So much for being in jail. I broke him out and fought about 3 more rounds of Armada while heading out for a breath of fresh air. I finally finished the dungeon and went back to Catbeard. He thanked me for following his/Napoleguin’s plan and sent me off to the town of Tumbleweed. Yay for being back in Cool Ranch!
To be continued in Journey to Marleybone: Part 3 Trouble in Tumbleweed! Thanks for your support and for reading!
Journey to Marleybone (Pt.1: Port Regal)
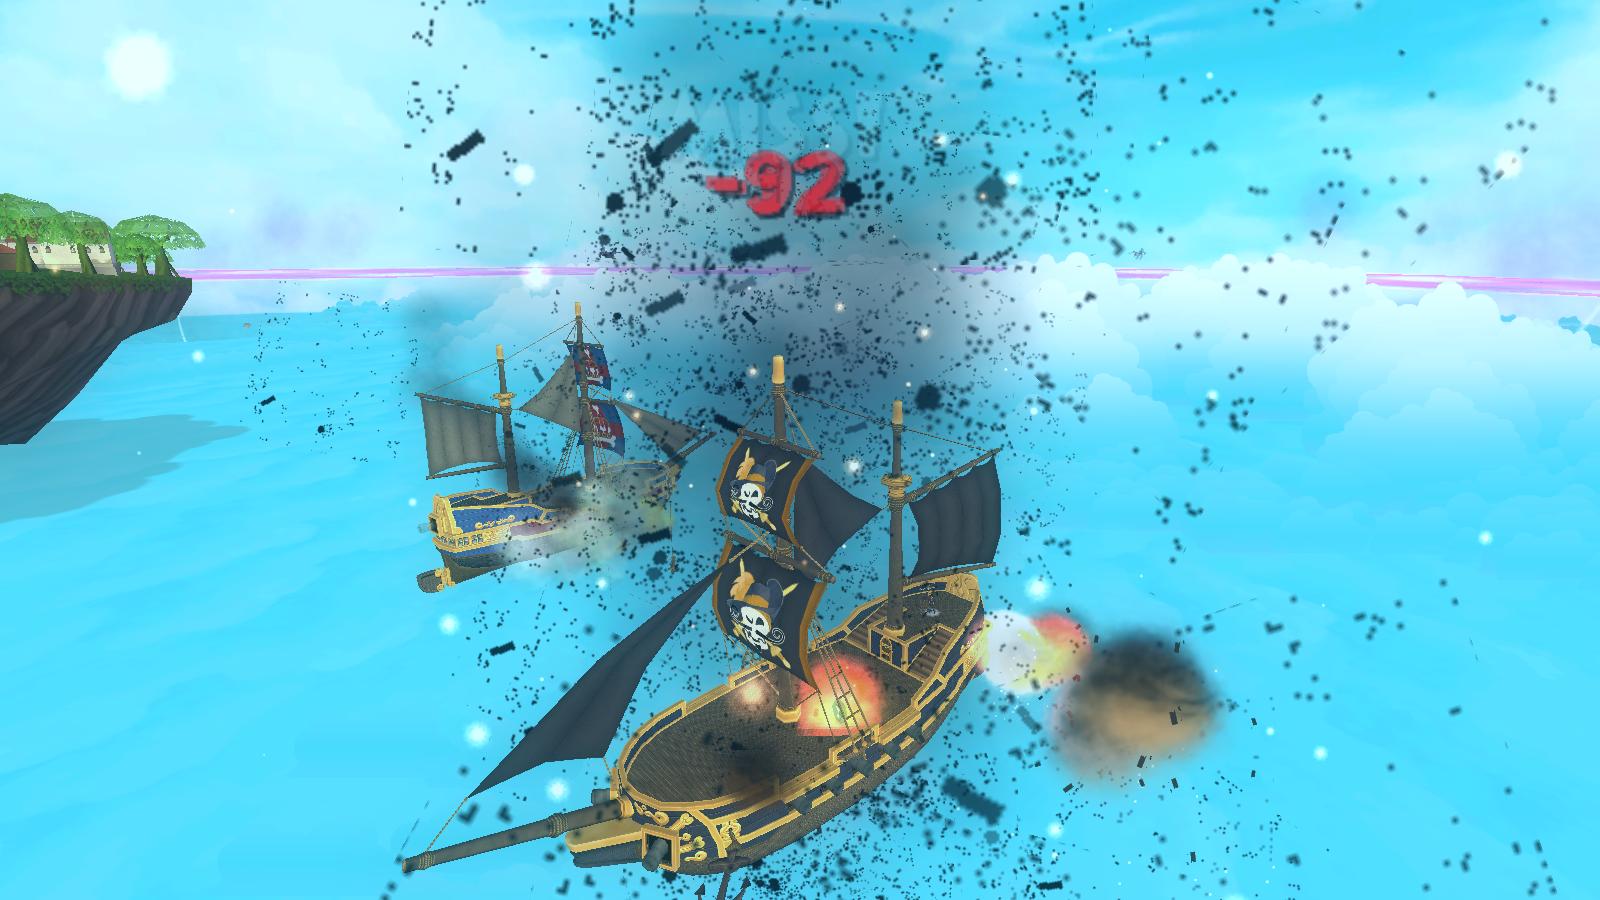
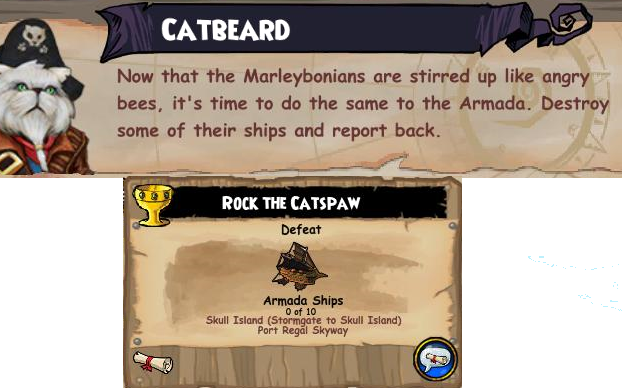
You know how I was in Port Regal, right? Well, I’m still in Port Regal. I don’t like having to defeat 10 Marleybone ships. It’s tedious and they always gang up on me. Grr… After I finally finished defeating those ships, I reported back to Catbeard.
He told me that Marleybone was annoyed, but that we need them furious. He told me that taking the governor’s daughter would anger Marleybone. To get to Mabel, I needed to break in to the Governor’s Mansion. I flew over to Port Regal to learn how from Gilbert and Sullivan. They told me about a secret entrance around the side of the house, and that I would be able to go through the sewer and get to the cellar. Why are us pirates always going through cellars? 😉
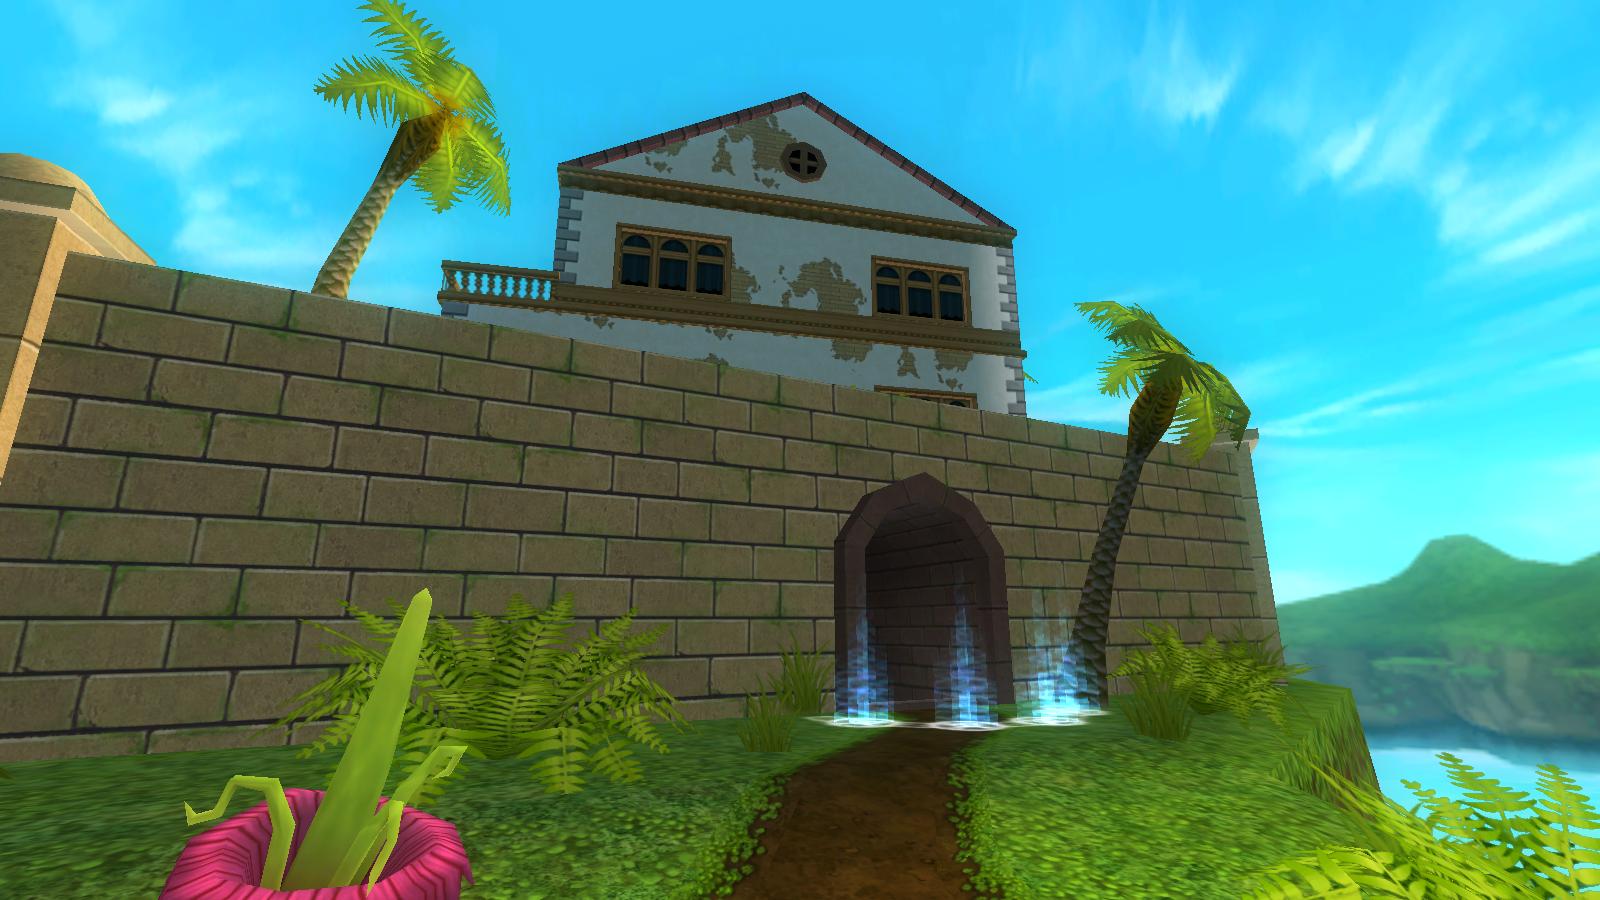
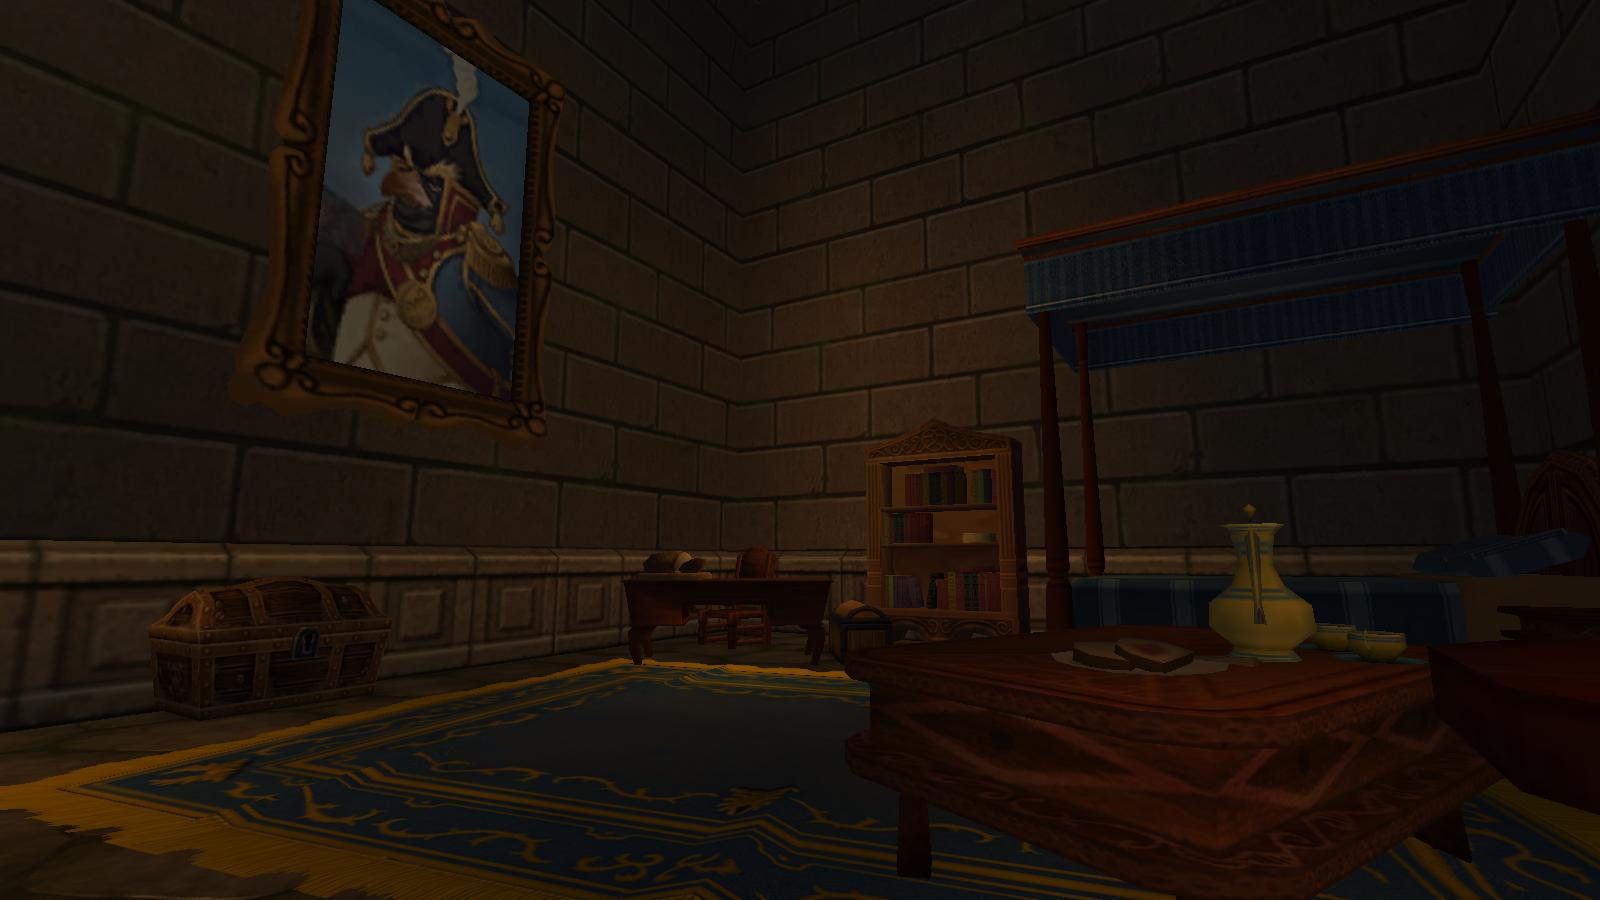
I fought an admiral down in the sewer (why was he down there?) and then headed up into the secret entrance. The house was actually quite pretty, and no one seemed to notice me in there.
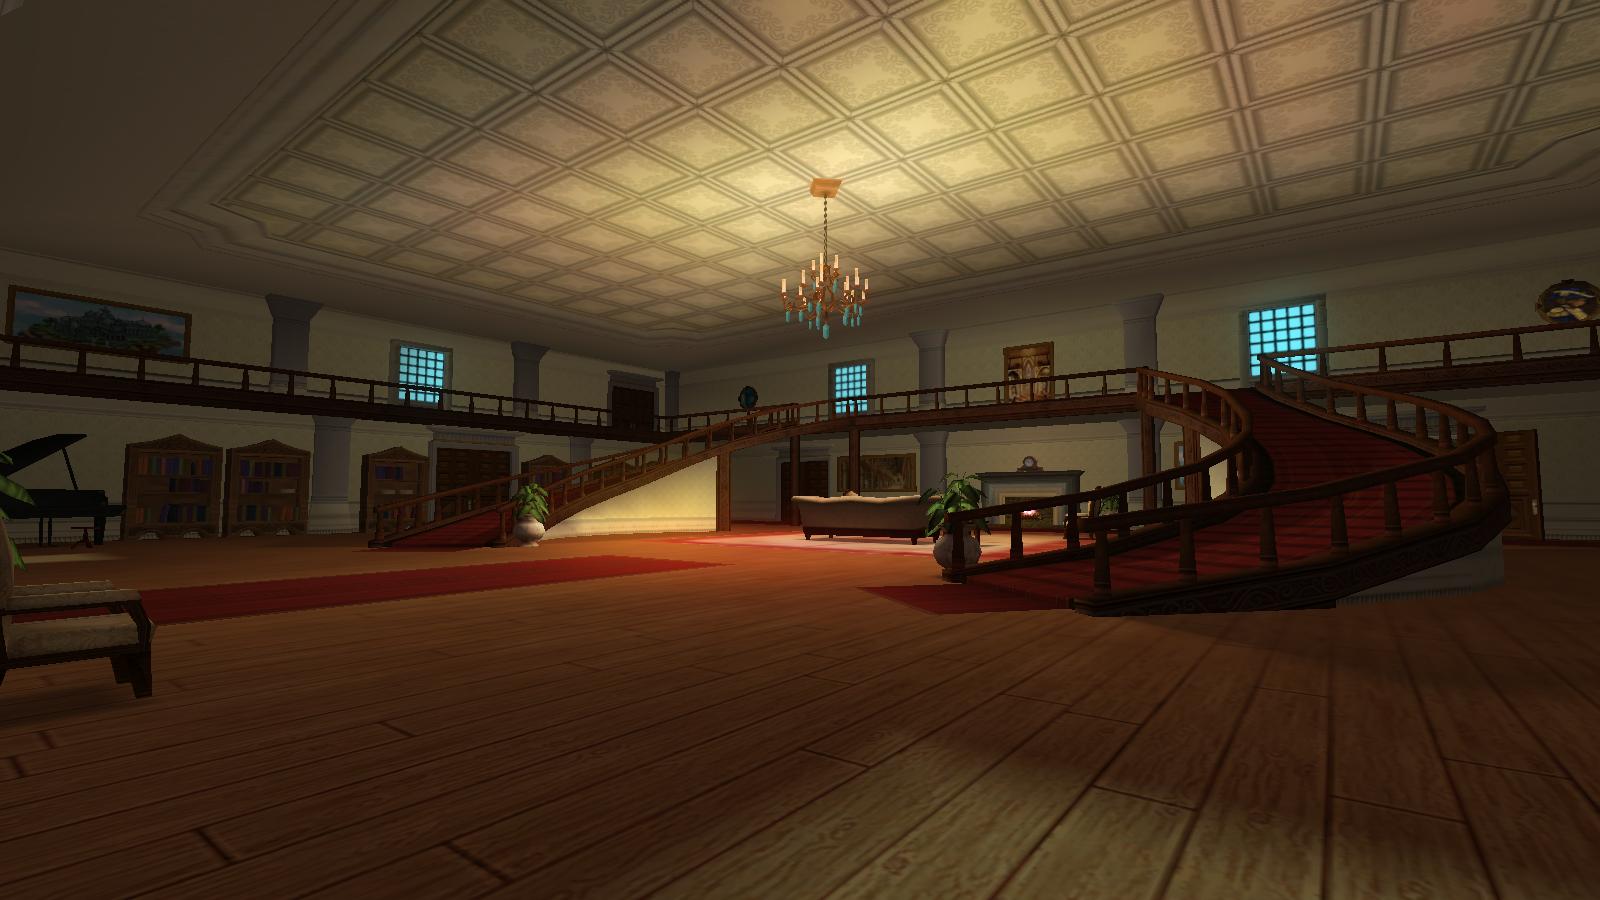
Main entrance, but I came out of the kitchen. Figures.
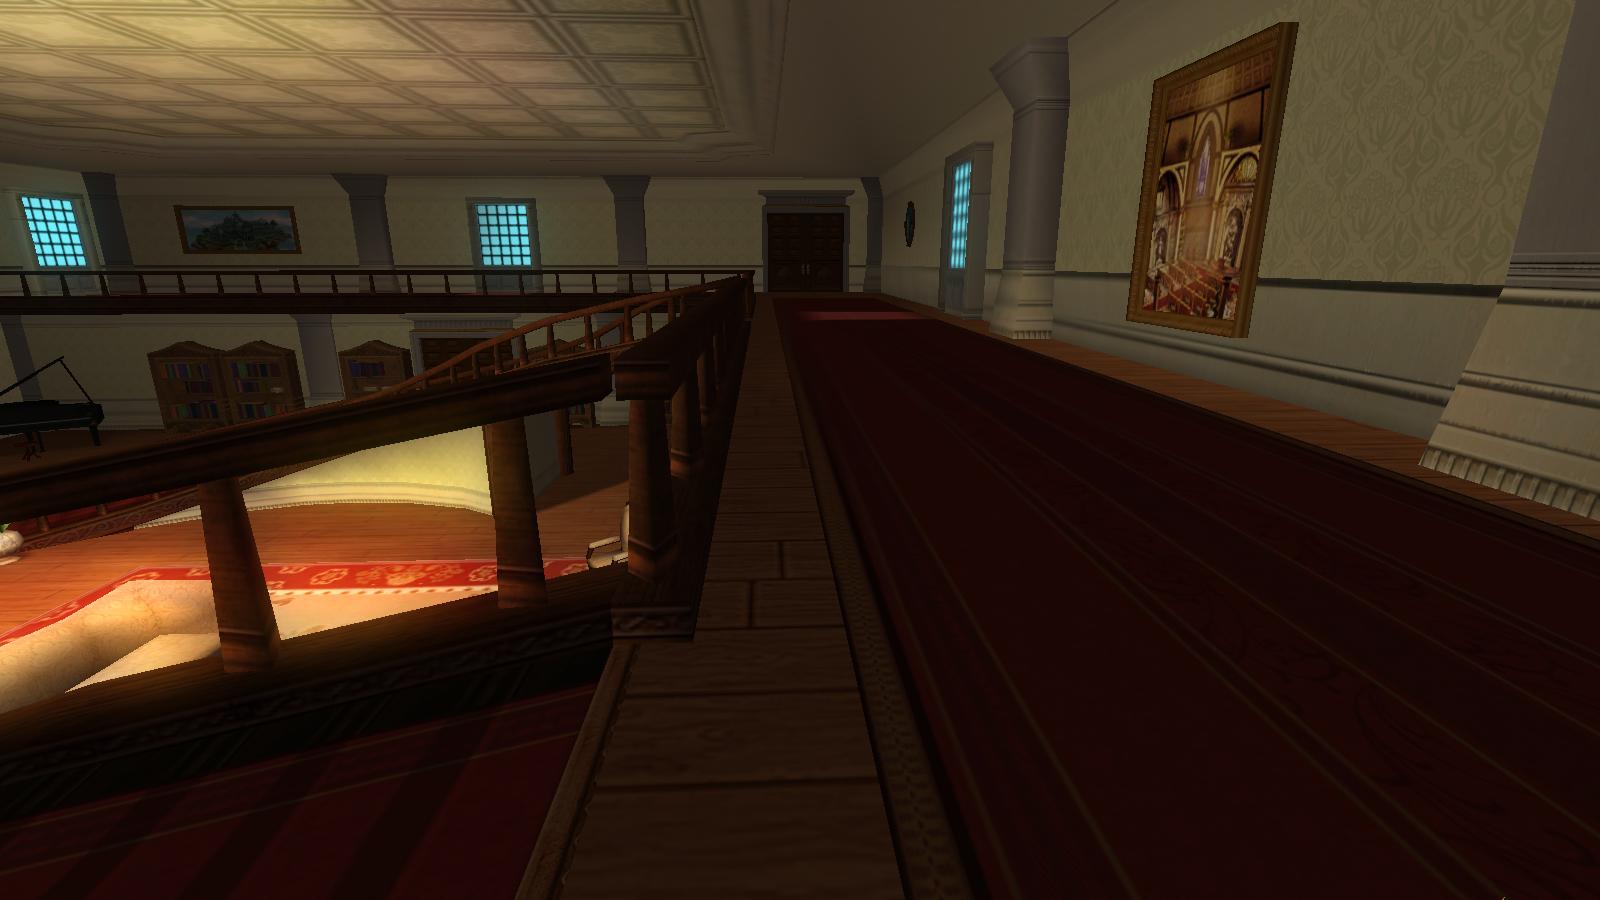
Upstairs balcony. Is it just me, or does that painting on the right seem like it could be a potential tapestry/painting teleporter to Wolfminster Abbey? After I brought Mabel back to Catbeard, apparently he was satisfied… With Marleybone. Now I had to “do the same thing to the Armada.” To be continued in Journey to Marleybone Part 2: Saving Sally!
English Bill
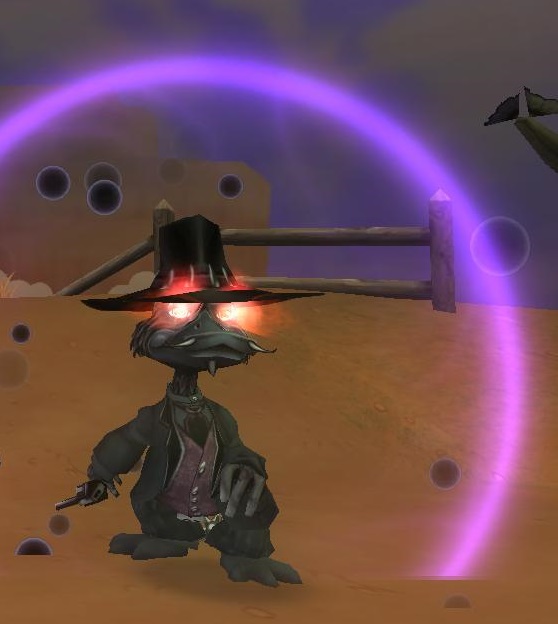
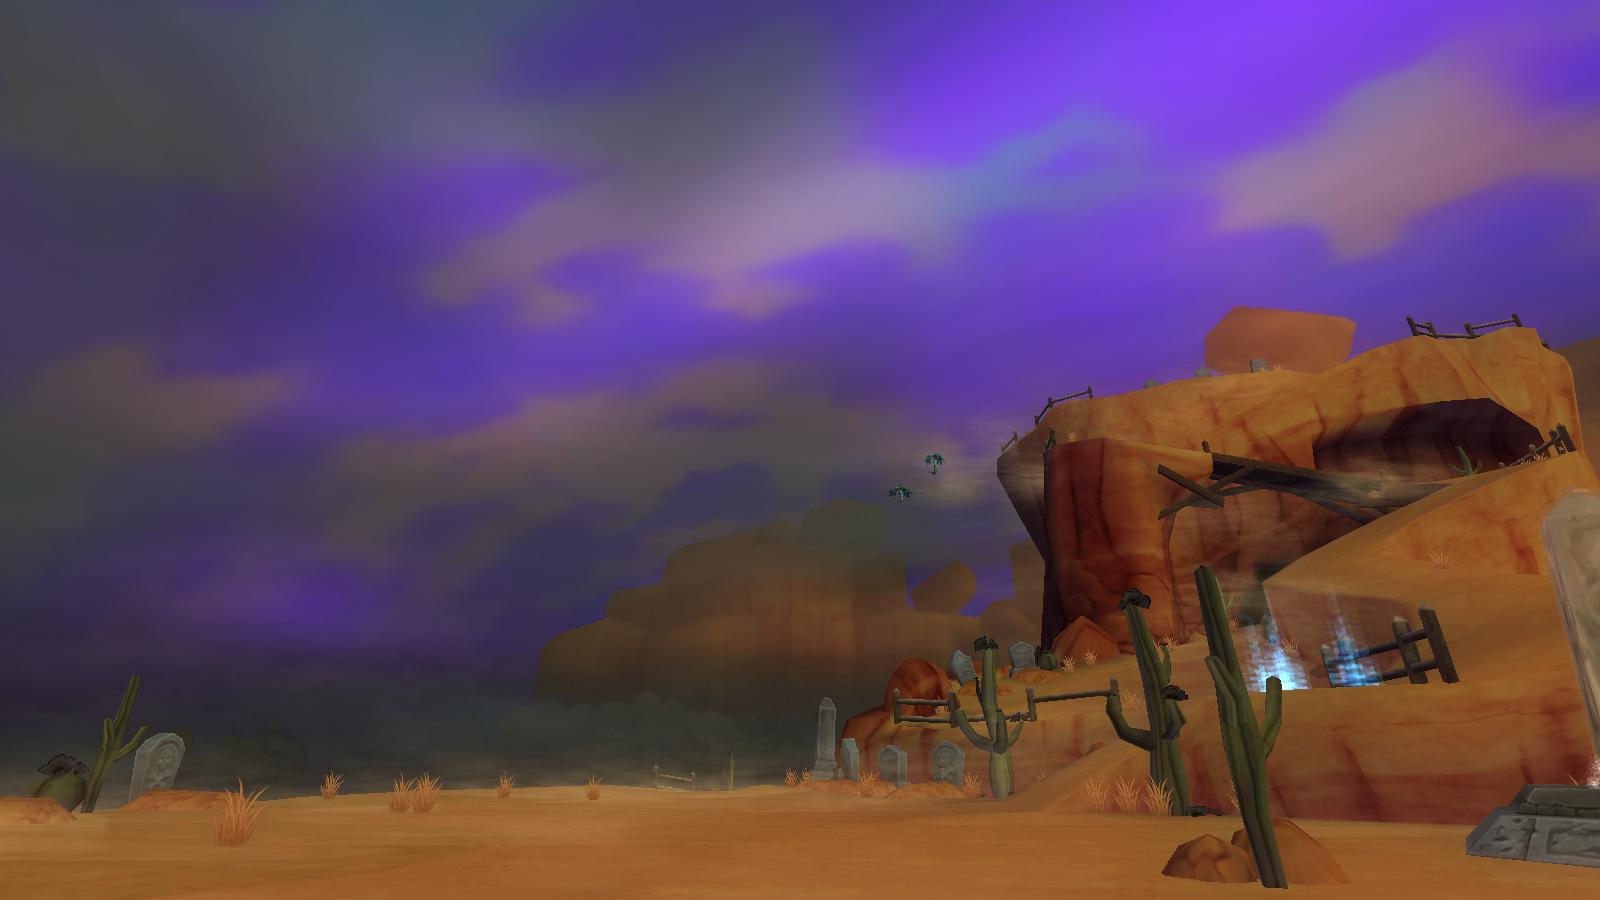
Yeah… That’s not what I thought of when I heard “English Bill” either. Maybe it would help if I also explained he is the Duck of Death. Now, after quite a lot of questing in Cool Ranch, I headed over to Boot Hill. (I’ll tell you, that’s not where you want to go for a vacation.)
You have to fight the Duck of Death two times, once on Boot Hill and once on his ship. The first fight is a bit tricky, though me and my friend smashed him to the ground straight away (by pure luck). First, you must interact, or attack, a Basin so you can be Blessed. To indicate you are blessed, halos appear over your entire team. A Basin is a statue with water in the top. There are two Basins in the battle. Once your team has halos, you are free to kill the Duck of Death.
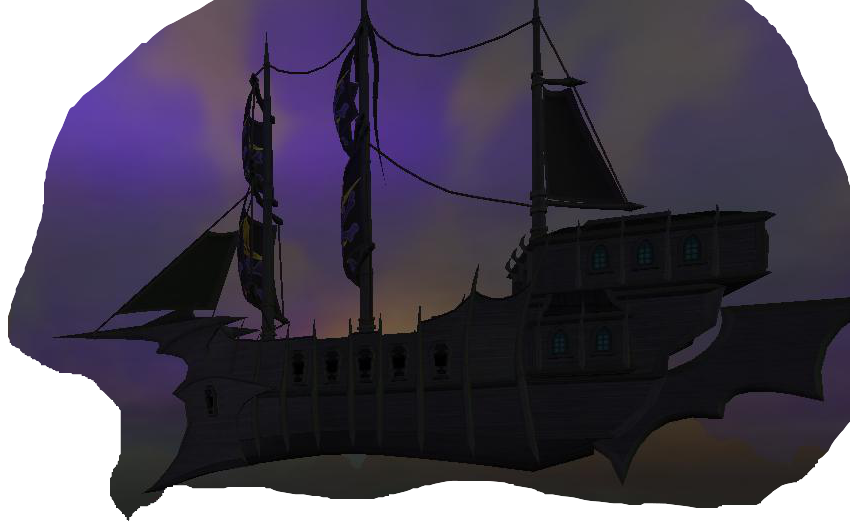
You do have to kill him twice. This is his… uh… I called it a ship, right? This fight there are no Basins, so you are free to attack the Duck as soon as you want. Once you’ve finished that fight, you talk to Tonka, the whole reason you were here in the first place. English Bill had captured Tonka, but now he is freed. Finally, once you’ve finished all of that… You get a badge!
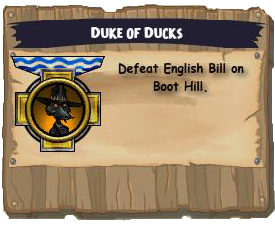
Hooray! Duke of Ducks! Thanks for reading!
Pirate101 Abilities – Where To Train
Now we’ve all had a visit to the class trainers, but the question is, where should we train? Most Wizard101 veterans will say go for life. That would be Privateer, correct? But is that really the best choice? What about if we have ranged weapons? How should we train our points, and when? KingsIsle has done in my opinion a very good job of separating and balancing the Pirates’ classes. Some are more valuable to train, and some not. Some require a certain prerequisite, others not.
Many factors play into the training of new skills, powers, and abilities in Pirate101. Are you choosing the right abilities? Many arguable notices have been made for class training, and at the top of the list is, again, Privateer. Now why is this class so valuable to train?

The Privateer’s abilities have proven to be a must in most people’s opinions for any class. The healing can change a life-or-death situation, and people who haven’t experienced similar games are still picking healing over other powers and talents. They choose it so that they can save themselves and their companions when they’re on low health. Of course, who wouldn’t want to do that? So, Privateer secondary training is rated top #1.

The next class is where the choices split. Some people use this as their third class, and others their first, skipping Privateer. A Witchdoctor’s abilities can be very useful in combat. You learn minor damage and area spells, which can be casted from a distance. Also, Witchdoctors learn Jobu’s Breath, which is a very useful ability. A combination of these puts Witchdoctor at #2.
Swashbucklers’ and Buccaneers’ talents are pretty much tied. They are alright, and give you quite a few damage boosts, etc. Swashbuckler gives you the basics of finesse- Sneak Attack, Walk in Shadows, Hurl Knife, and some Swashbuckler talents. Buccaneers give you some stat boosts, damage boosts, and a few helpful talents that are only available there or from Morgan LaFitte. This comes in very close with Swashbuckler at #3 and Buccaneer at #4.

Sorry, Musketeers! The Musketeer secondary class is one of the least chosen, for a couple of reasons. A high majority of its talents only benefit Musketeers, as is with their abilities. One of the only reasons people would pick Musketeer for secondary (or third) class is for the talent Elusive. Elusive increases your dodge by at least 25(%) when your pirate’s health is below half. This leaves Musketeer at #5 for secondary classes. This doesn’t mean choosing Musketeer right off is bad!
Pirate101 Training Ranks:
- Privateer
- Witchdoctor
- Swashbuckler
- Buccaneer
- Musketeer