Blog Archives
")
Aquila Quest (Pt 1: Sato’s Sunglasses)
My new questing series! This will include my quests through books 13 and 14- Marleybone and Aquila. After I got out of MooShu (see Journey to Marleybone if you aren’t sure what I’m talking about), my first quest was to go to Port Regal to get the windstone to Marleybone.
After that I went to MooShu again so I could get the paper permits from the Marleybonian Embassy in Hamamitsu Gardens (by the Marleybone stormgate). To do this I needed Moolong tea, whose only source was apparently from the Yakooza. Egg Foo Yung, the leader told me that I needed to find Sato and stop him, then he would give me the tea. Of course, this was at the end of a 3 hour dungeon!
Whenever you attack Sato (until he is at about 1/3 health) he uses the Witchdoctor ability Shadow Step and teleports to a random square on the battle board, which makes him very tedious to fight. After you get him down, you have a chance at winning the Black Rain Shades, though (which I was not lucky enough to get, this time). After I defeated Sato I went back to Egg Foo Yung for the tea. I have to admit, it didn’t seem worth the work. I went back to the Marleybonian Embassy to get my papers to go to Marleybone and entered the stormgate. I was given a warning by the Marleybonian Ambassador about the war and boy, was she right! You come out right into a lot of Armada Skiffs and some cool NPC pirate ships.
My first task? The Isle of Dogs. To be continued in Aquila Quest (Part 2: Uncanny Incarceration)
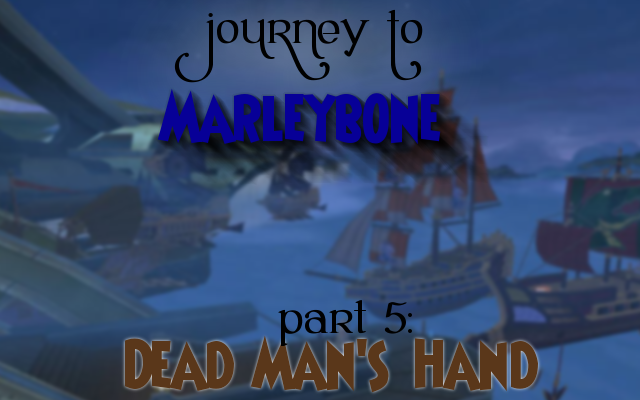
Journey to Marleybone (Pt. 5: Dead Man’s Hand)
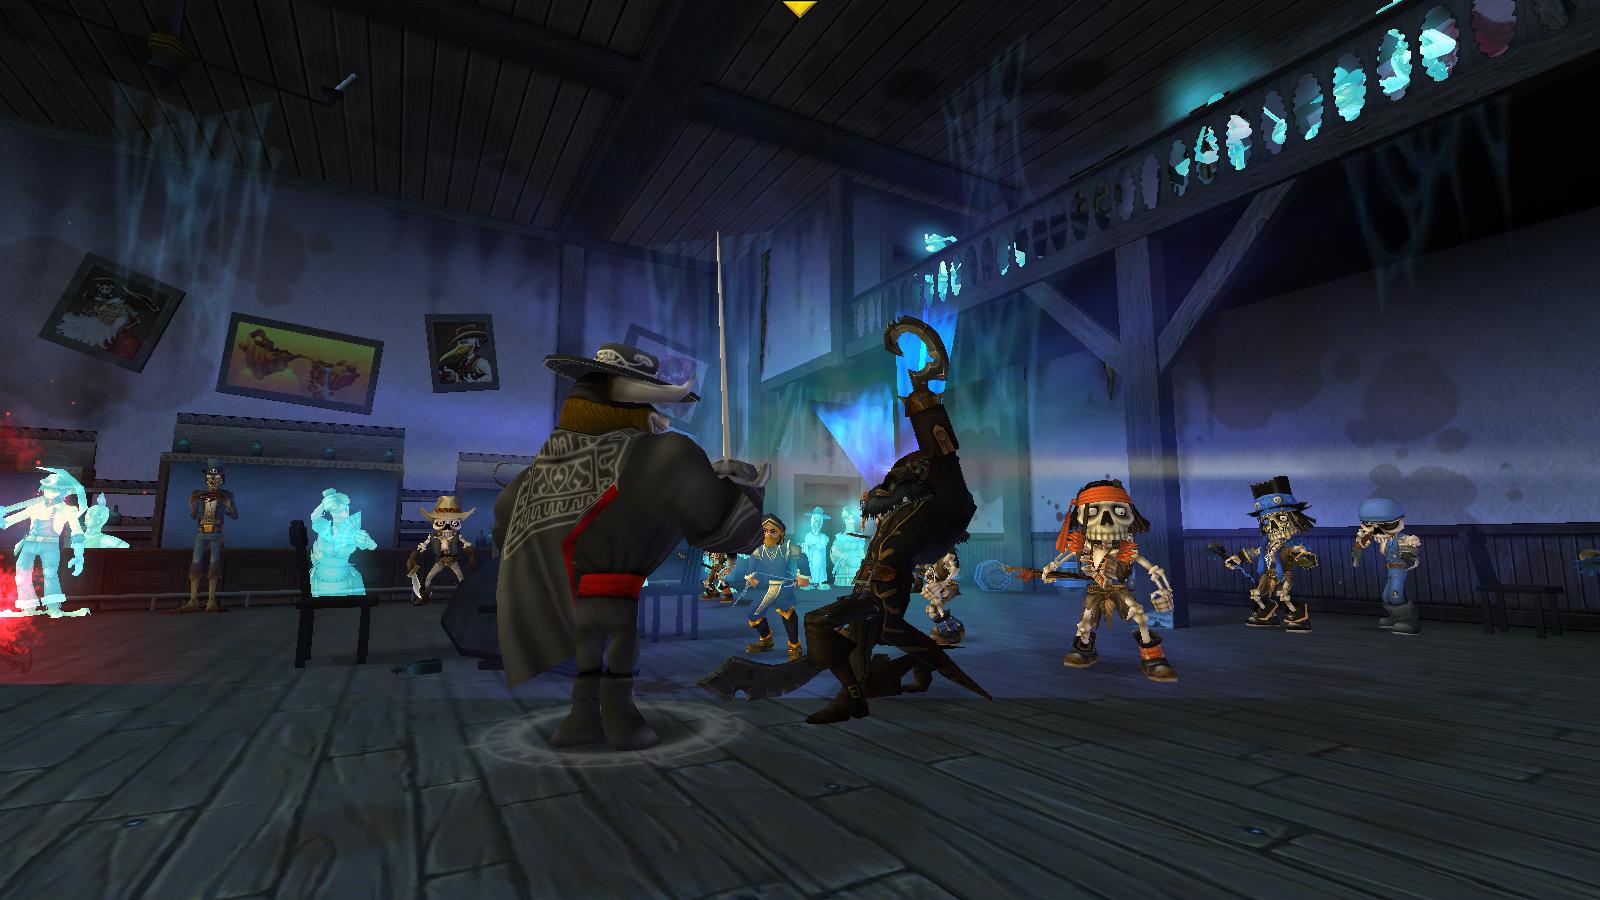
This is another Journey to Marleybone post! If you haven’t read one of these before, click here to view the archives of posts that are tagged with “journey to marleybone”! Where I left off, I was about to enter the haunted town of Miranda. It wasn’t that bad, I have to admit. All you have to do is avoid as many battles as possible. You have to fight a lot of undead, and go back and forth between the saloon (where the card dealer was) and other assorted places (collecting the cards scattered around Miranda.)
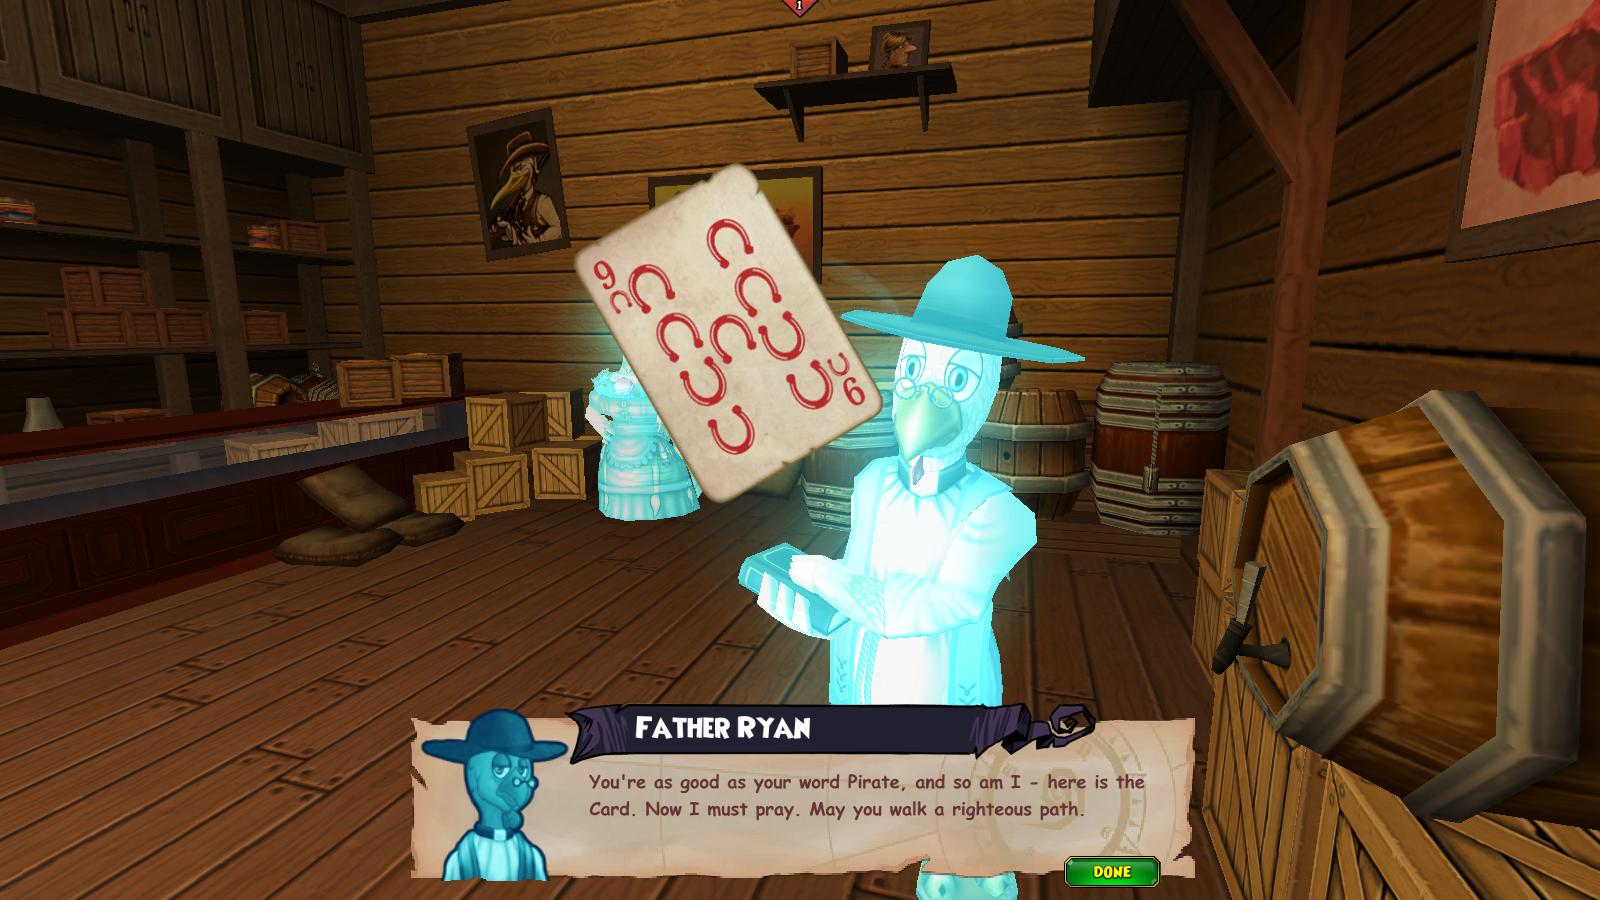
The first person I got a card from was Father Ryan. He gave me the card because I found the lost pages of his prayer book, which were also scattered around Miranda.
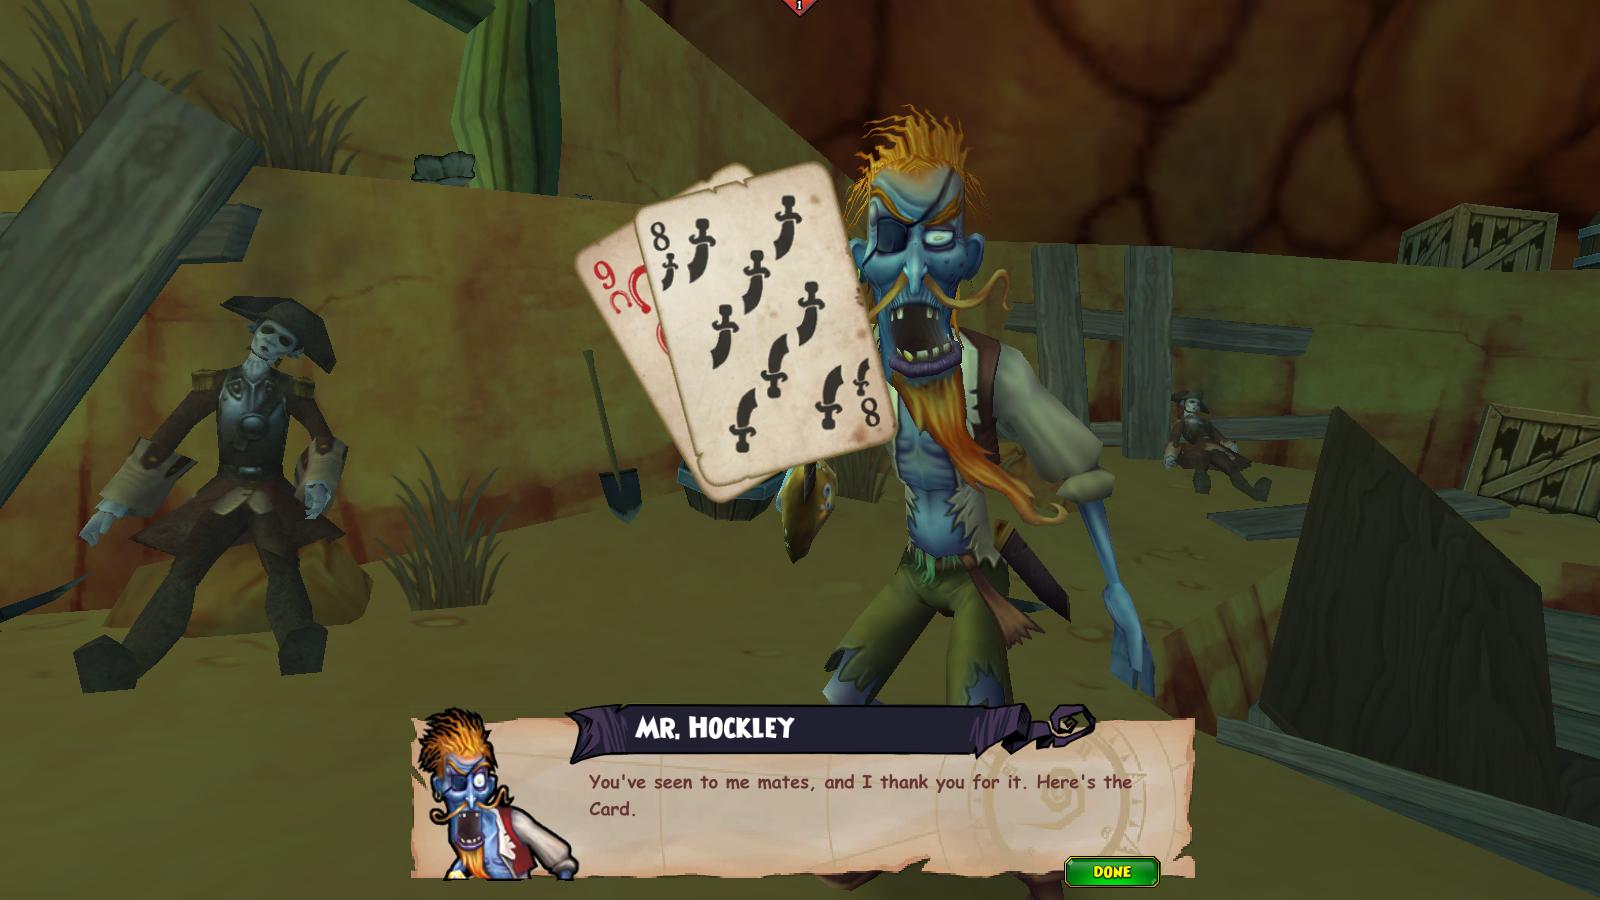
The next person was Mr. Hockley. He had left his crew alone, but never came back. He guessed the undead had already got to them, so I was given a card after I had found them and given them a proper burial, which lead to a fight with more undead.
You see, I don’t have a screenshot of the third card. I had to take it from a faithful member of Blood’s crew, who was in a mine down below the town. (It was pretty easy to avoid two fights here.)
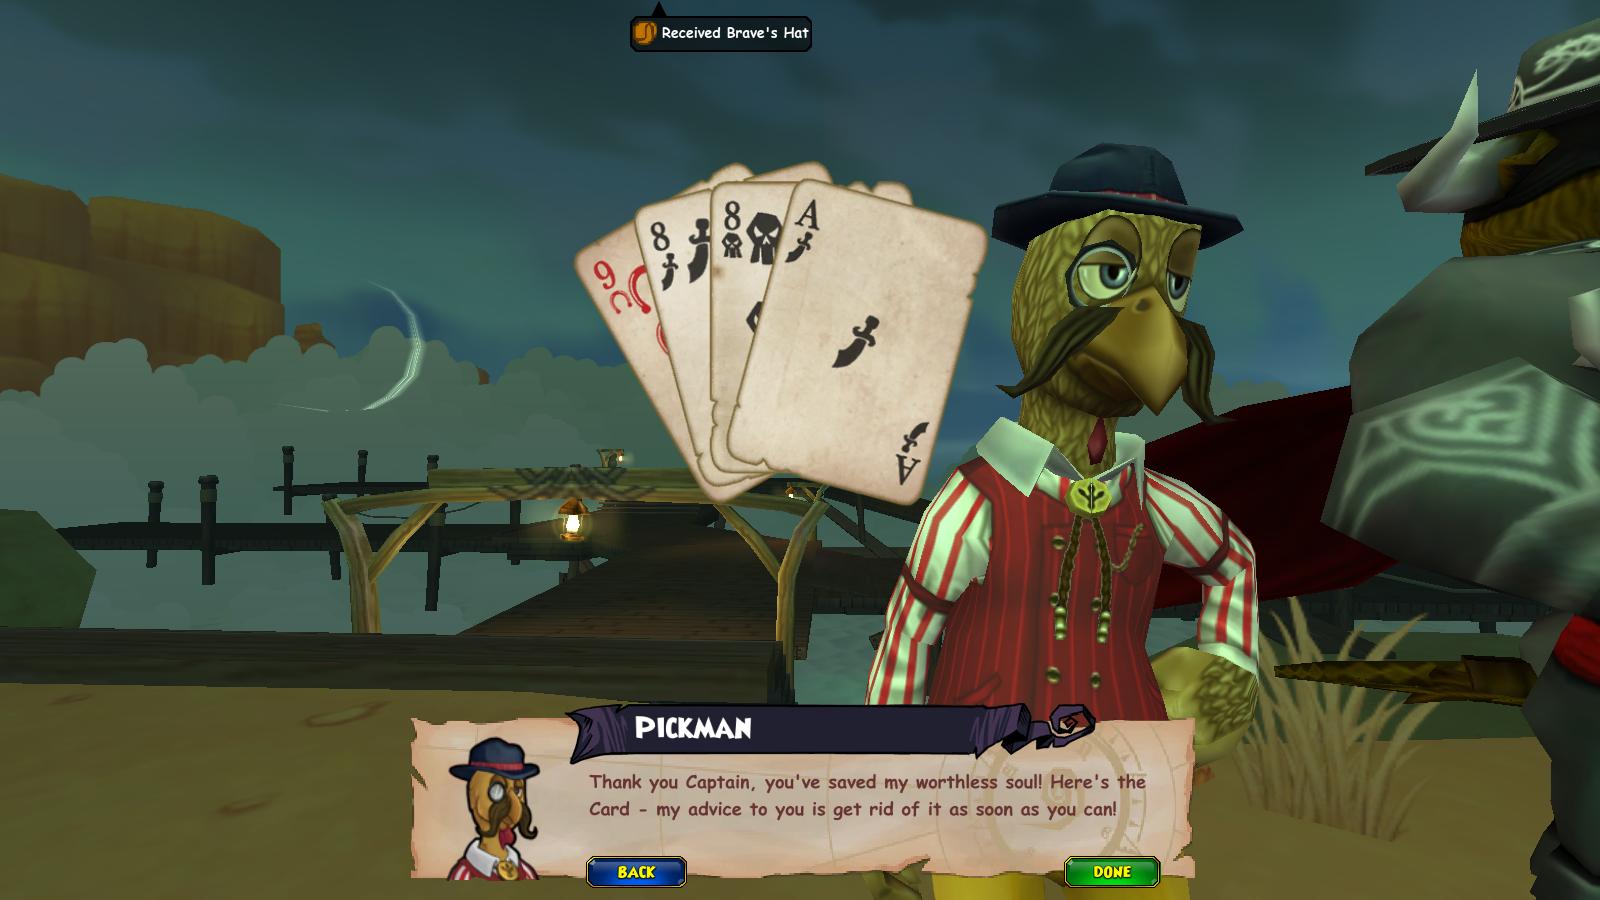
The fourth card was from Mr. Pickman, who was lost, but had one of Blood’s cards. To save him, you have to fight about three unavoidable battles.
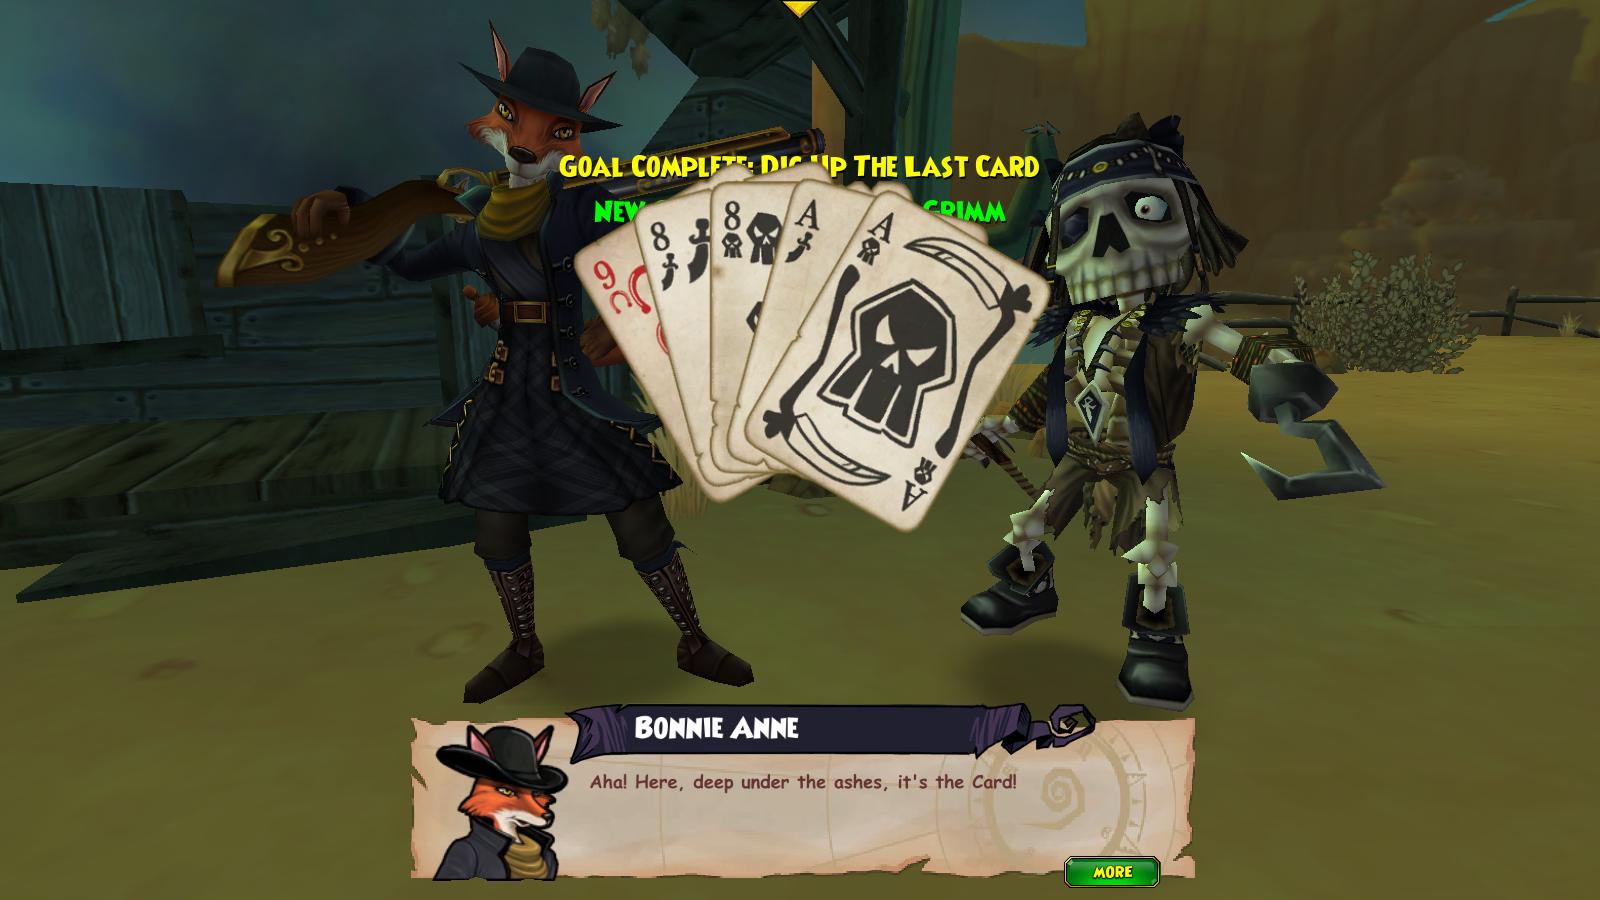
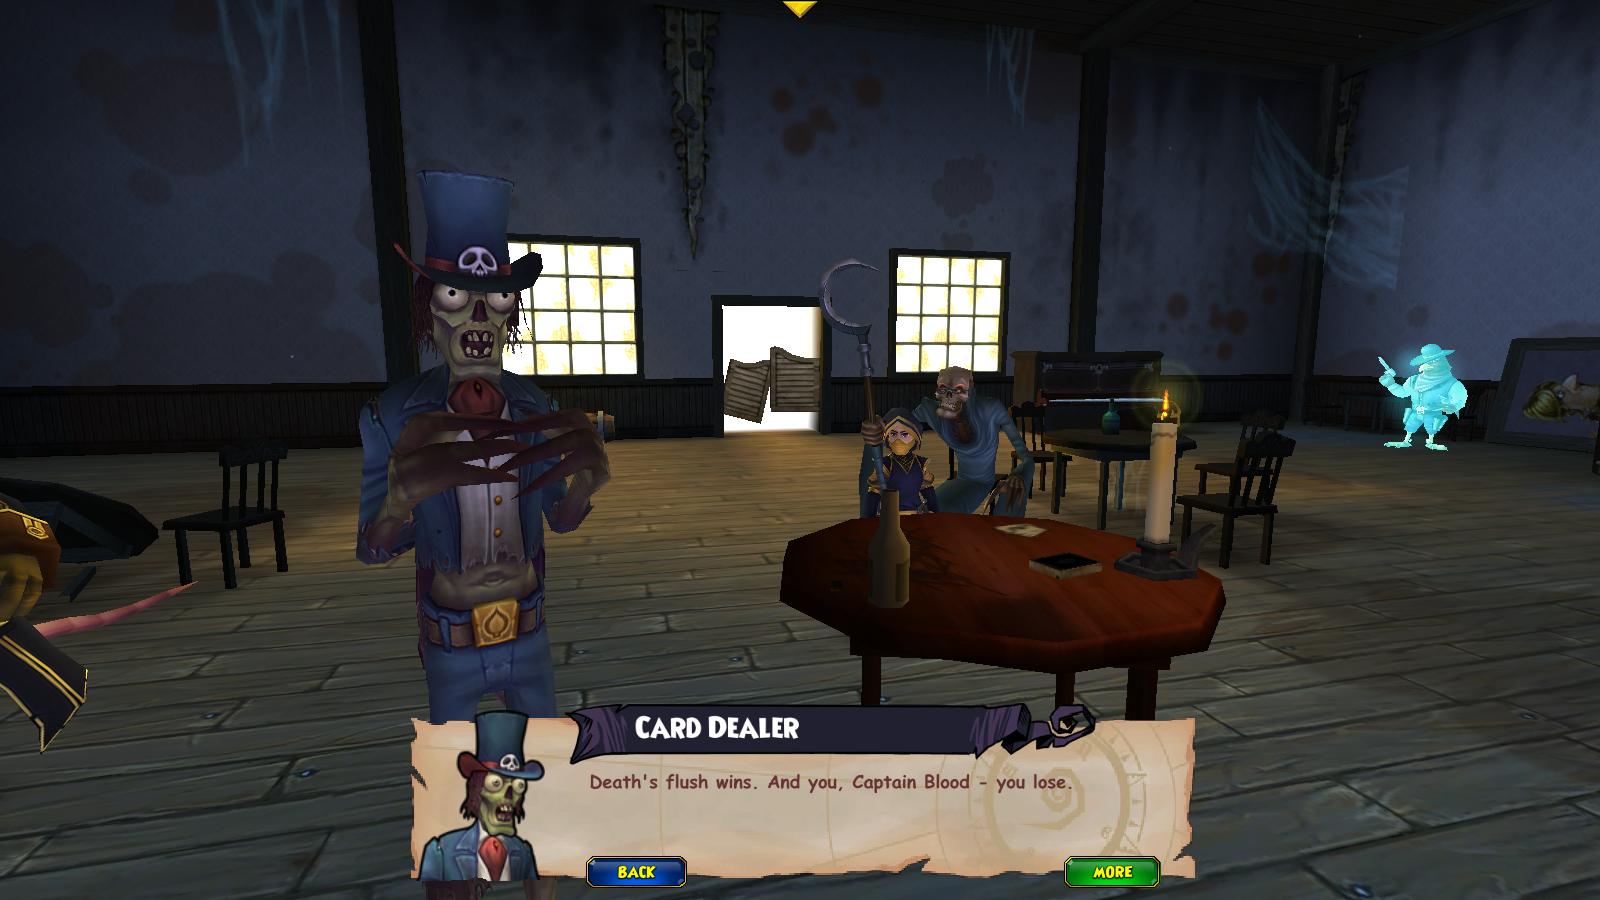
The last card was underneath a pile of ashes that used to be a barn, I think. But after that, some of the townspeople’s ghosts are cursed, which is another unavoidable fight. After that, you head back to the saloon to talk to the Card Dealer again. You also see Death, to finish the game of cards. After you put the cards in the dead man’s hand, Captain Blood is no longer immortal. Blood tries to stop us from playing it, but it’s already done. The only problem was… We still had to kill him.
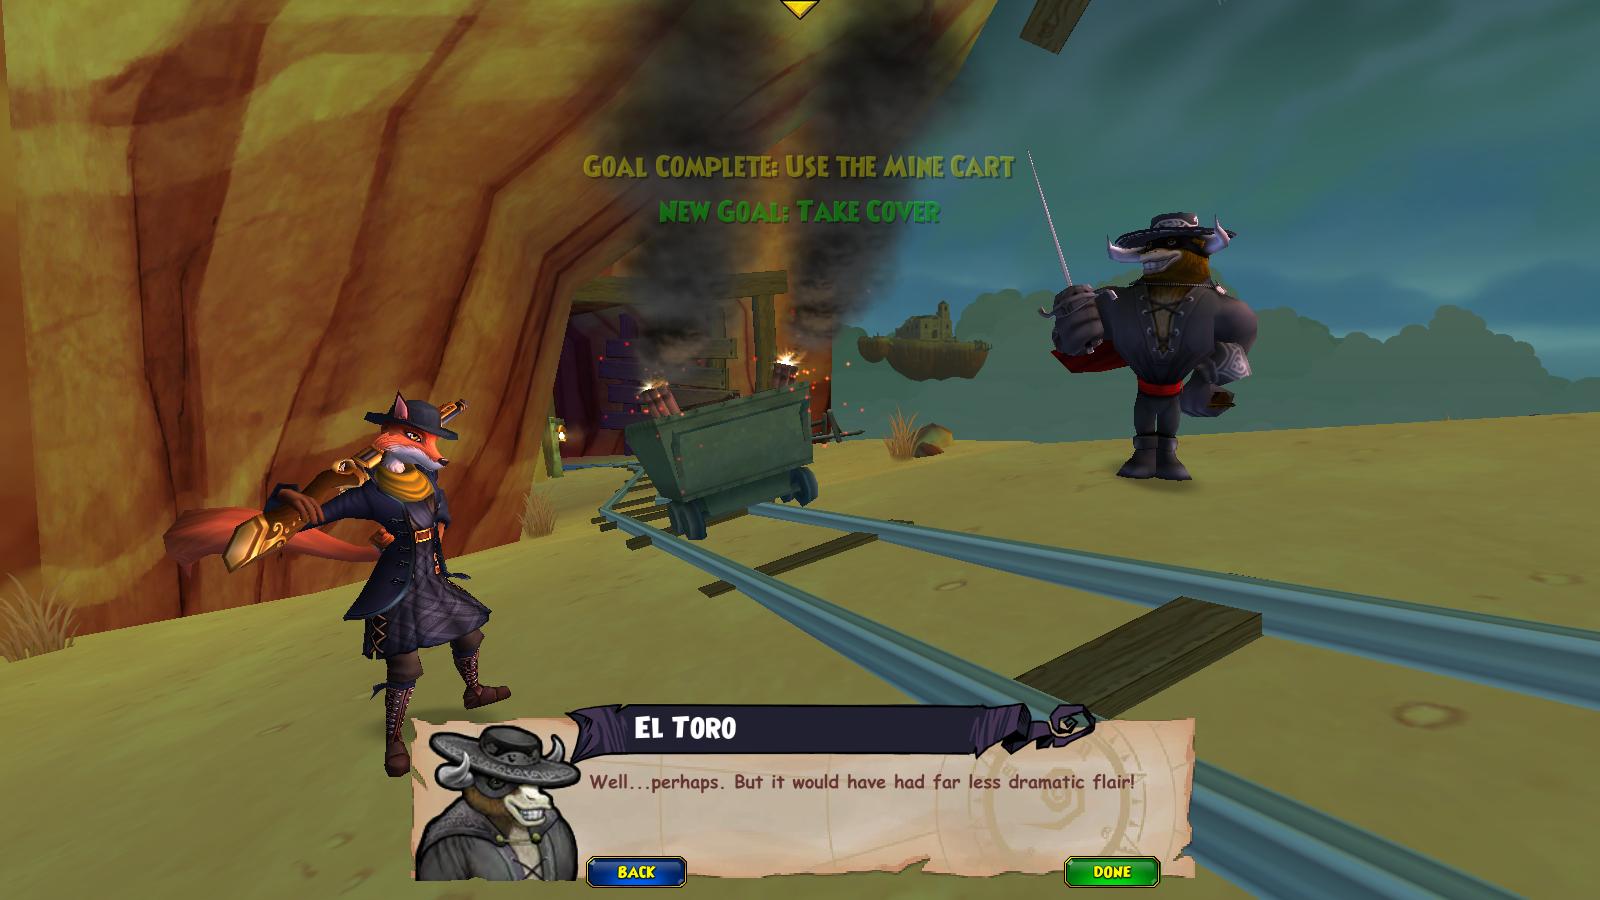
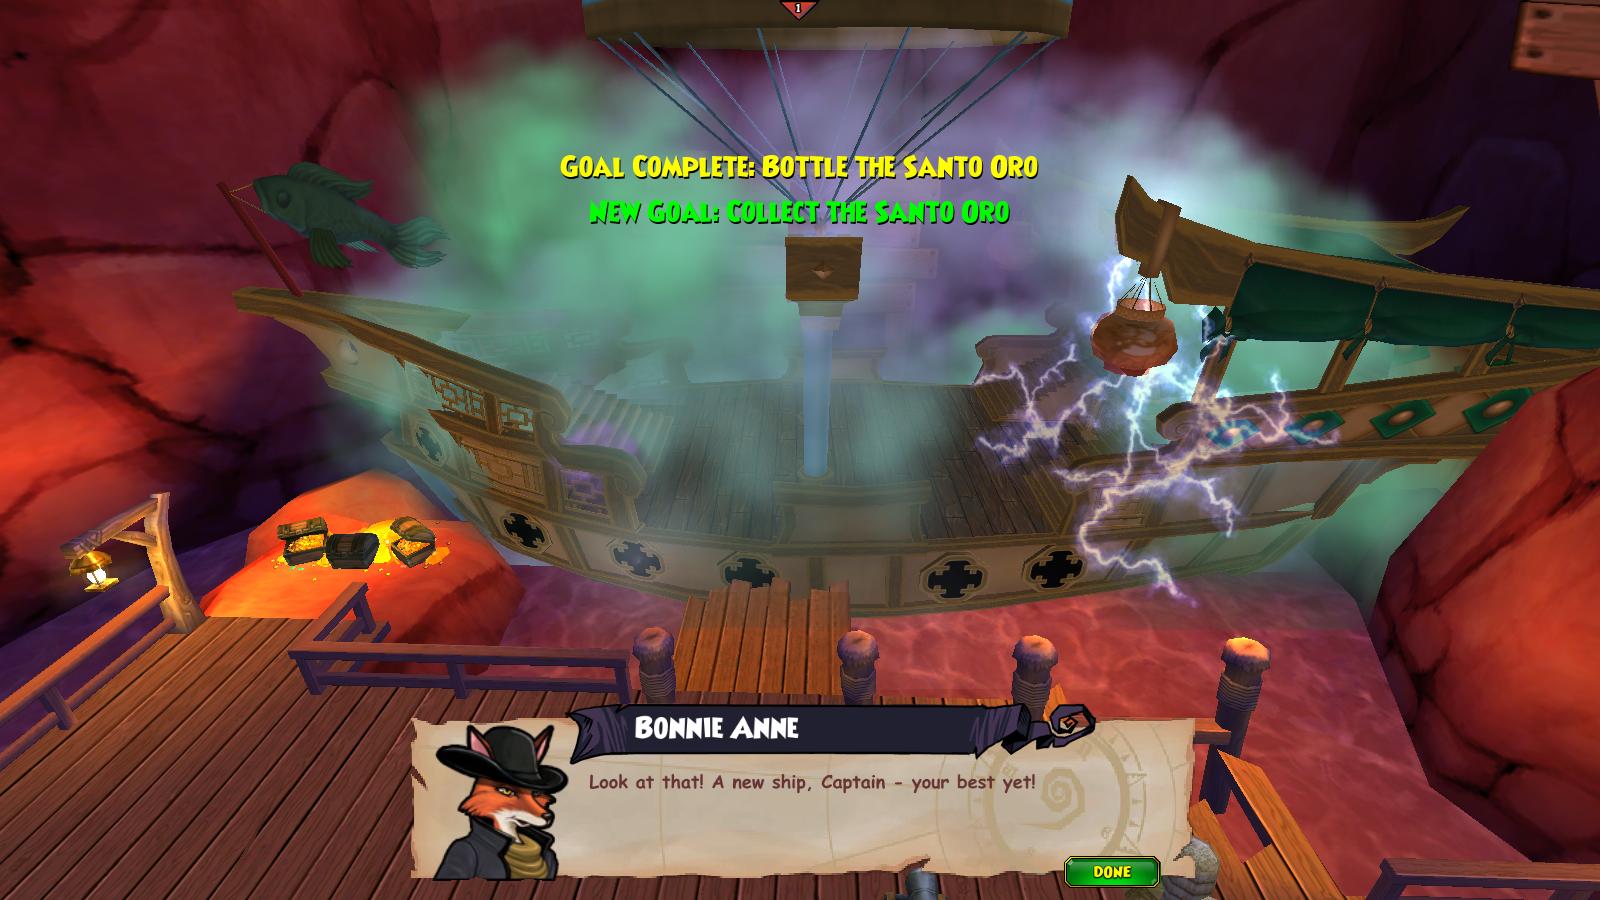
There’s the final battle! He’s done for. Now, with Captain Blood out of the way, the path to the treasure has never been so clear. Time to go into the Motherlode Mine to get the piece of the map. But before that, we have to fight 12 more ghost ships. (I should have known…) Well after that, it was time to go look for Captain Blood’s Treasure in Motherlode Mine! It said it was only a half-hour dungeon, so that was good. I went and found the Santo Oro, Marco Pollo’s ship, which was a pretty cool MooShu skiff. The way to the treasure was blocked off, so we went to blow it up with dramatic flair! 😉
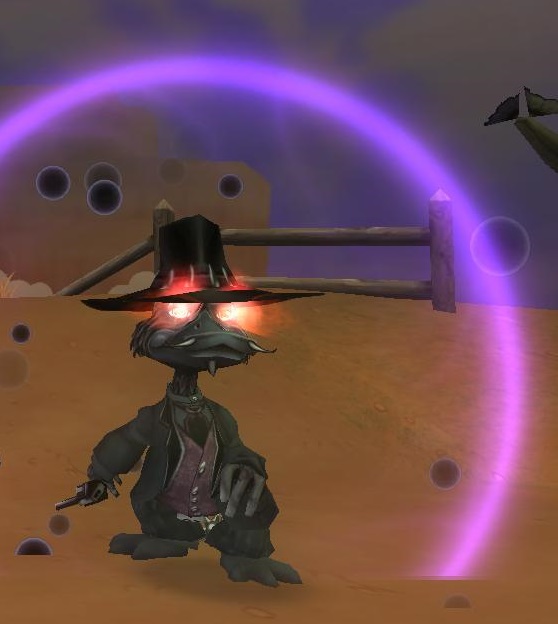
We went down to the platform by the Santo Oro that we had spotted, but were then halted by Deacon! It’s never easy for us.


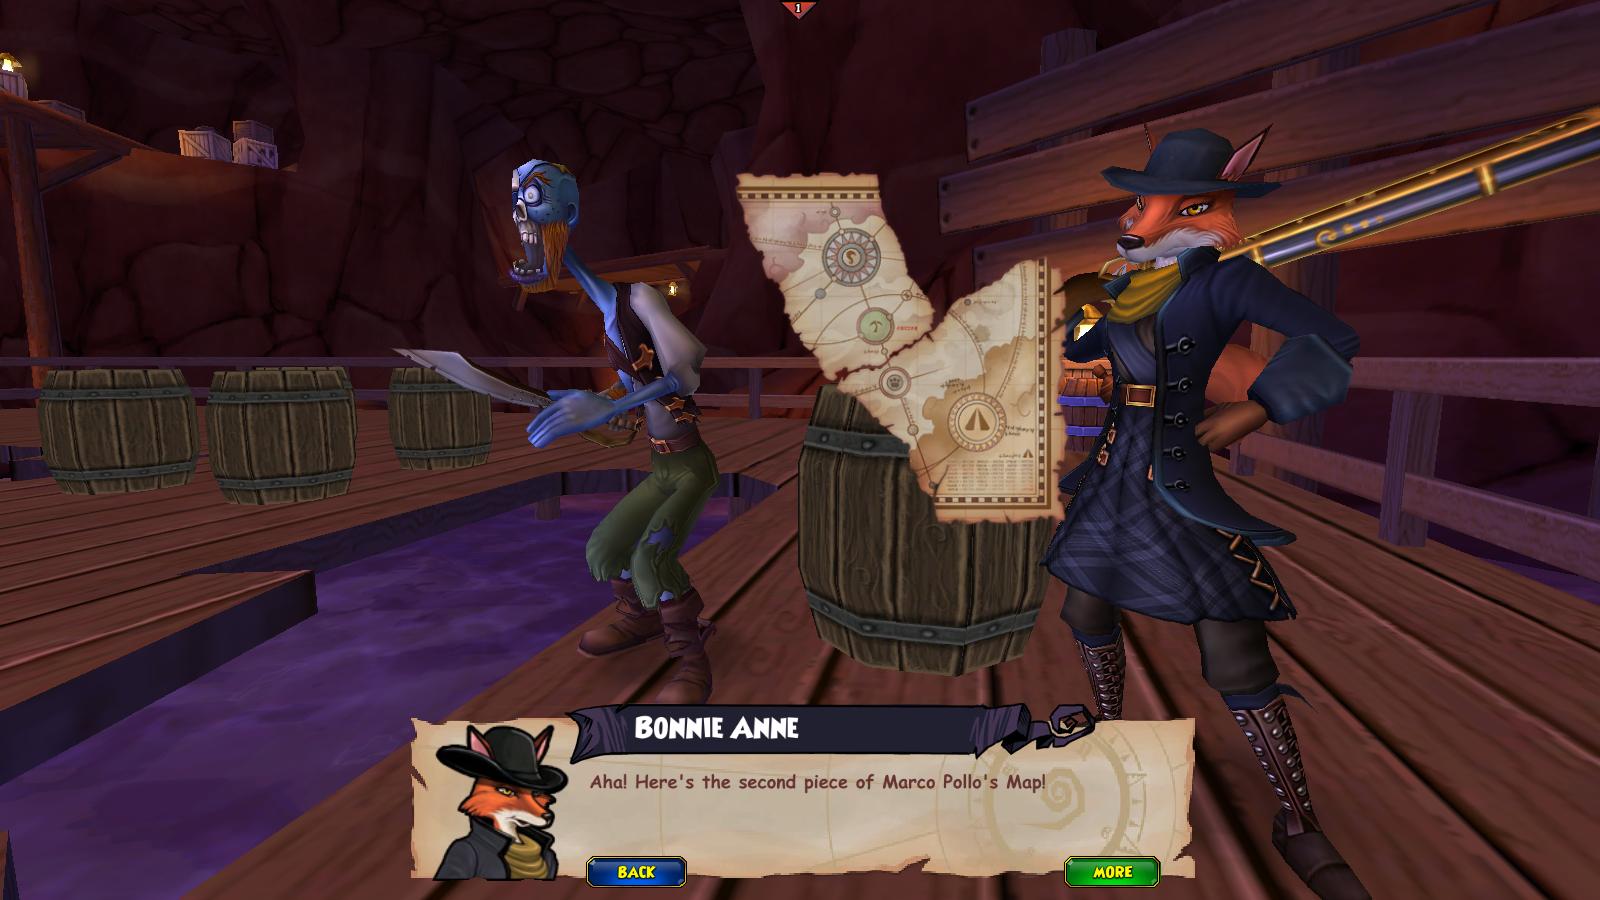
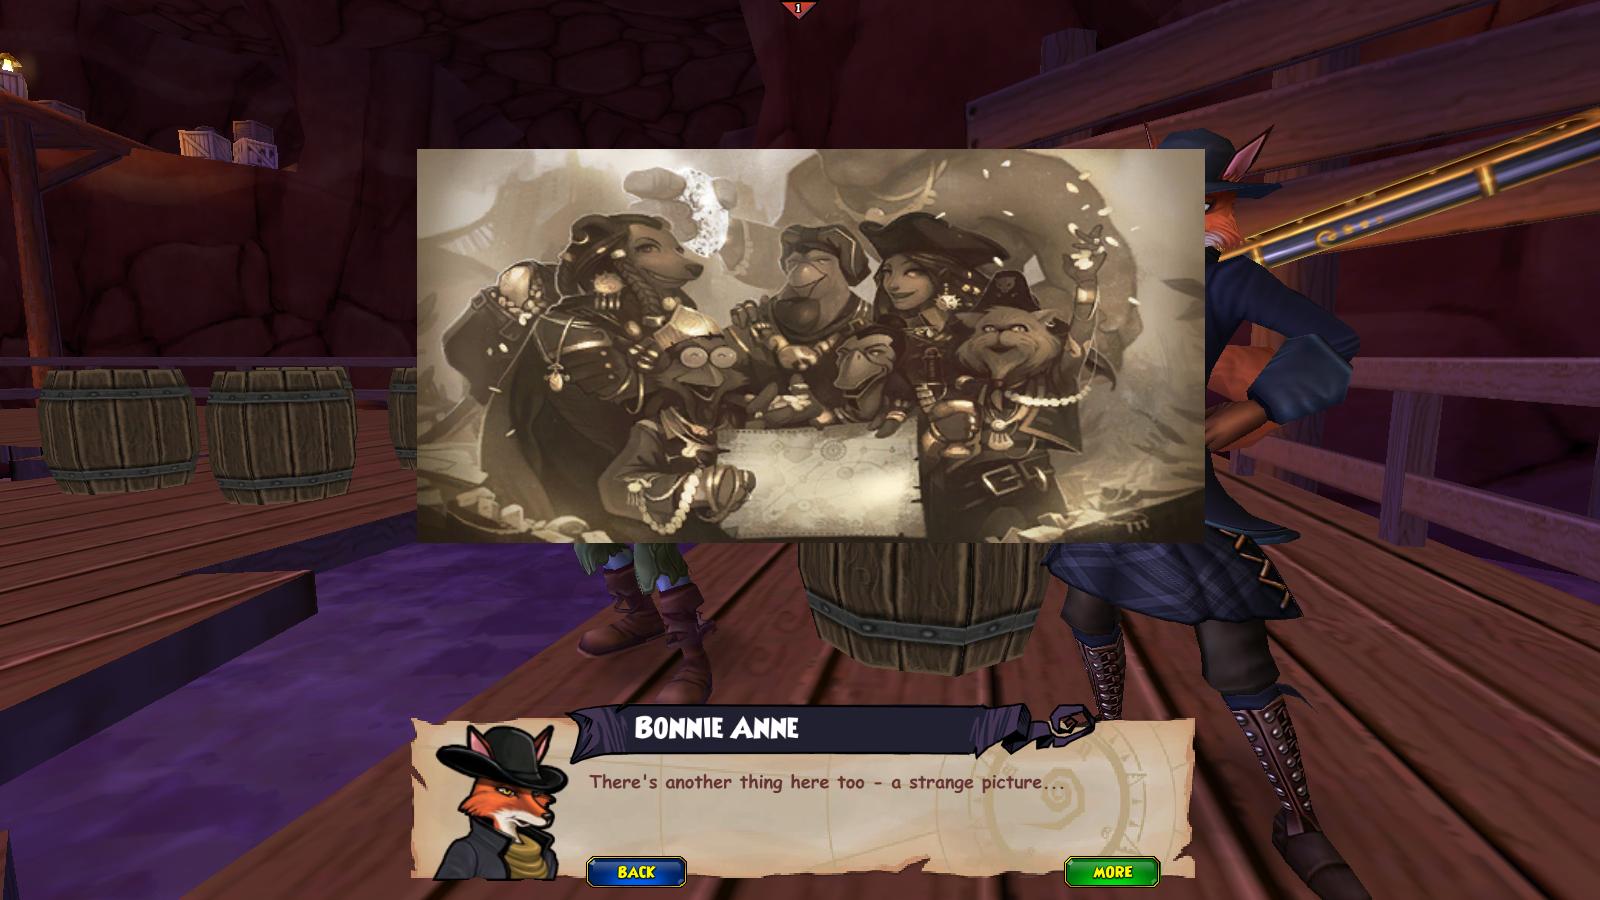
We returned to the historian, Desmond Argleston and Captain Avery to tell us about our next adventure. Avery found out that all of the pirates in the picture have a piece of the map, and the next one should be from Egg Foo Yung, a duck in MooShu! (Subodai was particularly happy about getting to go back to MooShu.) To be continued in Journey to Marleybone (Part 6: Meddling in MooShu!)
English Bill
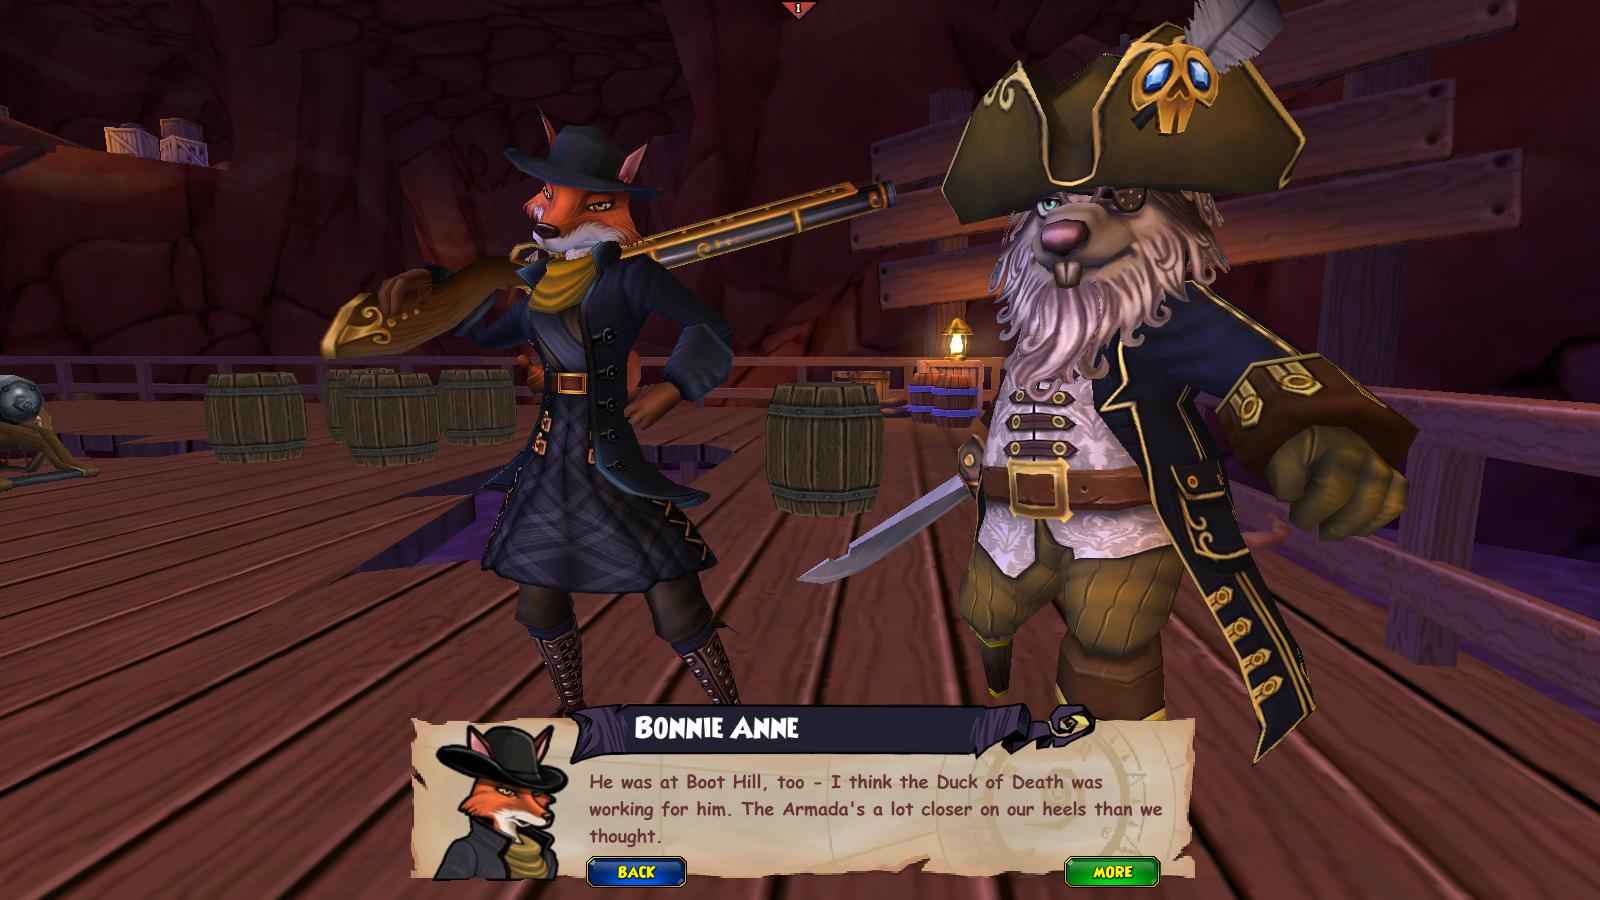
Yeah… That’s not what I thought of when I heard “English Bill” either. Maybe it would help if I also explained he is the Duck of Death. Now, after quite a lot of questing in Cool Ranch, I headed over to Boot Hill. (I’ll tell you, that’s not where you want to go for a vacation.)
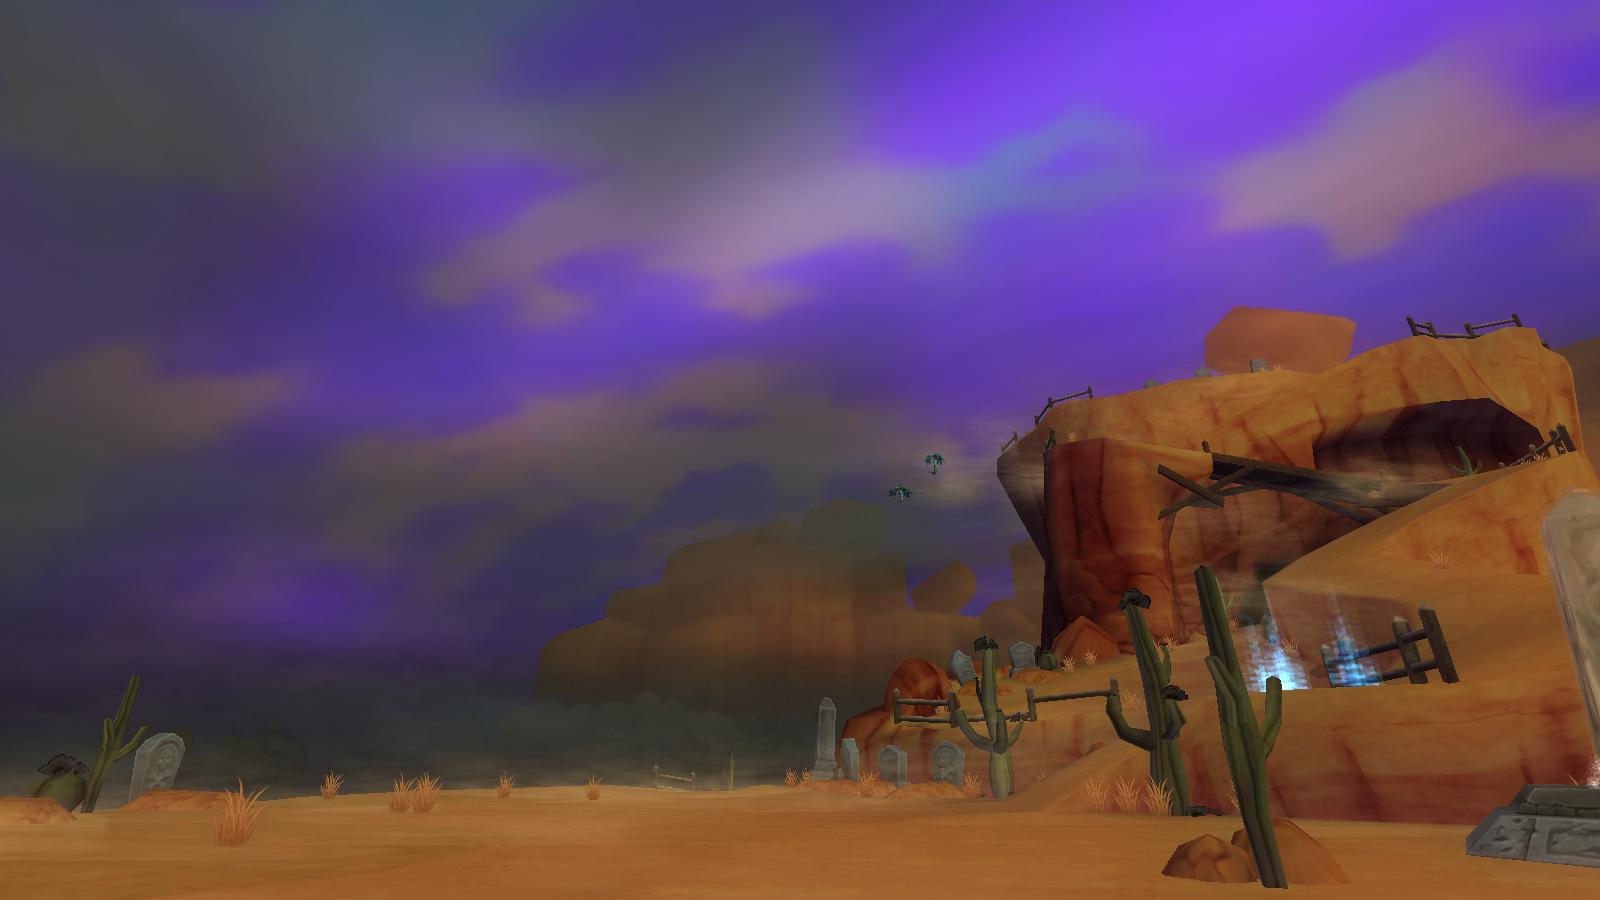
You have to fight the Duck of Death two times, once on Boot Hill and once on his ship. The first fight is a bit tricky, though me and my friend smashed him to the ground straight away (by pure luck). First, you must interact, or attack, a Basin so you can be Blessed. To indicate you are blessed, halos appear over your entire team. A Basin is a statue with water in the top. There are two Basins in the battle. Once your team has halos, you are free to kill the Duck of Death.
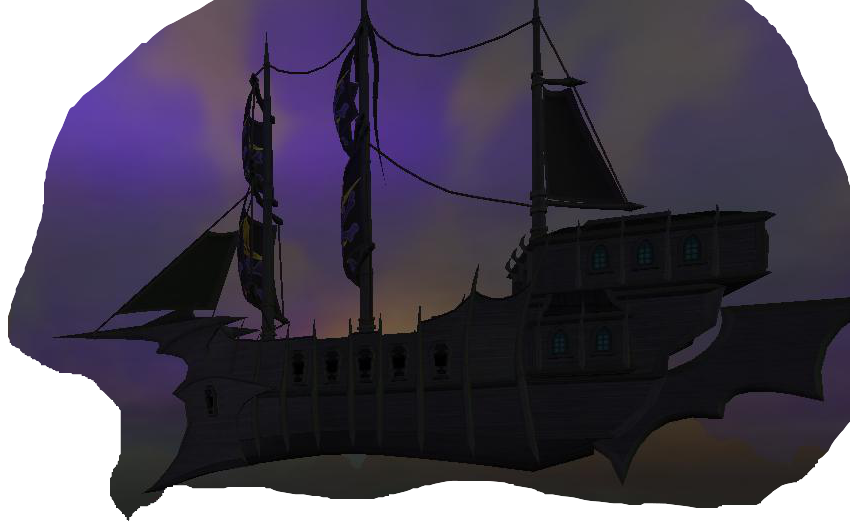
You do have to kill him twice. This is his… uh… I called it a ship, right? This fight there are no Basins, so you are free to attack the Duck as soon as you want. Once you’ve finished that fight, you talk to Tonka, the whole reason you were here in the first place. English Bill had captured Tonka, but now he is freed. Finally, once you’ve finished all of that… You get a badge!
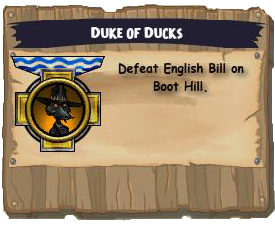
Hooray! Duke of Ducks! Thanks for reading!
Santo Pollo Ahoy!

Santo Pollo, ahoy! After doing, like, what, three dungeons? Two? Five bosses? Four? Who knows… I had to do a whole lot of hard fights, and died a lot. Well, after all that hard work, I got to Hidden Valley Ranch. …Whoa there, Hidden Valley Ranch? Like this???
")
No, no, no. Not like that. Like this…

Yes, yes, yes. Like that. That, was a hard dungeon to solo. Kind of a teleport-back-six-times-hard dungeon. Anyway, after beating up some cheese, (seriously, one of the bosses was Monterrey Jack), I headed back to Merriweather Clark’s home. There was a Red Sash surprise waiting for me! I defeated Johnny Ringo- not too hard- and then talked to Clark. He told me that he would let me know where his father’s piece of Marco Pollo’s map was, since I had saved his life… Twice. Merriweather… Seriously? Another dungeon? Whatever. I went over to the Scorpion Rock Cave to find the map, only to find it’s missing. Things are always missing. There was a note from Captain Blood. Who is this Captain Blood? Let Mr. Argleston explain.


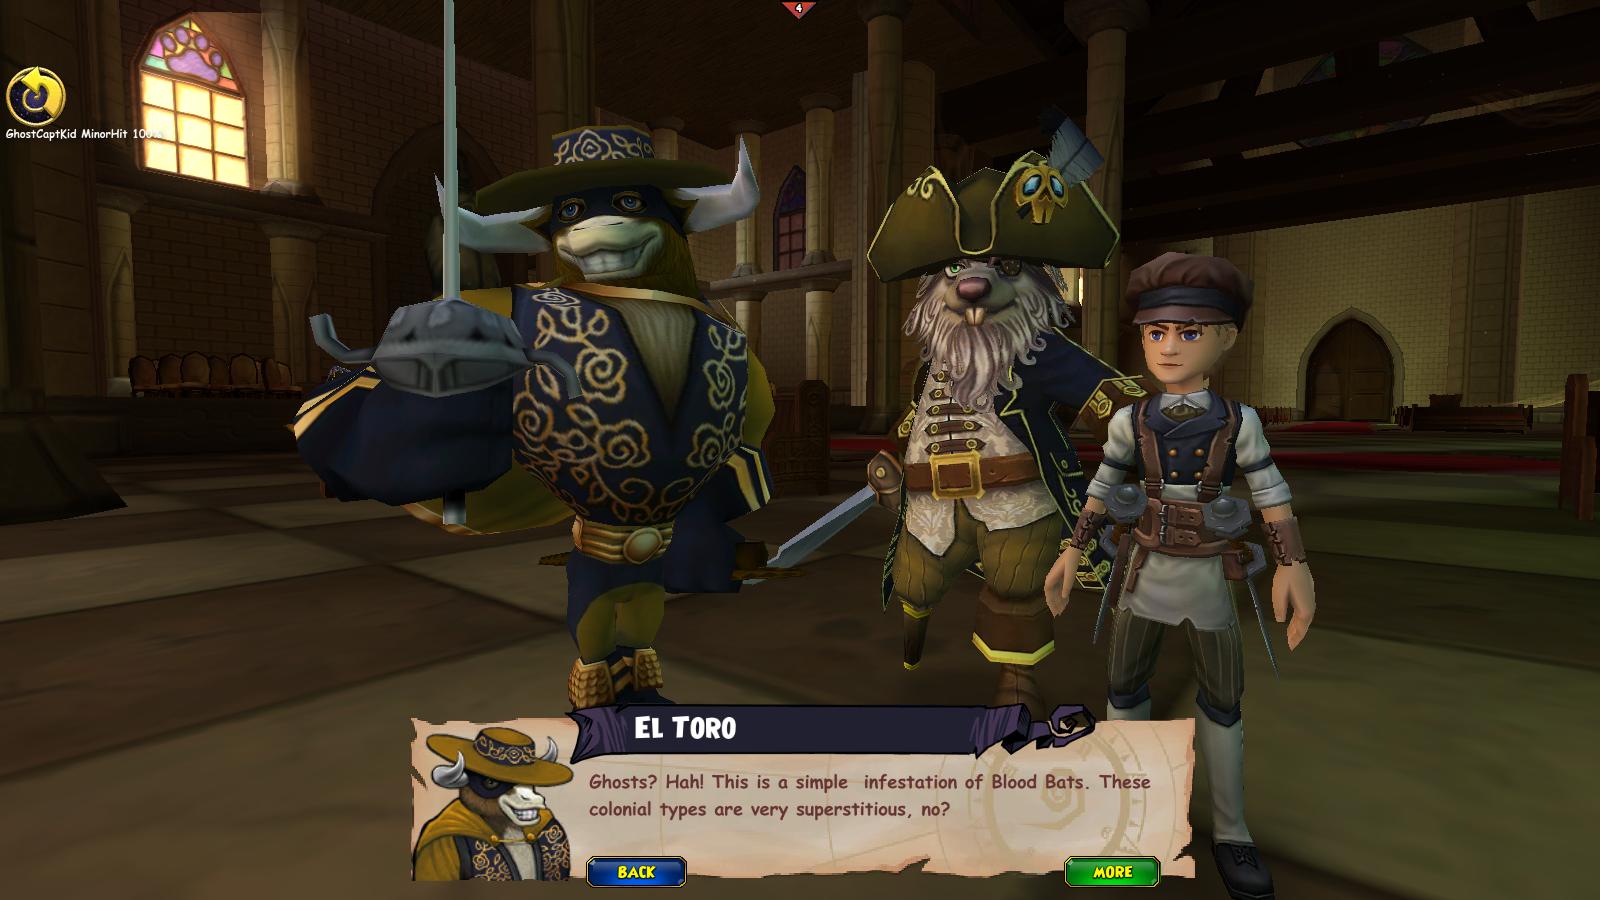
Well then. That didn’t really help much, did it? Captain Blood is a pirate, obviously, and is infamous, obviously. To find him, I need the help of El Toro.

That El Toro. Who is El Toro? Let TheDeathshard‘s video explain.
Here’s a quote from a previous post (on this blog, of course.)
El Toro, the mysterious masked champion of Cool Ranch. Saving the innocent from evil such as the Banditoads, El Toro is a legend. He was almost never seen though. All we know is that he leaves a mark “T.” I am now defending the townsfolk so that I may get El Toro’s attention and get *that* much closer to getting the map. Here’s a quote from Pirate101.com just to sum up a little snippet of the Cool Ranch storyline.
Cool Ranch is a land of legendary figures: heroes like the Chicken Rangers, Wild Bill Peacock, and the masked hero El Toro, fighting lawlessness and standing up for the humble settlers; but the wild frontier has also fostered terrible outlaws like Libirdy Valence, El Guapo, and the dreaded Duck With No Name. Smugglers and pirates have always been drawn to Cool Ranch – far from everyplace, the dusty realm is an ideal place to hide.
But other than that, who is El Toro even supposed to be, other than the protector of Santo Pollo? KingsIsle made a play on words from Zorro, check it out- HERE


See the resemblance? Well anyway I thought it was cool how they can sneak things in like that (ex: Hidden Valley Ranch, El Toro, etc). Now, in Santo Pollo, I have to try and catch the attention of El Toro by doing favors for the townsfolk. My first mission? Collect sugar. I guess… It’s a start. Well, if you’ll excuse me, I’ll start fighting some Banditoads.
Welcome to Valencia! Again…
I’ve quested right up to Valencia on Pirate101! After a good who-knows-how-much, it seems like it’s worth it. I’m disappointed that Valencia was such a short world, because it’s my favorite! I love how the skyways look with the emerald stormy skies, and the neon colors of the windlanes.

After fighting countless numbers of ships to get papers, get permission, get blah blah blah blah blah blah blah… I finally headed through the stormgate. I let my Scarakeet steer (bad idea) but I made it to Valencia. I took notice of a suspicious floating world though…

See it? Now don’t you think that’s Darkmoor? Who knows. Maybe it was once Aquila, but has now been abandoned for so long, they renamed it Darkmoor and some humans inhabited it and that’s where Vadima came from? Who knows! Because I’ve seen an awful lot of signs of Aquila… And none of Darkmoor… So far.


There’s stormgates to Aquila in BOTH worlds. Cool! I haven’t got many quests finished in Valencia, but it’s really nice to see the Machine again. 😀 Maybe we’ll return to Valencia in search of Darkmoor, Aquila, Polaris, who knows? Have fun questing, and see you in the Skyways!
New Additions – Part I
If you look on Pirate101.com, you’ll see that KI is preparing for the full release. Adding most of the features of Wizard101.com, fansites will be booming with material, especially when the Full Release is here! (10/8 or 10/15). There’s a whole lot of new Shop features, bundles, stories, storyline, and so much more! Where do I start? This post set will be separated into two parts. (First two-parter!)

The Pirate101 storyline is pay-as-you-go, or subscribe. It’s separated into twelve books as of now, and that’s how you’ll pay it with crowns. This is somewhat similar to the Wizard101 crowns-based system, check this out.

See some similarities? I can already tell that KingsIsle’s future games will probably be arranged about the same way. (Of course, because they’re in the Spiral! 😉 ) Back to the Pirate101 “Books”, as I’ve said the prices won’t be differed by street, but by book. The prices get higher for each book. Right now, it’s hard to tell if you’ll have to pay for each section of the book, or each book in all. Sections? Yes, each book has a summary and says what’s in it. Here’s a basic guide for all of them- they’re pretty self-explanatory.


Well, obviously you spend a lot of time in Cool Ranch. When I visited there, I sent lots of postcards of all the beautiful scenery! Unfortunately… I didn’t take many screenshots, and the beta characters got wiped. The storyline was great though, as you can see from chapters V-X (5-10). A lot of storyline is covered in Pirate101, in thirty short chapters. Those of you who aren’t in Beta, you’ll really like what you see when you start the game! Spoilers ahead, don’t read this if you want to discover the story on your own!
Skull Island Overview-
In Skull Island, you go through trying to get the basics of a pirate. Or, I could simply say a ship and money. After you’ve quested through Skull Mountain, Avery gives you his promised ship… er… boat… er… raft. You take your raft and fly it all around the Skull Island Skyways (chapters 1-2). You are after Captain Gunn’s treasure. He invented Yum, and has a fortune because of it! After you get the treasure, you are sent off to Puerto Mico on seeking diplomacy with the Monquistans. The whole mission turns on its heels and you are sent to the Isle Of Doom in search of the Golden Monkey!
Monquistan Overview-
You find out that Monquistan politics are in fact deadly. Caught in a civil war, you have to join the opposition of the Crown, and settle things best you can in the land of the monkeys. You go search for an ancient relic – the Monkey’s Paw, which you have to do a life-threatening search for.
Valencian Overview-
The Valencian storyline is quite short, as you venture into the heart of the Spiral, er… Armada. You learn about the map to El Dorado, and are sent on a search for it. You learn Avery’s single piece of the treasure, the sailcloth, was a piece of the map to El Dorado, the island of solid gold. You search in Valencia, but can’t find anything. When you look through the catacombs you find that the Armada have already taken the map, weeks ago.
Cool Ranch Overview-
A piece of the map to El Dorado, made by Marco Pollo, went to Cool Ranch. It’s being thrown around everywhere, and you struggle to find it while keeping Cooper’s Roost under control. You calm down the Bison, and keep searching for the map, which the Red Sash Gang has stolen- it’s been taken to the lair of Captain Blood. That means you have to find El Toro. El Toro, the guardian of Santo Pollo, After you find him, you must stop Santa Rana before it’s too late! You confront the Duck of Death later, to continue your search for the map. Now you have to go find Mustang Sally, who El Toro let go years ago. The Scurvy Dogs let you into Marleybone. Next you have to break Mustang Sally and Napolenguin, the most dangerous in the Spiral, out of the strongest prison in Skull Island. You have to save Tumbleweed, an abandoned town that used to be protected by the Magnificent Seven. Arise them and defeat the Wild Bunch to save them… bring it on. After that you venture towards the Haunted Skyway and the doomed town of Miranda. To get the second piece of the map, you just need to head into his lair. Great. More fighting.
MooShu Overview-
You head into MooShu to find the third piece of the map to El Dorado, as best you can. To find Egg Foo Yung and the map, you have to win a favor of the Yakooza. That means you have to storm corrupt General Tso’s fortress and get the map before the Armada get it! You need to gather the five Turtleballs to reach Cao Tzu and translate the Map. For the first one, you have to talk to the Monkey King… But can you trust him to help you? Once you have the last Turtleball, you must go to Maruzame and face the five Guardians to prove yourself worthy.
And that’s it, really, for the storyline. Check these two pages for more. Click. Click.
Pirate101 Gameplay – Swashbuckler

No, William isn’t already in Valencia 😛 This is from my Swashbuckler character, Evan Keeler. I’ve done SI and MQ on him. So I raised the anchor and sailed for 10 minutes + to Valencia. I’ve been trying to find Marco Pollo’s map to El Dorado the legend before the Armada do. There’s a Puppet Show that tells you all about El Dorado.
I had to find Marco Pollo’s tomb in Granchia, so I went into the catacombs and did the dungeon. It was pretty easy, as you only had to kill the boss(es). I found that the piece of the map had been taken weeks ago by the Armada, but I found a Blue Windstone instead, which will take me to Cool Ranch! 🙂 I went back to Captain Steed the Unicorn, who had helped me all along in this part of Valencia. He told me that he knew the Unicorn who heard Marco Pollo’s last words, and that I can find him in Monquista. When I talked to Varo, the Unicorn, he told me that El Dorado had powers in it that must never be awakened, or they could destroy the Spiral! Then he stated that Christopher Clark in Cool Ranch had a piece of the map.

Then, I went off into Cool Ranch to look for Christopher Clark! If you’ve read the Special Post, you’ll know what happens there. 🙂 I don’t have much else to say as a Swashbuckler, other than I’ll be back on William the Witchdoctor tomorrow!
Special Post!
This post is special! It’s a break from the straight storyline on William, and soon I’m going to start posting as my Swashbuckler, Evan Keeler, as well. But this time, it’s Cool Ranch Privateer Gameplay! Thanks to Boochbeard, I got to jump right over here. This is my first time as a Privateer, though. In special posts, I may include videos as well as lots of screenshots for special posts. Enjoy! 🙂 (Note: Full video is in two parts.)
I uploaded (to YouTube) a twenty minute long one, that has ingame sounds and music. The second video is sped up to seven minutes, but has no music.

After where the video left off, I had to sail to a new island and skyway in Cool Ranch. I found a new tribe, and I was lead to the chief, in his tent. He didn’t think I was worthy of knowing where Merriweather was, so I had to do this fight. I couldn’t record this because I kept losing connection, so I decided to take a couple screenshots. After I defeated these bison, the tribe leader thought I was worthy, but one of the bison didn’t. He rose with some of his friends and we had to duel them too.

When we finished them, the tribe leader told me that he thought Merriweather took ancient relics from the graves of the elders. This is very disrespectful so they took him prisoner. I went outside to Merriweather who told me that he didn’t do it, and I needed to defeat Red Sash ships to get to Hidden Valley, which is where their headquarters is.

I leveled up and set sail! That’s all I’m doing in Cool Ranch today, thanks for reading the special post!
Pirate101 Gameplay – Pt 2 – Skull Mountain

After you’ve left Boochbeard’s ship and docked onto Skull Island, you’ll be in Cpt. Avery’s Office. He thinks that it wouldn’t be fair to just give you what you need, so he says to help him out to get a ship. He wants his Jade Amulet back, which Fin, one of his crew, stole, then ran off to Skull Mountain while arousing the Troggy tribes. Now the Troggies have stolen the gunpowder of the pirates trying to stop them, and are bombarding the towns on Skull Island. Avery sends you to Rigby, who is near Skull Mountain. He tells you more about the problem and leads you across a bridge to the Mountain. There, you meet Bonnie Anne, a Fox Musketeer. She wants you to defeat some Troggies, and then she’ll help you look for Fin. (Note: All image captions are below the images.)

I’m about to go into combat with these Troggies, with my Swashbuckler companion. Along the sides of the streets are footprints, which show you the safe paths. Troggies are very easy, so you shouldn’t be worried.

This is a first look at the Battle Board. In the lower left you’ll see which of your crew needs orders to attack for the round. It moves from left to right. In the above picture, in my square on the screen there’s a curved arrow pointing to a Troggy. I’m using a special ability. The companion has a straight arrow, that means he’s using a normal attack and is moving to the square with the arrow in it, then attacking the Troggy. I used my special ability/power by pressing a square at the bottom of the screen, near to “All your units have orders.” When you have your mouse over the enemy you are about to attack, (before you click on them), above your Powers it says “Your attack will do ## average damage to ______.”

When you’re finished with a battle, treasure chests appear where you defeated the enemies, instead of just giving you gold right away. There’s a time limit, so you have to collect them all before they disappear. If anyone in your battle presses “X” everyone will get the gold inside. Also, you can see in the top left Boochbeard with the Treasure Tutorial Tip. Instead of Tutorial Tips appearing on the right, they appear at the top of your screen now. I personally like it.

A newly added feature is the chat-criticals. I bet that’s not what it’s really called, but that’s what I’m going to call it for now. Chats during battle appear where the tutorial tips appear, in the same style chat bubbles. When a unit criticals, this picture is what it’ll look like on the side of the screen.

If one of your companions are defeated in combat, you don’t have to return to a life fountain (where you respawn) immediately. When you finish your fight, the circled section will appear above your health meter. Until you go back to a life fountain, that companion will no longer help you in battle.

After you’ve defeated the Troggies, Bonnie Anne joins your companions. (Musketeer Level 2). That’s all for questing in this update, I’ll keep you informed! 😀

These are the task-bars at the top of the screen, which appear when you mouse over the arrow at the top of the screen and click on the corresponding icon. I showed all of the dropdown menus at once. (You can’t do this in-game, I edited the photo).

Also, there’s new mounts! All of the mounts are dye-able except the Buffaloon. (Buffalo balloon) This one is the Batacuda mount 😉
Pirate101 Gameplay – Pt 1 – Intro

This is the new Witchdoctor character that I’m going to be using for the blog. I have a video posted up on YouTube of him doing the tutorial! Get ready for awesomeness! (Aka Pirate101)
Once you’re done with the tutorial, you are sent into Captain Avery’s office. As of the 8/22/12 BETA ONLY update, Boochbeard will be next to a nearby life fountain. He will give you a quest that can “level” you to 15 as if you had done all the quests to Cool Ranch. It’s really cool, now we get to test out the higher levels! I’ll try to get you the inside scoop on all of the worlds’ gameplay, storyline, and much more! Next up, part two! Skull Island Gameplay!